Have you ever watched a curler glide effortlessly across the ice and wondered what makes their shoes so special? The answer lies in a brilliant two-part design that combines a slippery slider on one foot with a grippy rubber sole on the other. Understanding how curling shoes work with their slider and gripper components is essential for anyone stepping onto the ice, whether you are renting equipment for the first time or investing in your own pair.
I remember my first time wearing curling shoes. I nearly fell twice just walking from the locker room to the ice. That experience taught me that these specialized shoes are not like anything else you have worn. They require knowledge, respect, and a bit of practice to use safely.
In this guide, I will explain exactly how curling shoes work, breaking down the slider vs gripper system in simple terms. You will learn why one foot slides while the other grips, how to choose the right setup for your throwing style, and practical tips to avoid the common mistakes that trip up beginners.
Table of Contents
How Curling Shoes Work
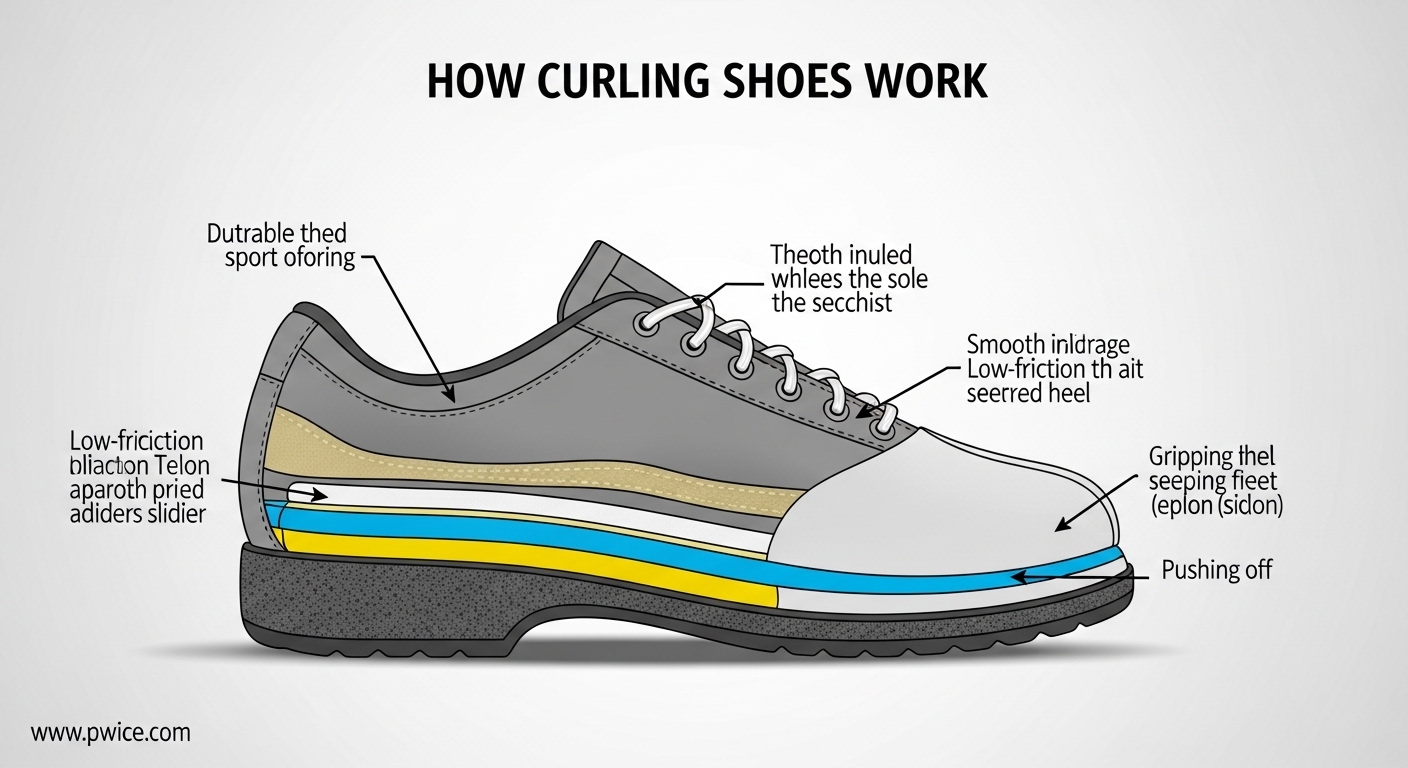
Curling shoes work by combining two completely different sole materials on opposite feet. One shoe features a slippery slider surface that allows you to glide smoothly during your delivery, while the other has a rubber gripper that provides traction for stability and walking.
This dual-sole design serves a specific purpose. When delivering a stone, you need to slide forward in a controlled manner while maintaining balance. The slider foot does the gliding while the gripper foot stabilizes your body. After releasing the stone, you need to walk safely on pebbled ice, which is where the gripper becomes essential.
The magic happens through materials science. Most sliders are made from PTFE, commonly known as Teflon, which has an incredibly low coefficient of friction. This means it slides almost effortlessly across the pebbled ice surface. The gripper uses soft rubber compounds designed to grip the tiny ice pebbles, giving you the traction you need to move safely.
The Slider Explained: Materials, Speed, and Thickness
The slider is the heart of the curling shoe system. Without it, you cannot perform the smooth gliding delivery that the sport requires. Let us break down what makes a slider work and how to choose the right one for your needs.
What Sliders Are Made Of
Modern curling shoe sliders use PTFE (polytetrafluoroethylene), the same material found in non-stick cookware. This synthetic fluoropolymer has one of the lowest coefficients of friction of any solid material. Some premium sliders incorporate stainless steel elements or use different grades of PTFE to achieve specific sliding characteristics.
The quality of the PTFE matters significantly. Higher-grade material provides more consistent slide speed and better durability. Cheap sliders may feel fast initially but can become inconsistent as they wear.
Understanding Slider Thickness and Speed Ratings
Slider thickness directly affects how fast you will glide across the ice. Thicker sliders create more speed, while thinner ones provide more control. Here is what you need to know about the common options:
| Thickness | Speed Rating | Best For |
|---|---|---|
| 1/4 inch (6.4mm) | Speed 10-12 | Competitive players, fast ice |
| 3/16 inch (4.8mm) | Speed 7-9 | Intermediate players |
| 5/32 inch (4.0mm) | Speed 5-7 | Recreational players |
| 1/8 inch (3.2mm) | Speed 3-5 | Beginners, slower ice |
| 1/16 inch (1.6mm) | Speed 1-3 | Learning control |
Different manufacturers use slightly different rating systems. Goldline rates their sliders from Speed 5 to Speed 12, while Olson uses a similar scale. The key is understanding that higher numbers mean faster slides.
Here is something most beginners do not realize: you probably cannot tell the difference between a Speed 7 and Speed 10 slider when you are starting out. Steve’s Curling notes that about 80% of recreational curlers cannot distinguish between adjacent speed ratings. Do not stress too much about finding the perfect speed as a beginner.
Types of Sliders
Beyond thickness, sliders come in different configurations that affect performance:
Full Slider: A single piece of PTFE covering the entire sole. This is the most common type and provides the smoothest, most consistent slide.
Split Slider: The sliding surface is divided into sections. This design offers slightly different sliding characteristics and can provide more lateral stability during your delivery.
Hinged Slider: Features a flexible joint that allows the slider to bend with your foot as you push off. Some curlers find this more comfortable and natural-feeling.
Disc Systems: Some shoes use Velcro or screw-in disc systems that let you swap out sliders of different speeds. This flexibility is great if you curl at different clubs with varying ice conditions.
The Gripper Explained: Traction, Safety, and Maintenance
While the slider gets most of the attention, the gripper is equally important. Without proper traction on your non-sliding foot, you cannot safely walk on ice or maintain balance during your delivery setup.
What Grippers Do
The gripper uses soft rubber compounds designed to bite into the tiny ice pebbles that cover curling ice. Think of it like a winter tire for your foot. The rubber flexes around the pebbles, creating friction that prevents slipping.
When you are not throwing a stone, you should always have a gripper on your slider foot. This is why most curlers carry a slip-on gripper (also called an anti-slider) in their pocket or bag. You slip it over your slider shoe when you finish delivering to protect the slider surface and give yourself safe traction.
Types of Grippers
Built-in Grippers: These are permanently attached to the shoe sole. They are convenient but will eventually wear out and need the entire shoe replaced.
Slip-on Grippers: These pull over your slider shoe when needed. They protect the slider and provide traction for walking. Based on forum discussions, a good slip-on gripper typically lasts about 50 games before needing replacement.
Double Gripper Option: Some shoes come with grippers on both feet. This is useful for players who primarily sweep or those who use a delivery stick. However, you will need a separate slider for the actual throwing motion.
Gripper Maintenance and Safety
Grippers require attention to keep you safe and protect the ice. Worn grippers can shed rubber particles that create “picks” on the ice surface, affecting rock paths. Check your grippers regularly for peeling edges or worn spots.
Keep grippers clean. Dirt and debris reduce traction and can scratch the ice. Wipe them with a damp cloth after each session. If you notice your gripper feeling slippery when you first step onto the ice, wait a moment. Some rubber compounds need to warm up slightly to reach optimal grip.
Reddit users frequently mention the danger of worn grippers causing balance issues. One curler shared that they now keep their slip-on gripper in their pocket during delivery as an emergency backup if they feel unstable.
Slider vs Gripper: Key Differences
Understanding how these two components differ is crucial for using your curling shoes effectively. Here is a side-by-side comparison:
| Feature | Slider | Gripper |
|---|---|---|
| Material | PTFE (Teflon) or stainless steel | Soft rubber compound |
| Function | Enables smooth gliding during delivery | Provides traction for walking and stability |
| Friction | Extremely low (slides easily) | High (grips ice pebbles) |
| Placement | On sliding foot only | On non-sliding foot, covers slider when walking |
| Wear Pattern | Wears down slowly, becomes slower over time | Wears faster, needs replacement every 50 games |
| Cost to Replace | Expensive (often requires new shoe or disc) | Cheap (slip-on grippers are affordable) |
Both components work together to create a safe and effective curling experience. You cannot have one without the other and expect to perform well or stay safe on the ice.
Right-Handed vs Left-Handed Curling Shoes
One of the most common points of confusion for new curlers is figuring out which shoe goes on which foot. Getting this wrong is not just inconvenient, it can be dangerous.
The rule is simple but counterintuitive for some: the slider goes on the foot opposite your throwing hand. Right-handed throwers have the slider on their left shoe. Left-handed throwers have the slider on their right shoe.
This configuration exists because of the mechanics of the delivery. When you throw, you push off with your trailing foot while sliding forward on your leading foot. For a right-handed player, the left foot leads and slides. For a left-handed player, the right foot leads and slides.
Here is a quick reference:
| Throwing Hand | Slider Foot | Gripper Foot |
|---|---|---|
| Right-Handed | Left Shoe | Right Shoe |
| Left-Handed | Right Shoe | Left Shoe |
When ordering curling shoes, you will need to specify whether you want right-handed or left-handed configuration. Many beginners accidentally order the wrong type, so double-check before purchasing. If you are ambidextrous or still figuring out which hand feels natural, try throwing a few practice slides with a rental slider to determine your preference.
Practical Tips for Using Your Curling Shoes Safely
Now that you understand the mechanics, let us talk about actually using these shoes on the ice. The forum discussions revealed several pain points that beginners face, so I will address those directly.
How to Walk Safely in Curling Shoes
Walking in curling shoes requires a different technique than normal footwear. Here are the steps I learned through trial and error (and a few near-falls):
Step 1: Always check that you have a gripper on your slider foot before stepping onto the ice. Never walk with an exposed slider.
Step 2: Take shorter steps than usual. Long strides increase the chance of slipping.
Step 3: Keep your center of gravity low by slightly bending your knees. This gives you more stability.
Step 4: Walk on the textured areas between sheets when possible. The pebbled ice provides better traction than the smooth areas.
Step 5: If you feel yourself slipping, immediately shift weight to your gripper foot and grab the nearest barrier or wall.
Sweeping: Slider vs Gripper
A common question is whether to sweep with your slider on or to use two grippers. According to forum insights from experienced curlers, most recreational players are actually more effective sweeping with two grippers rather than leaving the slider exposed.
Professional players sometimes prefer sweeping with their slider on because it allows them to glide along with the rock more smoothly. However, this requires excellent balance and technique. For beginners and intermediate players, using a slip-on gripper over your slider shoe during sweeping provides better stability and safer movement.
Olympic curler Joanne Courtney has shared that some athletes prefer grippers on both shoes while sweeping, while others use a sliding sole. The choice depends on your skill level and comfort.
Common Beginner Mistakes to Avoid
Based on Reddit discussions and my own experience, here are the mistakes new curlers make with their shoes:
Mistake 1: Stepping with the slider foot first. Train yourself to always lead with your gripper foot when walking.
Mistake 2: Forgetting to bring a slip-on gripper. Always pack it in your bag, even if you think you will not need it.
Mistake 3: Walking with an exposed slider to grab a quick photo or talk to a teammate. Do it. Just put the gripper on first.
Mistake 4: Not breaking in new shoes before a tournament. New grippers can be slippery initially. Get a few practice sessions in first.
Mistake 5: Ignoring heel slippage. If your heel lifts inside the shoe, it affects your balance. Use proper fitting shoes or add heel grips.
The Manitoba Tuck
I should mention a specific technique called the Manitoba Tuck, named after the Canadian province where it originated. Some players tuck their sliding foot slightly inward during delivery for added stability. This works particularly well with certain slider configurations and can help beginners feel more secure during their slide.
Toe Coating and Protection
During your delivery, your trailing foot (the gripper foot) often drags along the ice behind you. Over time, this can wear down the toe area of your shoe. Toe coating, sometimes called toe dipping, adds a protective layer to prevent this wear.
Do you need toe coating? If you are a beginner, probably not yet. As you develop your delivery technique, watch whether your trailing foot drags significantly. If you notice wear patterns on the toe of your gripper shoe, consider adding a protective coating.
Some products like Tuff Toe provide durable coatings that extend shoe life. Professional curlers almost always use toe protection, but recreational players can add it as needed.
Frequently Asked Questions
How do curling shoes slide and grip?
Curling shoes use two different sole materials to achieve sliding and gripping. The slider foot has a PTFE (Teflon) surface that creates an extremely low coefficient of friction, allowing it to glide smoothly across the pebbled ice. The gripper foot uses soft rubber compounds that grip the tiny ice pebbles, providing traction for walking and stability during setup.
Do you need a slider for curling?
Yes, you need a slider to deliver a curling stone properly. The slider allows you to glide forward in a controlled manner while maintaining balance during the throw. Without a slider, you cannot achieve the smooth delivery motion required to throw with accuracy and consistency.
What is the 3 shoe rule?
The 3 shoe rule in curling refers to carrying three pieces of footwear: your slider shoe, your gripper shoe, and a slip-on gripper (anti-slider) that covers your slider when you are not throwing. This ensures you always have proper traction for walking on ice while protecting your slider surface.
What is the difference between slider and slipper?
A slider is the slippery sole attached to a curling shoe that enables gliding during delivery. A slipper (or slip-on slider) is a separate piece of equipment that beginners sometimes use before investing in curling shoes. It slides over a regular athletic shoe to provide a sliding surface. A slider is integrated into proper curling shoes, while a slipper is a temporary add-on for rental equipment.
Can I sweep with my slider exposed?
While some advanced players sweep with their slider exposed for smoother movement, most recreational curlers are more effective and safer using two grippers during sweeping. The gripper provides better traction and stability while moving quickly up and down the ice.
How often should I replace my gripper?
Slip-on grippers typically need replacement after about 50 games of use, according to experienced curlers. Built-in grippers last longer but will eventually wear down and need the entire shoe replaced. Replace your gripper when you notice peeling edges, worn rubber spots, or reduced traction on the ice.
Conclusion
Understanding how curling shoes work with their slider and gripper components transforms your experience on the ice. You now know that the slider uses PTFE for smooth gliding while the gripper provides essential rubber traction. You understand which foot gets which sole based on your throwing hand. And you have practical tips for walking safely and avoiding beginner mistakes.
The slider vs gripper system is elegant in its simplicity but requires respect for safety. Always protect your slider with a gripper when walking. Choose a slider speed appropriate for your skill level. And remember that even Olympic curlers started as beginners who once struggled to walk across the ice.
Whether you are renting equipment for the first time or researching your first pair of curling shoes, the knowledge in this guide will keep you safer and help you perform better. Now get out on the ice and practice that slide.