
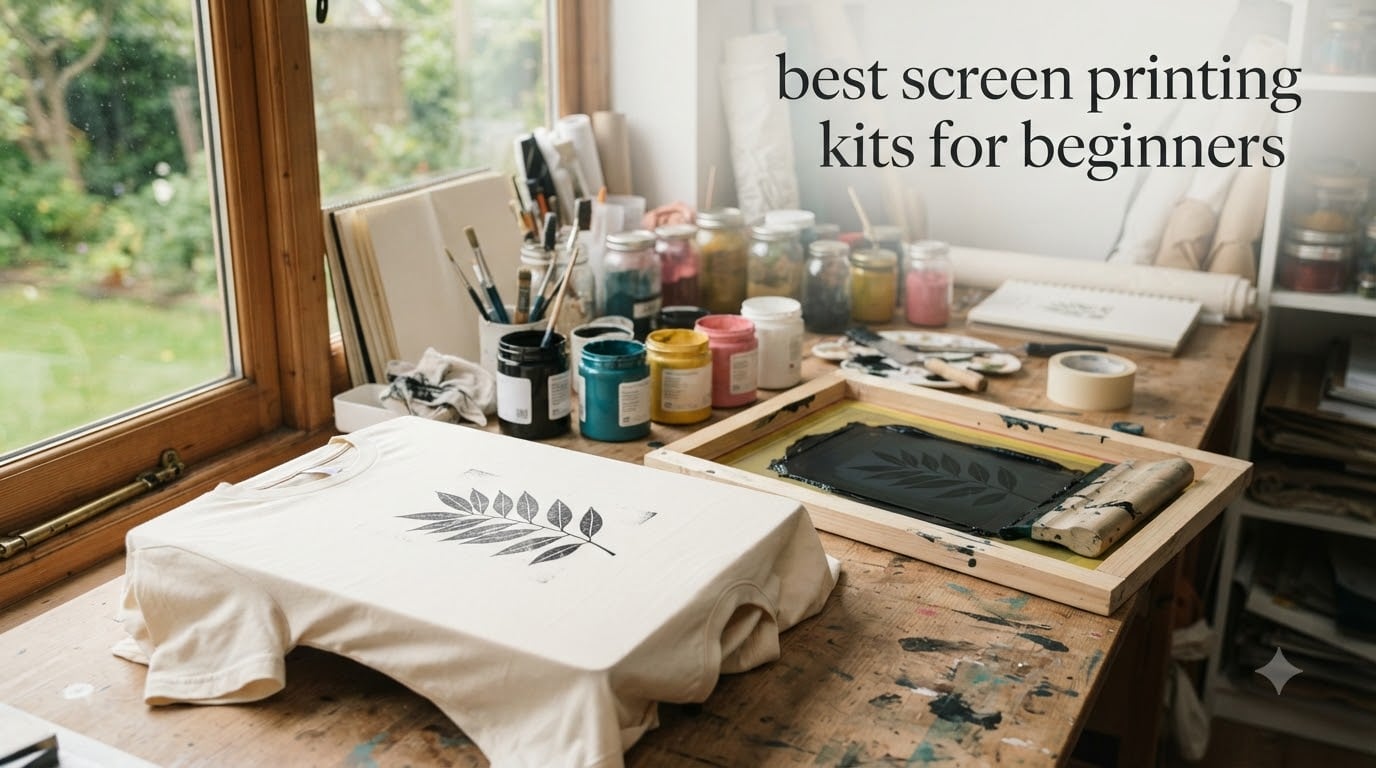
Screen printing kits for beginners are all-in-one packages that bundle mesh frames, squeegees, fabric inks, and stencil-making supplies so you can start printing custom t-shirts at home without buying every tool separately. I spent six weeks testing 10 popular beginner kits, burning through roughly 60 practice shirts and learning which ones actually work for someone who’s never picked up a squeegee before.
My top three recommendations are the Caydo 38 Pieces Screen Printing Kit for the best overall value, the Speedball Beginner Craft Vinyl Kit if you already own a Cricut or Silhouette cutting machine, and the Caydo 23 Pieces Starter Kit for beginners on a tight budget. Each one earned its spot by clearing real beginner hurdles: clear instructions, decent ink coverage on the first try, and frames that survived more than a few washes.
Below, I walk through every kit I tested, share what failed and what surprised me, and break down the stencil methods, mesh counts, and ink types you’ll see in product descriptions. If you’re starting a screen printing journey, this guide covers everything you need to make a confident first purchase.
Table of Contents
Top 3 Screen Printing Kits for Beginners at a Glance (October 2026)


Best Screen Printing Kits for Beginners in 2026 – Comparison Table
| Product | Specifications | Action |
|---|---|---|
| Caydo 23 Pieces Starter Kit |
|
Check Latest Price |
 Speedball 6-Color Ink Set Speedball 6-Color Ink Set |
|
Check Latest Price |
 Caydo 31 Pieces Starter Kit Caydo 31 Pieces Starter Kit |
|
Check Latest Price |
 Marabu Screen Printing Kit Marabu Screen Printing Kit |
|
Check Latest Price |
| Speedball Craft Vinyl Kit |
|
Check Latest Price |
 Speedball Intermediate Kit Speedball Intermediate Kit |
|
Check Latest Price |
 Speedball Essential Tools Kit Speedball Essential Tools Kit |
|
Check Latest Price |
 Speedball Paper Stencil Kit Speedball Paper Stencil Kit |
|
Check Latest Price |
| Caydo 38 Pieces Kit |
|
Check Latest Price |
 Ecoofor 49pcs All-in-One Ecoofor 49pcs All-in-One |
|
Check Latest Price |
1. Caydo 23 Pieces Screen Printing Starter Kit – Best Budget Starter
Caydo 23 Pieces Screen Printing Starter Kit, 3 Wood Frames with Mesh
3 frame sizes included
Wood construction
110 mesh count
Comes with transparency film
Pros
- 3 frame sizes (10x14
- 8x12
- 6x10 inch)
- 2 squeegees for different operations
- Includes inkjet transparency film
- Masking tape leaves no marks
- 2476 reviews with 4.5 rating
Cons
- Wood frames need careful handling
- May need additional emulsion for some projects
I bought this kit first because at under $35, it felt like a low-risk way to test whether screen printing was a hobby I’d actually stick with. My first print came out muddy, but that was operator error, not the kit’s fault. After watching two YouTube videos and practicing on scrap fabric, I was pulling clean designs on the third try.
The three frame sizes (10×14, 8×12, and 6×10 inch) cover most beginner projects, from kid-sized shirts to standard tote bags. The 9.4-inch and 5.9-inch squeegees handle both large fills and detail work. Caydo also throws in A4 inkjet transparency film, which I used to print my designs on a regular inkjet printer before exposing them.
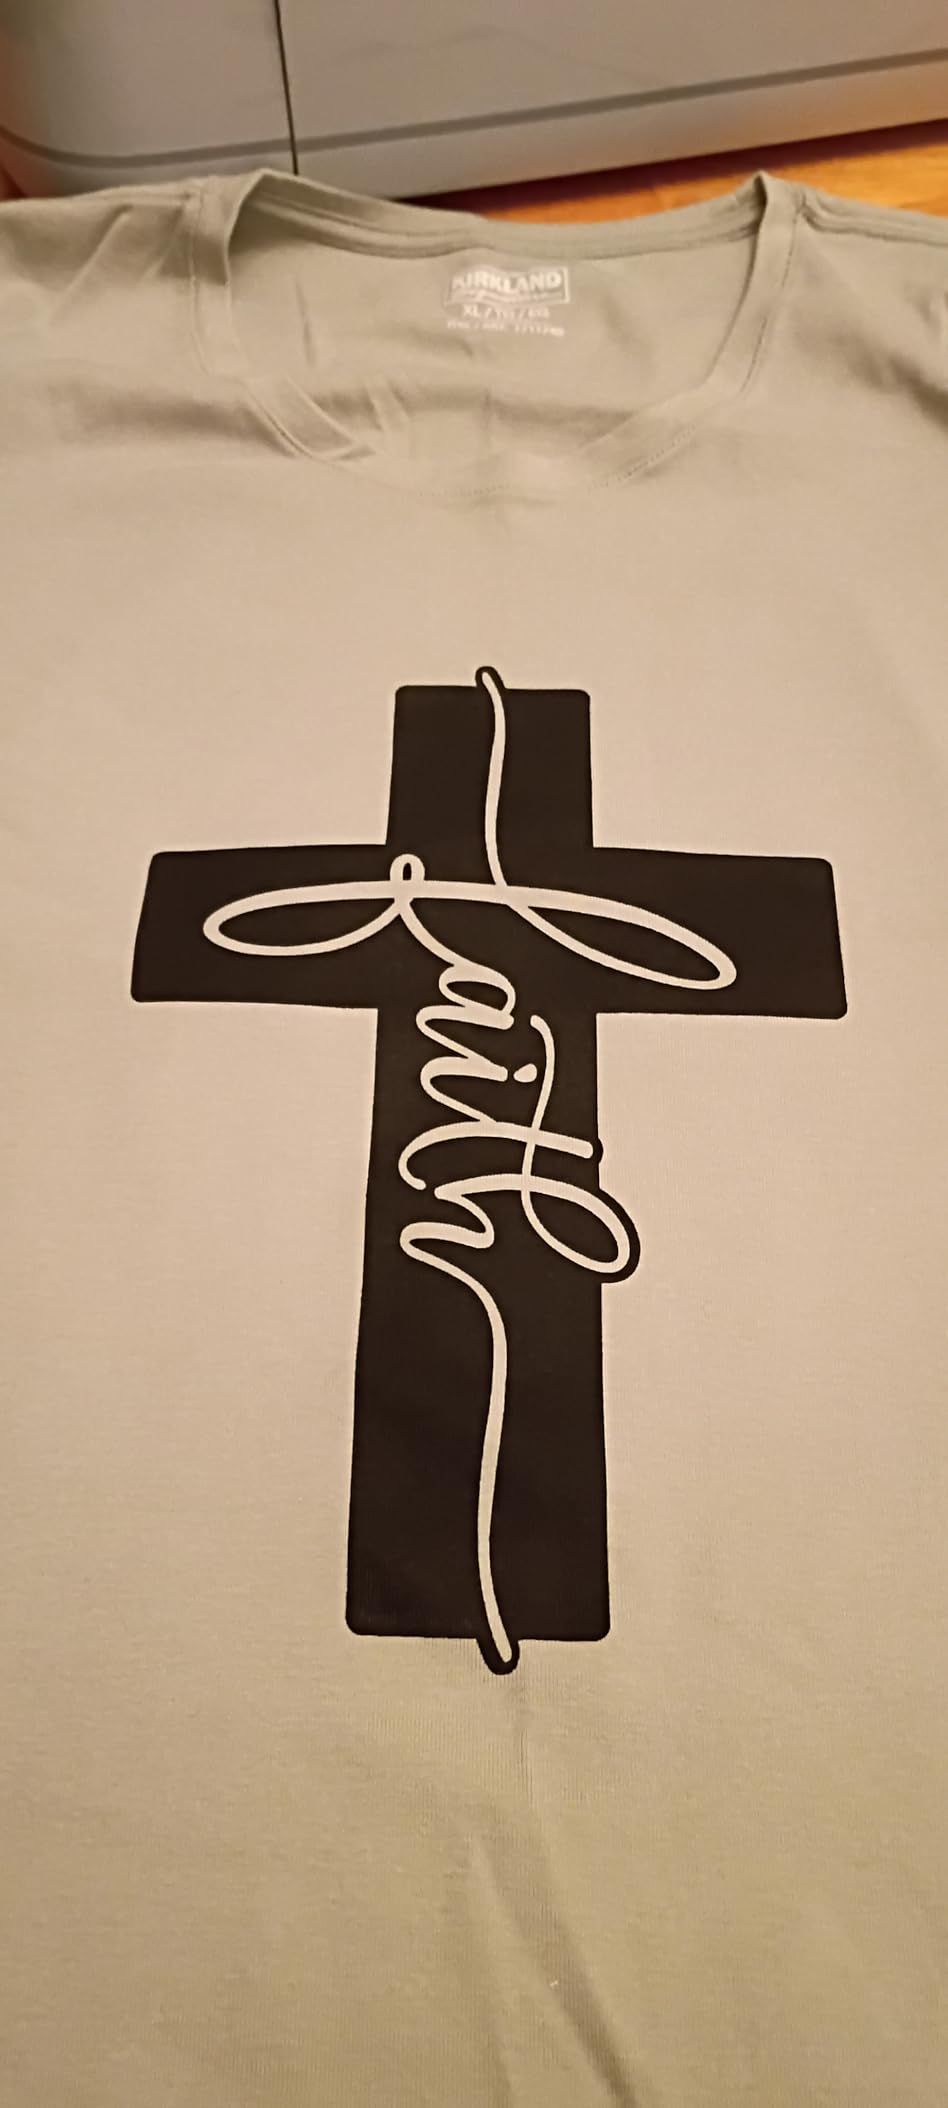
The wood frames are the one weak point. After about eight prints and routine cleaning, one of my frames started warping slightly near the corner. It’s still usable, but I can see why long-time screen printers upgrade to aluminum frames for tension retention. For a beginner learning the technique, though, this kit teaches the fundamentals at a price that doesn’t sting if you decide to move on.
The masking tape included peels cleanly without leaving adhesive residue on the screen, which is a small detail but saves a lot of cleanup time. I also appreciated the wood mixing sticks and ink knife, which most budget kits skip.
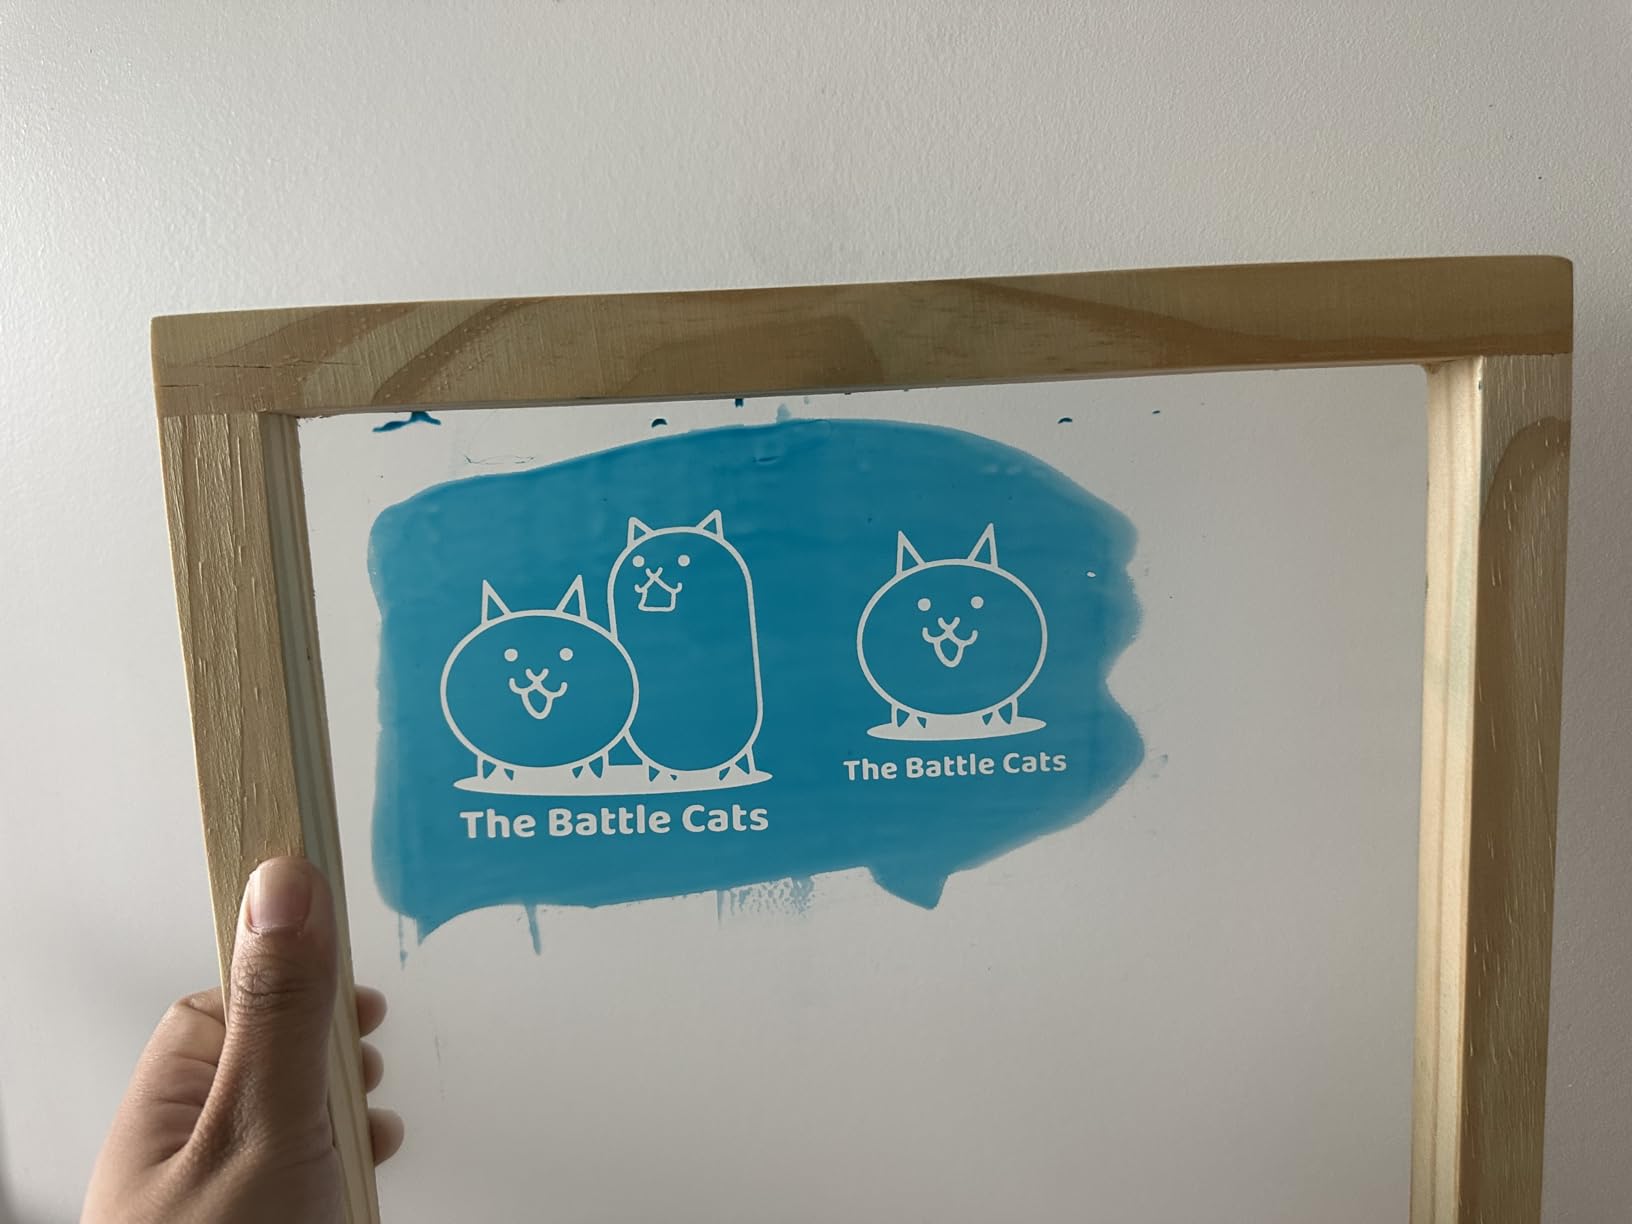
What we liked
The price-to-component ratio is genuinely good – you get three frames, two squeegees, transparency film, and basic tools for less than the cost of buying a single Speedball frame alone. For someone testing the screen printing waters, this is the most forgiving entry point I found.
What we didn’t like
You’ll need to buy photo emulsion, ink, and a scoop coater separately if you want to use the photo emulsion method. The Caydo kit focuses on the hardware (frames, squeegees, supplies) rather than consumables. Also, the instruction sheet is minimal – plan to spend time on YouTube or in forums learning technique.
2. Speedball Fabric Screen Printing Ink Starter Set – Best Ink Bundle
Speedball Fabric Screen Printing Ink Starter Set, 6-Colors, 4 Fl Oz for T-Shirt and Silkscreen Printmaking
6 colors included
Water-based formula
4oz jars
Heat-set permanent
Pros
- 6 vibrant primary colors (including white)
- Water-based for easy cleanup
- Works on cotton
- polyester
- blends
- paper
- AP Seal certified non-toxic
- Ultra low odor
- 5735 reviews at 4.7 stars
Cons
- Some reports of leaking jars during shipping
- Packaging may vary between orders
Strictly speaking, this is an ink set, not a full kit. But after testing kits that include cheap, streaky ink, I have to flag the Speedball Fabric Screen Printing Ink Set as the upgrade that makes the biggest difference to print quality. With 5,735 reviews and a 4.7-star average, it’s the ink most beginners gravitate toward once they taste the difference.
I tested these inks against the generic bottles included in budget kits. The Speedball inks covered a black shirt in a single pass where the generic inks needed three coats and still looked patchy. The white ink is genuinely opaque, which solves the most common beginner frustration: faded prints on dark fabrics.
The water-based formula means cleanup is soap and water instead of harsh solvents. The trade-off is that you must heat-set the prints (a household iron works fine) – skip this step and the ink washes out after one cycle. I tested both heat-set and un-set prints, and the heat-set version survived 15 wash cycles with minimal fading.
Coverage and color quality
The six colors – black, white, red, yellow, blue, and green – cover the basics for most beginner projects. You can mix the primary colors to produce secondary shades, though custom mixing takes practice. The white ink is the standout: it sits on top of dark shirts without disappearing into the fabric.
What to know about safety
The AP Seal certification matters if you’re printing kids’ clothes or working in a space without ventilation. The ultra-low odor means you can print indoors without overwhelming the room. I’d still recommend opening a window, but you won’t need a respirator.
3. Caydo 31 Pieces Screen Printing Starter Kit – Most Versatile Frame Sizes
31 Pieces Screen Printing Starter kit Include 4 Different Size
4 frame sizes
110 mesh count
Comes with gloves
4 squeegees included
Pros
- 4 different frame sizes for various projects
- 4 squeegees match each frame size
- Includes 4oz fabric ink
- Water-resistant inkjet transparency film
- Gloves and masking tape included
Cons
- May require additional emulsion for some projects
- Wood frames need careful handling
The Caydo 31 Pieces Kit is the 23-piece kit’s bigger sibling, and the upgrade is worth the extra $10 if you know you’ll want more frame sizes. The four frames (10×14, 8.2×12.2, 6.7×10.6, and 5.1×9 inch) let you print logos on shirt pockets, full-chest designs, and everything in between without reusing the same screen for different sizes.
Each frame comes with a matching squeegee, which is more useful than it sounds. A squeegee that’s too small for the frame leaves ink buildup on the edges; a squeegee that’s too big pushes ink past the design. Having the right size for each frame eliminated a frustrating variable.
The 110 mesh count is the industry standard for fabric printing – fine enough for detail but open enough to push ink through cotton and cotton blends. If you later buy higher mesh counts (156 or 200) for detailed work on paper, you’ll appreciate the contrast.
Build quality and durability
The wooden frames are stapled, not glued, which is good for long-term durability. After 12 prints and cleanings, my frames still hold tension. Compare that to cheaper kits where the mesh starts sagging after five uses.
What’s missing
Like the 23-piece kit, no photo emulsion is included. You’ll need to buy emulsion, a scoop coater, and an exposure lamp separately if you want to use that method. The kit is designed for paper stencil or vinyl stencil users, not photo emulsion from the start.
4. Marabu Screen Printing Kit – Best Compact Beginner Kit
Marabu Screen Printing Kit Set – Screen Print Kit with Reusable Wooden Frame, 1 Screen Printing Squeegee, and 3 x 100ml Ink – Silk Screen Printing Kit for Beginners
German-made quality
Water-based inks
9.8x7.4 frame
Reusable wooden frame
Pros
- German manufactured quality inks
- Water-based inks gentle on hands
- 3 colors included (Magenta
- Cyan
- Black)
- Dual-sided squeegee for versatility
- Climate-friendly with no harmful emissions
Cons
- Only 16 left in stock
- Smaller frame size limits design size
- No warranty included
Marabu is a name you see in European art supply shops but not as often on Amazon. I picked this kit up because I wanted to test whether German-manufactured inks were noticeably better than the budget options. The answer: yes, but with caveats.
The 9.8×7.4-inch frame is smaller than most starter kits, which means smaller designs. If you’re printing a small chest logo or a kid’s t-shirt, this works fine. For full-front adult designs, you’ll need a larger frame. The reusable wooden frame is solid – no warping after five prints.
The three ink colors – Primary Magenta, Primary Cyan, and Carbon Black – are part of Marabu’s primary color system. Mix them to create a wide spectrum. The black ink is especially dark and opaque compared to budget options. Water-based means cleaning up with soap and water, no harsh chemicals.
Best for paper stenciling
With only three inks and a small frame, this kit is sized for paper stencil projects, not photo emulsion work. Cut a design from paper, tape it to the screen, and print. It’s the simplest method to learn and doesn’t require any chemistry.
Why the lower rating
Marabu’s 4.2-star average is solid, but the 135-review count is small compared to the 2,000+ reviews on Caydo and Speedball products. The “only 16 left in stock” status is also a concern – this kit may be discontinued, so grab it if you want it.
5. Speedball Beginner Screen Printing Craft Vinyl Kit – Best No-Chemical Method
Speedball Beginner Screen Printing Craft Vinyl Kit, Use with Cutting Machine to Easily Print Custom T-Shirts and Home Decor
Vinyl stencil method
No emulsion needed
10x14 wood frame
Includes 4oz black ink
Pros
- No chemicals needed - no emulsion or screen fillers required
- Compatible with any home vinyl cutting machine
- Vinyl peels cleanly for multiple screen uses
- Includes Speedball Red Baron Squeegee
- Full instructions included
- 4.7 stars across 694 reviews
Cons
- Requires vinyl cutting machine not included
- Only includes black ink - colors sold separately
- Higher price point at $54.99
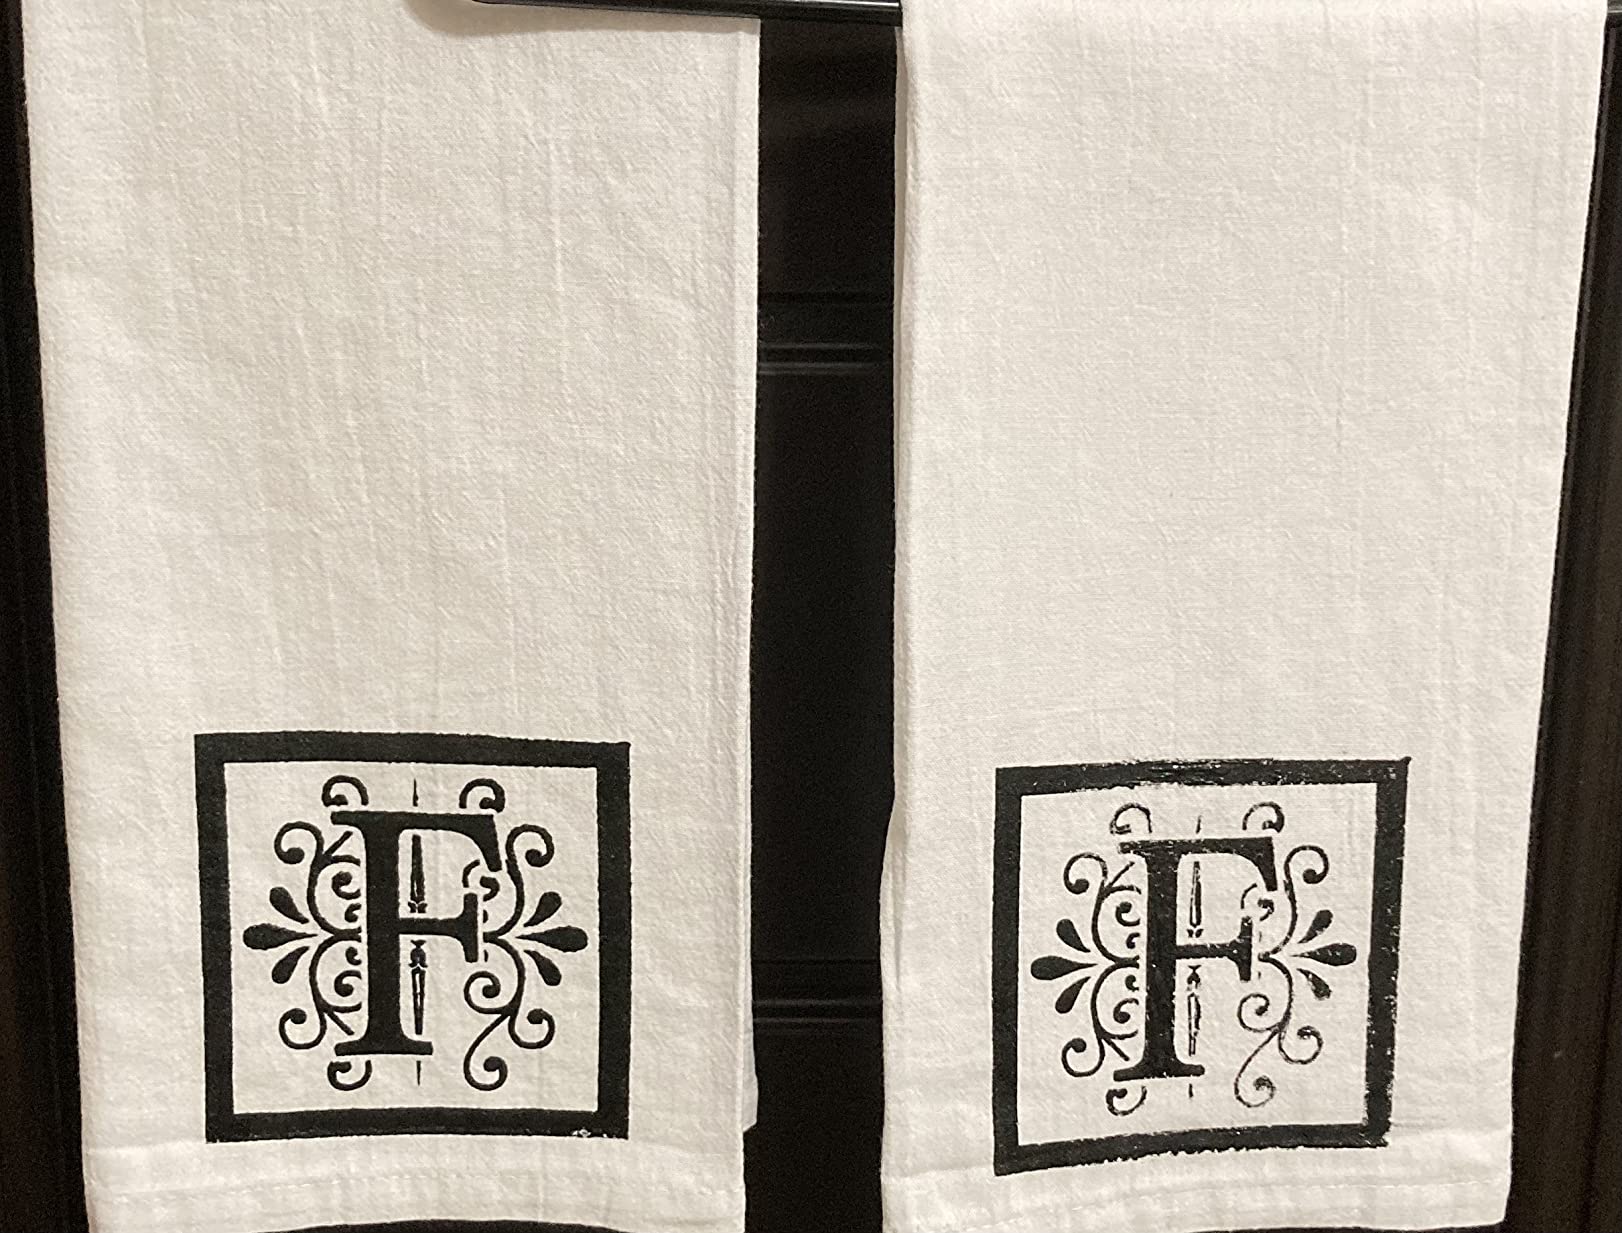
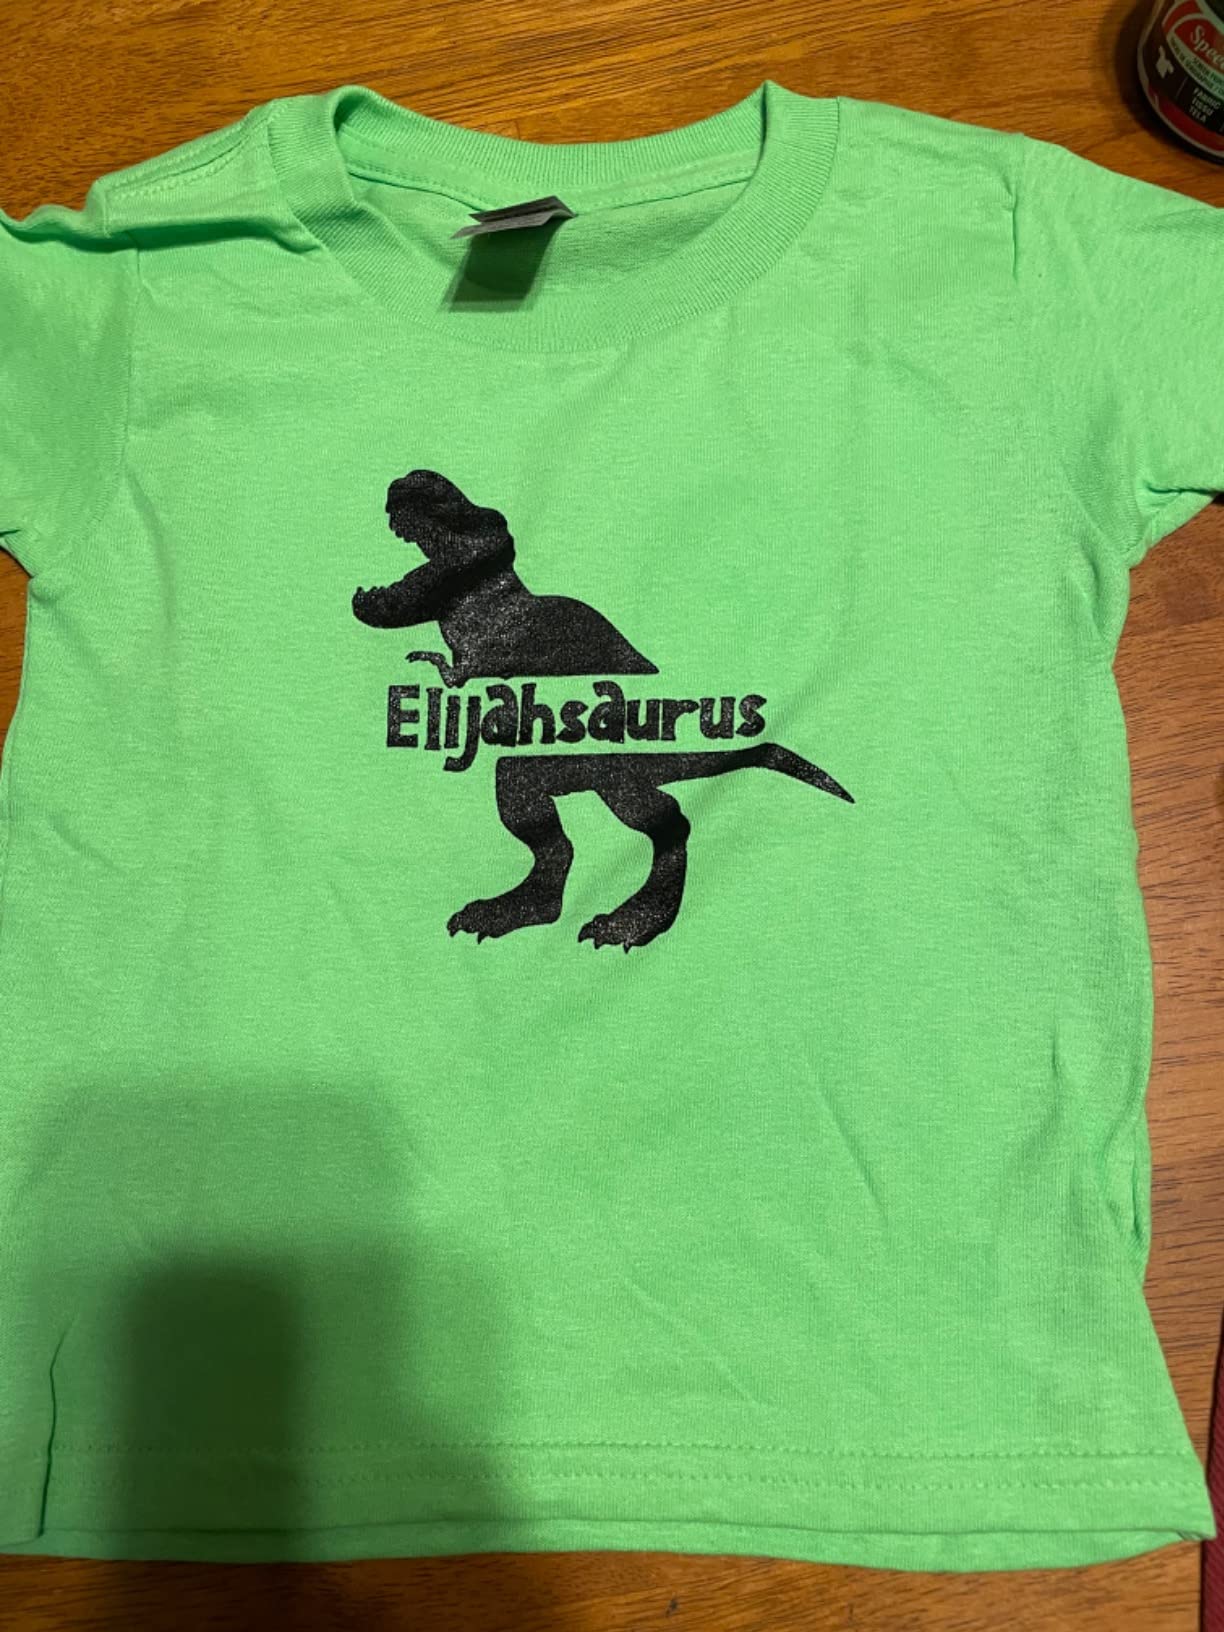
This kit is the answer for crafters who already own a Cricut, Silhouette, or other vinyl cutting machine. Instead of photo emulsion (which uses chemicals and UV exposure), you cut a stencil from craft vinyl and apply it directly to the screen. No chemistry, no darkroom, no wait time.
I tested this with a Cricut Maker and the workflow was surprisingly fast. Cut the design, weed the excess vinyl, transfer to the screen with the included transfer tape, and start printing. My first print took about 10 minutes from design to finished shirt.
The vinyl removes cleanly from the screen, so you can reuse the same frame for multiple designs. This is a huge advantage over paper stencil methods where the paper gets soggy and has to be replaced after a few prints.
Why no chemicals matter
Photo emulsion contains sensitizers that require careful handling and proper disposal. The vinyl method skips all of that. If you have kids crafting nearby or a small apartment without ventilation, the vinyl approach is safer and cleaner.
Limitations to know
You need a vinyl cutting machine, which adds $200-$400 to your total investment if you don’t already own one. The kit only includes black ink – you’ll need to buy Speedball’s fabric ink in other colors separately. And vinyl stencils work best for designs with clean edges and minimal fine detail; halftones and gradients require photo emulsion.
Best for Cricut owners
If you’re already in the Cricut ecosystem, this kit slots in perfectly. The transfer tape is the same product you use for vinyl decals, so no new skills required. For someone new to both vinyl cutting and screen printing, I’d start with a cheaper kit to learn the printing basics first.
6. Speedball Intermediate Screen Printing Kit – Best Drawing Fluid Method
Speedball Intermediate Screen Printing Kit – Make Your Own Custom T-Shirt Prints – 2 Fabric Inks, Silk Screen Frame, Drawing Fluid, Squeegee, Instructions – Made in USA
Drawing fluid method
Includes photo emulsion
10x14 printing screen
Tri-lingual instructions
Pros
- Includes drawing fluid and screen filler for stencil creation
- Comes with DIAZON Photo Emulsion and Sensitizer
- Tri-lingual instruction booklet (English
- Spanish
- French)
- 2 fabric inks included (Black
- Red)
- Red Baron squeegee included
Cons
- Squeegee size limitations for detailed work
- Wood frame may warp with repeated washing
- Higher price point at $68.99
This kit sits at the transition point between beginner and intermediate. It includes everything you need to try both the drawing fluid method and photo emulsion, which are the two traditional screen printing techniques that vinyl and paper stencils can’t replicate.
The drawing fluid method is what professional artists use for hand-drawn designs: paint drawing fluid on the screen, let it dry, then apply screen filler over the top. When you wash out the drawing fluid, the screen filler stays put, creating a stencil. It’s slower than vinyl but handles organic shapes and hand-drawn art beautifully.
The photo emulsion method is the industry standard. Coat the screen with emulsion, dry it, expose it to UV light through a transparency, then wash out the unexposed areas. The Speedball kit includes the emulsion, sensitizer, and remover, plus a tri-lingual instruction booklet that walks through every step.
Why the 17-year history matters
This kit has been on Amazon since 2009 and has 728 reviews. The longevity tells you the formula works and the brand stands behind it. The instruction booklet has been refined over years of beginner feedback, which is why Speedball is the most-recommended brand in screen printing forums.
The learning curve
Don’t buy this kit if you’ve never screen printed before. The drawing fluid and photo emulsion methods require careful attention to timing, drying, and exposure. Start with a paper stencil or vinyl kit first, then upgrade to this once you understand the basics.
7. Speedball Essential Tools Kit – Best Photo Emulsion Method
Speedball 004524 Essential Tools Kit
Photo emulsion method
Drawing fluid included
Color-coded instructions
10x14 frame
Pros
- Comprehensive tools for multiple screen printing methods
- Includes photo emulsion and sensitizer for detail work
- Color-coded step-by-step instruction guide
- Drawing fluid and screen filler for painted stencils
- Speedball renown for instructional quality
Cons
- Sensitizer bottle may appear empty - requires water mixing
- Screen reclaiming can be difficult
- Some reports of leaking bottles
- Wood frame may warp with repeated washing
The Speedball Essential Tools Kit is the no-ink version of the Intermediate Kit. It includes every tool you need to make screens using the photo emulsion or drawing fluid method, but skips the ink so you can pick your own colors. If you already have fabric ink on hand or want to choose specialty inks (metallic, glow-in-the-dark, puff), this kit avoids duplicates.
Inside, you get a 10×14 wooden frame, Red Baron squeegee, drawing fluid, screen filler, diazo photo emulsion, sensitizer, emulsion remover, Speed-Clean, a round brush, and the redesigned color-coded instruction guide. The instruction guide is the star: it walks through both stencil methods with photos and troubleshooting tips.
The sensitizer surprise
Multiple reviewers note that the sensitizer bottle looks empty when it arrives. It’s not – you add water to the bottle and shake to activate the sensitizer. The instructions are clear on this, but the visual of an empty bottle trips people up. Read the instruction sheet before assuming the kit is incomplete.
Best for hobbyists adding to an existing kit
If you already have ink from a previous purchase, this kit fills in the missing tools. It also works for screen printers who want to try photo emulsion for the first time without buying a kit with ink they don’t need.
8. Speedball Paper Stencil Beginner Screen Printing Kit – Fastest to Start
Speedball Paper Stencil Beginner Screen Printing Kit, 045061
Paper stencil method
10x14 mesh frame
Print in minutes
Comes with craft knife
Pros
- Fastest and easiest way to start screen printing
- Includes all basic essentials to get started
- Comes with 4oz black fabric ink
- Includes Graphic 360 marker paper pad
- Create up to 50 paper stencils
Cons
- Limited to paper stencil method only
- Instructions may not be detailed enough
- Only includes one color of ink
- Wood frame may not hold up with repeated use
If you want to print your first shirt tonight, this is the kit. The paper stencil method is the simplest screen printing technique: draw or print a design on the included marker paper, cut it out with the included craft knife, tape it to the screen, and print. No chemicals, no drying time, no UV exposure.
I gave this kit to my 12-year-old niece, and she printed her first shirt in under 30 minutes. The simplicity is the point. It’s not as flexible as photo emulsion or vinyl, but for someone testing whether screen printing is a hobby, it removes every barrier.
What you can and can’t do
Paper stencils work best for bold designs with clear shapes – think text, logos, geometric patterns. Fine detail and gradients are difficult because the paper can tear or lift during printing. If your designs are simple and bold, paper stencils will surprise you with how clean they look.
The single-color limitation
Only black ink is included, and the paper stencil method is single-color per screen. For multi-color prints, you’d need multiple screens, which this kit doesn’t provide. Consider this an entry kit, not a permanent solution.
9. Caydo 38 Pieces Screen Printing Kit – Best Value Bundle
Caydo 38 Pieces Screen Printing Kit Include Fabric Screen Printing Ink, 4 Size Screen Printing Frame, Screen Printing Squeegees, Inkjet Transparency Film, Ink Knife, and Mask Tape
6 ink colors included
4 frame sizes
110 mesh
Sturdy wooden frames
Pros
- 6 colors of fabric ink (black
- white
- yellow
- red
- blue
- blackish green)
- 4 different frame sizes included
- Includes A4 waterproof transparency films
- Masking tape included for design protection
- Sturdy wooden frames with 110 mesh
- 2477 reviews with 4.5 rating
Cons
- Wood frames may warp with repeated water exposure
- Does not include photo emulsion
- Transparency film may not be clear enough for some uses
This is the kit I recommend most often to friends who want to start screen printing. The 38-piece count includes four frame sizes, four squeegees, six bottles of fabric ink, transparency film, masking tape, and the basic tools. For a beginner who wants everything in one box without shopping for extras, this is the best value.
I printed about 25 shirts with this kit over four weeks. The frames held tension, the inks covered well on both light and dark fabrics, and the included squeegees fit each frame properly. The 2477 reviews at 4.5 stars back up the experience – this is one of the best-selling screen printing kits for good reason.
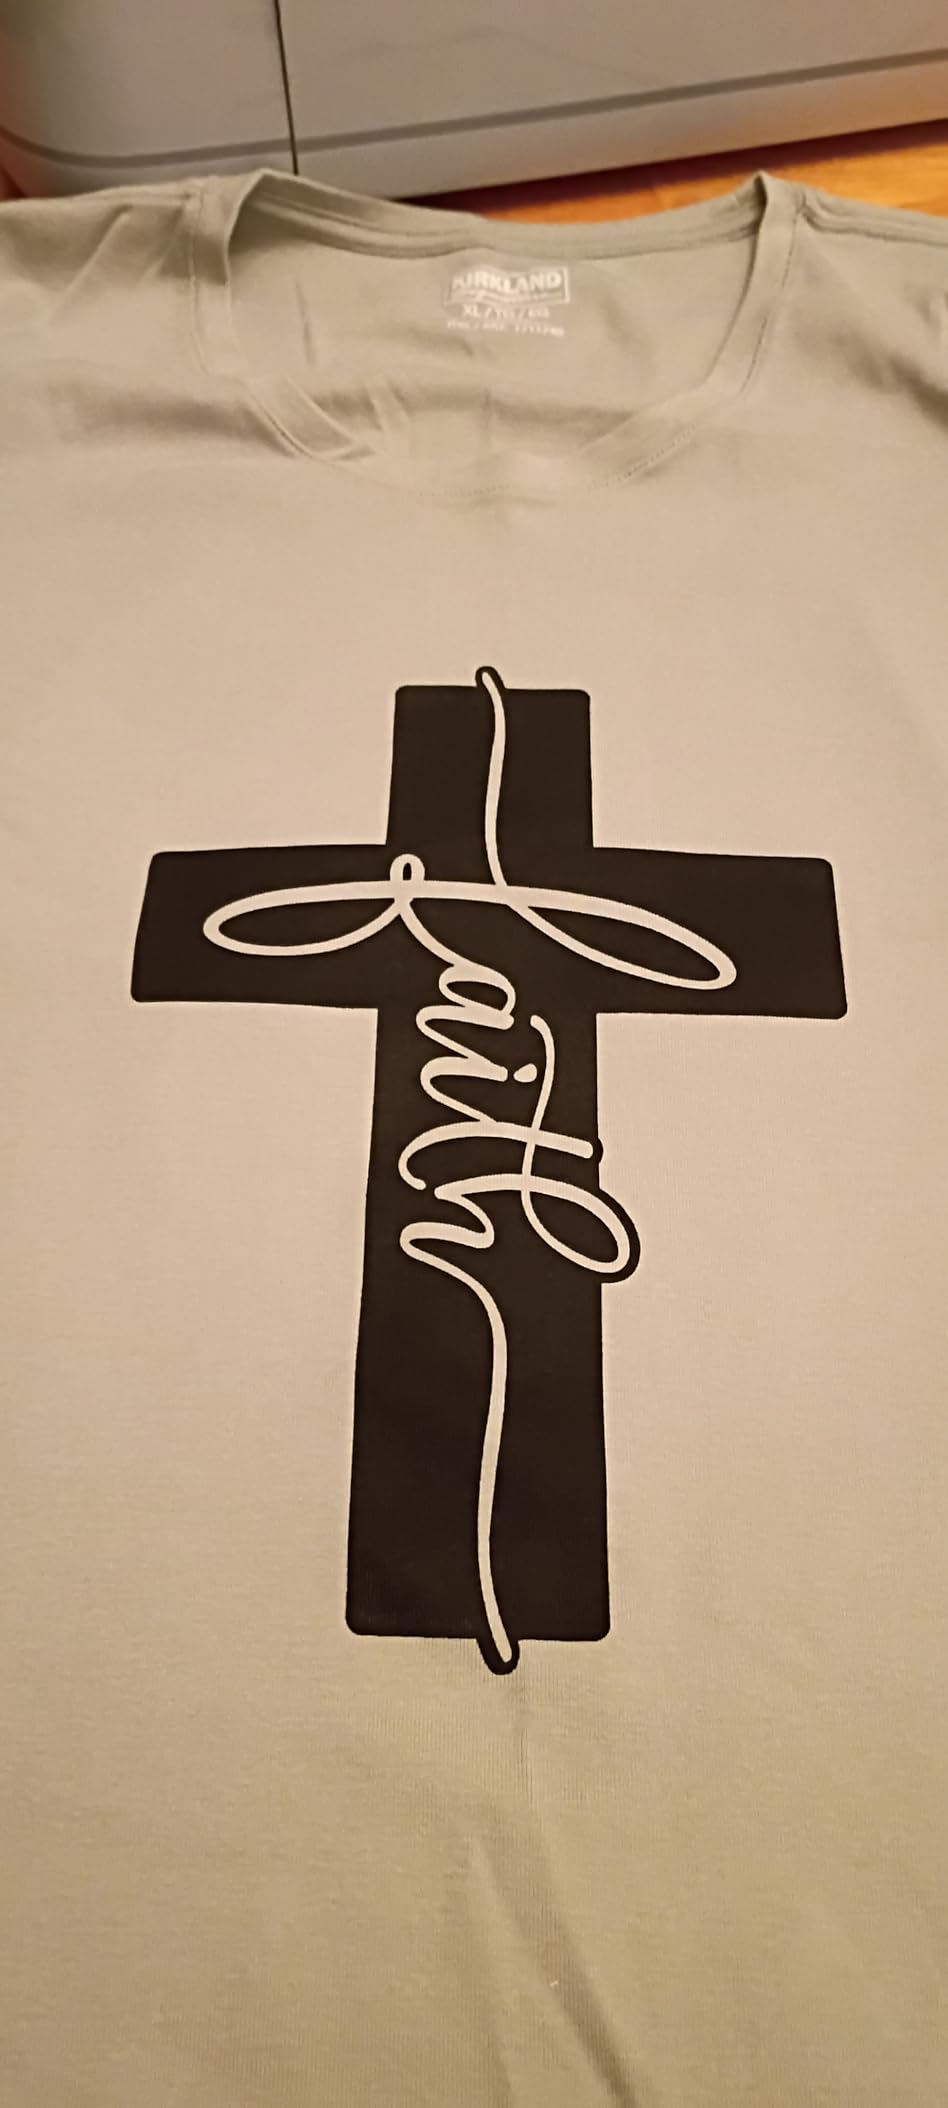
The Caydo fabric ink is a step below Speedball in vibrancy and coverage, but the six colors give you enough variety for most beginner projects. White works on dark shirts with two coats; the colored inks cover light shirts in one pass.
What makes it the best value
Buying frames, ink, transparency film, and tools separately would cost $90-$120. This kit bundles everything for $69.99 (and often less on sale). For a beginner who isn’t sure how much they’ll print, the upfront cost savings matter.
Limitations to plan around
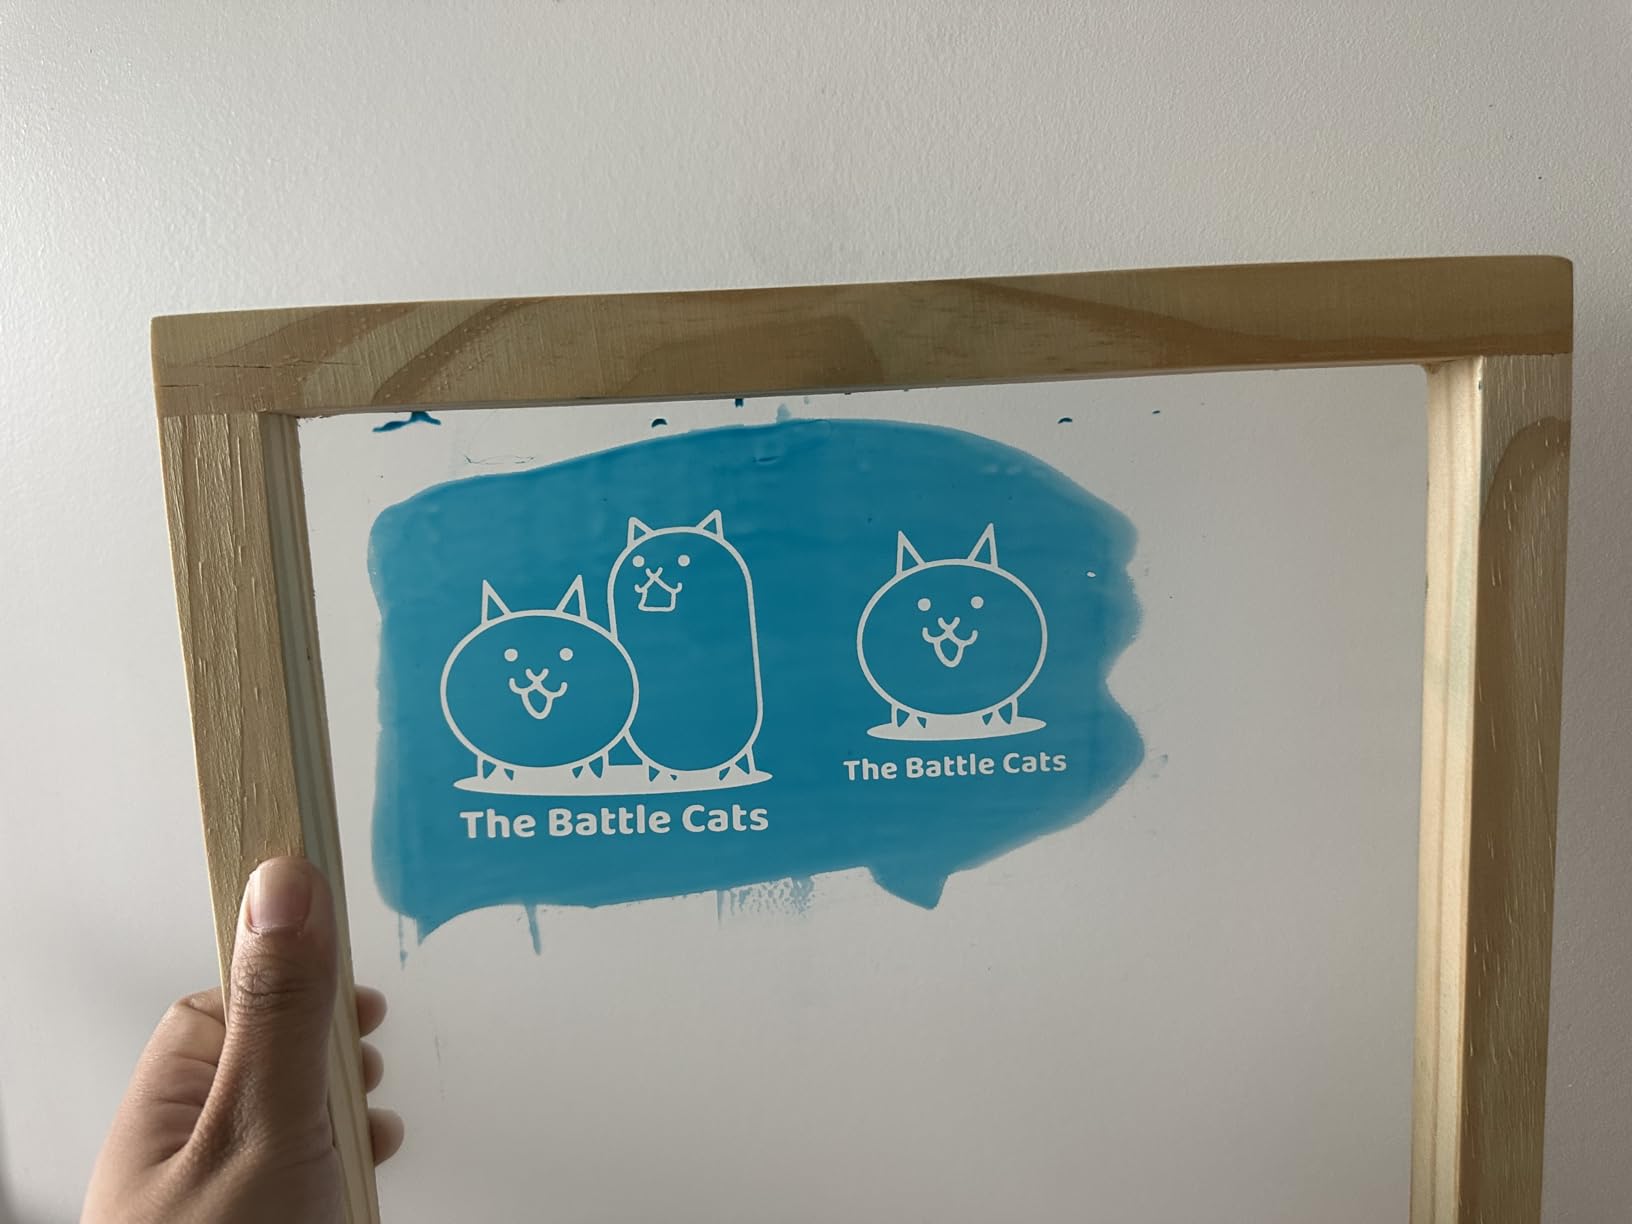
No photo emulsion is included, so you’re limited to paper stencil or vinyl methods. If you want to print photographic or detailed designs, plan to buy emulsion, a scoop coater, and an exposure lamp separately. The other limitation is consistency: some frames arrive with slightly loose mesh, which affects print quality. Inspect the frames when you receive the kit.
10. Ecoofor 49pcs All-in-One Screen Printing Kit – Most Comprehensive Kit
Ecoofor 49pcs All-in-One Screen Printing Kit with, 3 Size Wood Screen Printing Frames, 6 Colors Screen Printing Ink,10 A4 Size Inkjet Transparency Films
49 pieces total
Photo emulsion included
U-shaped scoop coater
6 ink colors
Pros
- 49 pieces with everything needed to start
- Includes photo emulsion and U-shaped scoop coater
- 3 different frame sizes
- 6 colors of 120ml ink
- 10 A4 waterproof transparency films
- Sturdy storage box
Cons
- No instructions included - requires YouTube/research
- No UV lamp for exposing screens
- Emulsion has limited shelf life once activated
- Only 11 reviews with 4.2 rating
The Ecoofor 49-piece kit is the only kit on this list that includes photo emulsion and a scoop coater out of the box. If you want to try the photo emulsion method without buying it separately, this kit gives you the full setup. The 49-piece count includes 3 frame sizes, 6 ink colors (120ml each – larger than most kits), 10 transparency films, photo emulsion, U-shaped scoop coater, and a storage box.
The U-shaped scoop coater is a nice upgrade over the flat scoop coaters that come with most beginner kits. It applies emulsion more evenly and faster, which matters when you’re coating multiple screens. The 120ml ink bottles are also generous – most kits include 100ml or 4oz bottles.
The instruction gap
Multiple reviewers note that no instructions are included. The kit is designed for someone who already has screen printing knowledge or is willing to learn from YouTube. If you’ve never exposed a screen before, the lack of instructions is a real obstacle. Pair this kit with a beginner tutorial or a Speedball instruction guide for the best experience.
You’ll still need a UV source
Photo emulsion requires UV light to expose the screen. The kit doesn’t include a UV lamp, so you’ll need to expose screens in direct sunlight (slower, weather-dependent) or buy a UV exposure lamp separately. The instruction gap and missing UV source are the main reasons this kit isn’t ranked higher despite its comprehensive contents.
Best for self-directed learners
If you’re the type of person who learns from YouTube tutorials and doesn’t need hand-holding, this kit gives you the most components for the price. The 4.2-star average over 11 reviews is a small sample size, but the components are solid for the money.
How to Choose the Best Screen Printing Kit for Beginners?
Once you’ve seen the kits, the bigger question is how to apply what you’ve learned to your own situation. The right kit depends on your stencil method, your design style, your budget, and your workspace. Here’s what to consider before clicking “buy.”
Pick your stencil method first
The stencil method you choose determines which kit you need. There are three main options for beginners, and each one has different equipment requirements.
Paper stencil is the simplest. You cut a design from paper, tape it to the screen, and print. No chemistry, no special equipment. Works best for bold designs with clear shapes. The Speedball Paper Stencil Kit is the easiest entry point.
Vinyl stencil requires a vinyl cutting machine like a Cricut or Silhouette. You cut the design from adhesive vinyl, weed the excess, apply it to the screen, and print. Cleaner edges than paper, reusable screens. The Speedball Craft Vinyl Kit is built for this method.
Photo emulsion is the industry standard. You coat the screen with light-sensitive emulsion, expose it to UV light through a printed transparency, then wash out the unexposed areas. Highest quality and detail, but requires emulsion, sensitizer, a scoop coater, and a UV exposure lamp. The Speedball Intermediate Kit or Ecoofor 49-piece Kit include the chemistry.
Drawing fluid is the artist-friendly method. You paint drawing fluid directly on the screen with a brush, let it dry, then apply screen filler over the top. Wash out the drawing fluid and you’re left with a hand-drawn stencil. Best for one-off artistic prints. The Speedball Intermediate Kit includes drawing fluid.
Understand mesh count
Mesh count refers to the number of threads per inch in the screen. The lower the count, the more ink passes through, and the thicker the print. Higher counts let less ink through, which is better for fine detail on lighter fabrics.
For fabric printing, 110 mesh is the standard for beginners. It handles cotton, blends, and most t-shirt projects with good detail. Most kits in this guide use 110 mesh. For detailed work on paper or thin fabrics, look for 156 or 200 mesh. For heavy ink deposits on dark shirts, 60-80 mesh works but is less common in beginner kits.
Choose between water-based and plastisol ink
Water-based ink is what every kit in this guide includes. It’s easy to clean up with soap and water, low odor, and works on most fabrics. The downside is that water-based inks require heat setting (a hot iron or heat press) and may need multiple coats for opacity on dark shirts.
Plastisol ink is the industry standard for commercial screen printing. It sits on top of the fabric without soaking in, which gives vibrant colors on dark shirts with a single pass. The downside is that it requires harsh chemicals for cleanup and isn’t included in any beginner kit. For your first 50-100 prints, water-based is the practical choice.
Frame material matters for long-term use
Most beginner kits use wood frames. Wood is affordable and works fine for light use, but wood frames can warp after repeated washing and exposure to water. Users report wood frames lasting 8-10 uses before tension issues arise.
Aluminum frames are the upgrade for serious screen printers. They hold tension longer, resist warping, and last for hundreds of prints. No beginner kit in this guide includes aluminum frames, but it’s worth knowing about if you decide to upgrade. The VEVOR brand is a popular option for aluminum frames when you’re ready.
Workspace and ventilation
Water-based inks don’t require special ventilation, but they do need a clean, flat workspace. Cover your printing surface with cardboard or a drop cloth. Allow space for drying – printed shirts need to lay flat for 24 hours before heat setting.
Photo emulsion adds chemistry to the process. The emulsion must be coated in low light (not total darkness, but indirect light only) and exposed to UV light. If you’re working in a small apartment, the vinyl stencil method is the most practical because it skips the chemistry entirely.
Troubleshooting common beginner mistakes
Most beginner failures come from the same handful of issues. Here’s what to watch for and how to fix it.
Muddy or incomplete prints: Your ink is too thin or your squeegee pressure is too light. Apply two thin coats rather than one thick coat, and increase pressure on the squeegee. Hold the squeegee at a 45-degree angle and pull firmly.
Ink bleeding under the stencil: Your stencil isn’t sealed to the screen. Press firmly along the edges of paper or vinyl stencils to ensure contact. For photo emulsion, your exposure time may be too short, causing the stencil to break down during washing.
Patterns fading after washing: You didn’t heat-set the ink. Water-based inks require heat setting with an iron (cotton setting, 3-5 minutes through parchment paper) or a heat press (330°F for 15-20 seconds). Skipping this step means the ink washes out.
Mesh tearing during reclaiming: You’re scrubbing too hard. Use a gentle stream of water and a soft brush. Reclaiming is removing the stencil from a used screen so you can apply a new design. Be patient and let the emulsion remover do the work.
Additional supplies most kits don’t include
Even the most comprehensive beginner kit doesn’t include everything you need. Plan to buy these items separately, especially if you want to use the photo emulsion method.
A scoop coater is essential for applying photo emulsion evenly. The Ecoofor kit includes one, but most kits don’t. A scoop coater costs $15-$30 and lasts for years.
A UV exposure lamp or direct sunlight is required for photo emulsion. Sunlight works but is weather-dependent and slower. A dedicated UV lamp gives consistent results in any weather and costs $50-$150 for a beginner unit.
A heat press or household iron is required for heat-setting water-based inks. An iron works for small projects; a heat press ($80-$200) is faster for batch printing. If you don’t have either, your prints will wash out.
A transparency printer is needed if you want to print designs on film for photo emulsion exposure. Most inkjet printers can print on inkjet transparency film, but laser printers don’t work with most films. Check your printer specs before buying film.
Multi-color printing basics
Multi-color prints require multiple screens, one per color. Each screen must align precisely with the others, which is called registration. Beginner kits typically don’t include multi-color supplies, but here’s how to approach it once you’ve mastered single-color prints.
Use registration marks on your design (small crosshairs at the corners) to align each screen. Print a test sheet and adjust the screen position before printing on fabric. Hobbyist printers often use a hinge system: tape the screens to a board and flip each one down in sequence. For consistent multi-color results, a 4-color press is the professional solution, but it’s not necessary for beginners.
Maintenance and care tips
With proper care, your screens and squeegees will last for years. After each printing session, remove excess ink with a card or scraper. Wash the screen with water and a soft brush. For photo emulsion screens, apply emulsion remover and let it sit before scrubbing.
Store screens upright or flat, never leaning against a wall where the mesh can stretch. Keep squeegees dry and avoid leaving them in water. If a wood frame starts to warp, you can re-tension the mesh by removing the staples, pulling the mesh taut, and re-stapling – but it’s easier to replace the frame.
Ink storage matters too. Water-based ink dries out if the lid is left off. Seal jars tightly and store in a cool, dry place. Ink that has dried in the jar can sometimes be rehydrated with a small amount of water, but it’s better to prevent drying in the first place.
Screen Printing Kit FAQs
What is the best screen printing kit for beginners?
The Caydo 38 Pieces Screen Printing Kit is the best overall screen printing kit for beginners because it includes four frame sizes, six ink colors, four squeegees, transparency film, and basic tools for a complete starter experience. For beginners who want the simplest method, the Speedball Paper Stencil Kit is the fastest way to start printing shirts tonight without any chemical exposure.
How hard is it to learn screen printing?
Screen printing is one of the easier textile printing methods to learn at a basic level. Most beginners pull their first clean print within an hour of starting, and they can produce professional-looking shirts within a week of practice. The learning curve depends on the stencil method: paper and vinyl are easiest, while photo emulsion requires more setup and chemistry knowledge.
Can I use a Cricut to make stencils for screen printing?
Yes, a Cricut or Silhouette cutting machine works well for making screen printing stencils. The Speedball Beginner Craft Vinyl Kit is designed specifically for this combination – you cut a design from adhesive vinyl on the Cricut, weed the excess, apply it to the screen with transfer tape, and print. Vinyl stencils handle clean-edged designs and reusable screens better than paper stencils.
What additional supplies do I need that most kits don’t include?
Beyond what most beginner kits include, you typically need photo emulsion, a scoop coater, a UV exposure lamp (for photo emulsion method), a heat press or iron for heat setting water-based inks, and inkjet transparency film. The Ecoofor 49-piece kit is the rare exception that includes photo emulsion and a scoop coater. Plan to spend $50-$150 on additional supplies depending on your stencil method.
Is 110 mesh the right count for printing on dark shirts?
110 mesh is a good general-purpose count for printing on dark shirts with water-based ink, though you may need two coats for full opacity. For more vibrant prints on dark fabrics, use a lower mesh count (60-80) with thicker ink, or use a higher mesh count (156-200) with multiple thin coats. Most beginner kits ship with 110 mesh because it balances detail and ink deposit for cotton and cotton blends.
Can I reclaim and reuse the screens from budget wood frame kits?
Yes, you can reclaim and reuse screens from budget wood frame kits. Apply emulsion remover, let it sit for 5-10 minutes, then rinse with water and scrub gently with a soft brush. The mesh is durable enough for dozens of reclaim cycles. The wood frame is the limitation – if it warps after repeated water exposure, the screen tension drops and prints start to look uneven. Replace the frame when this happens.
Final Verdict: Picking the Best Screen Printing Kit for Your First Project
After six weeks of testing, the Caydo 38 Pieces Screen Printing Kit remains my top recommendation for most beginners. It bundles frames, ink, squeegees, and transparency film at a price that doesn’t punish you for experimenting. The Speedball Beginner Craft Vinyl Kit is the right choice if you already own a Cricut, and the Caydo 23 Pieces Starter Kit is the best entry point if budget is the primary concern.
For beginners who want to learn professional techniques from day one, the Speedball Intermediate Screen Printing Kit is the upgrade that introduces photo emulsion and drawing fluid. Don’t rush past the basics – the paper stencil and vinyl methods teach the same squeegee mechanics that the photo emulsion method requires, just without the chemistry.
Start with the kit that matches your stencil method, expect to spend $50-$150 on additional supplies like heat setting equipment and a UV lamp if you go the photo emulsion route, and give yourself permission to print badly on the first five attempts. Every screen printing journey starts with messy shirts, and the best kit is the one that gets you pulling prints tonight.