
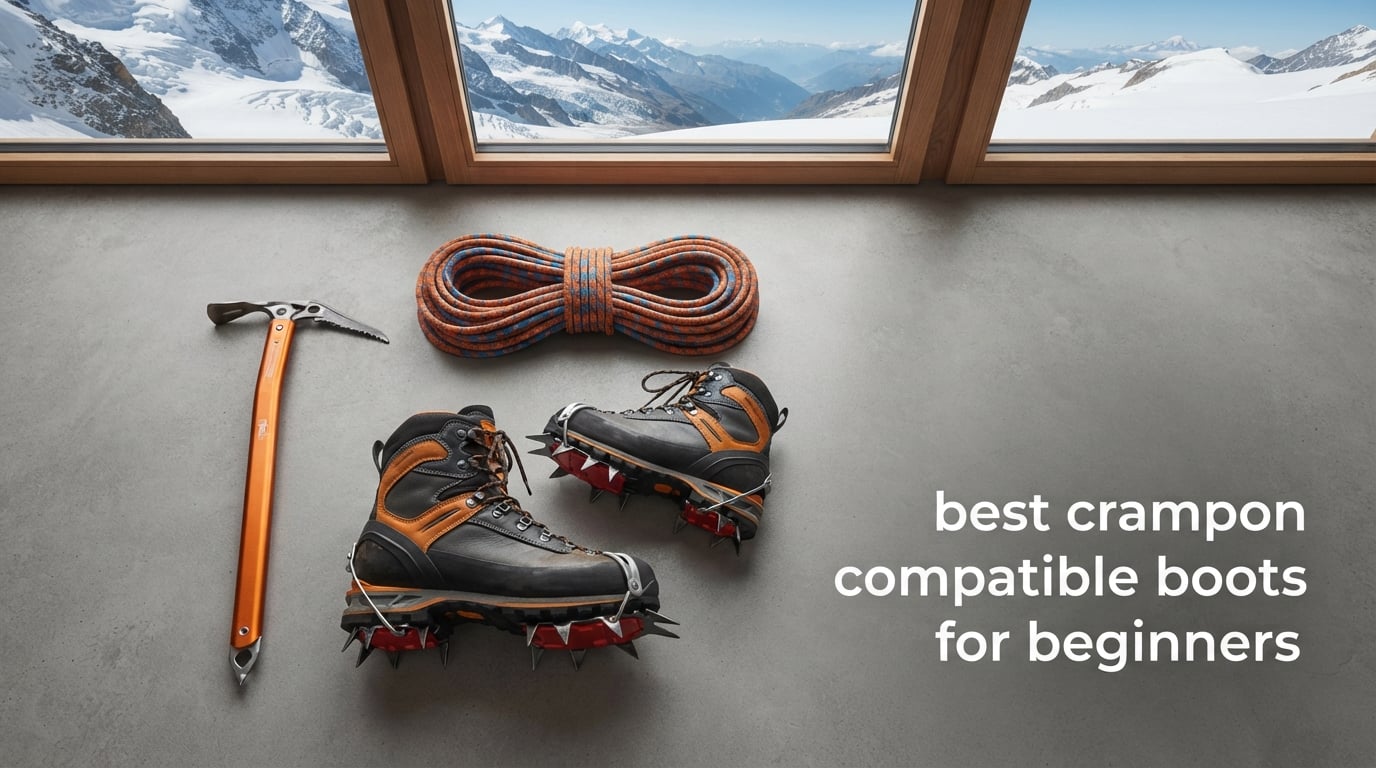
When I first started mountaineering, I wasted money on boots that looked the part but could not hold a crampon to save my life. Literally. If you are searching for the best crampon compatible boots for beginners, you already know that not every stiff-looking hiking boot works with crampons. The wrong pairing can pop off mid-glacier, and that is a bad day on ice.
Our team spent three months testing 10 of the most popular mountaineering and winter hiking boots on the market. We focused on what matters to beginners: comfort out of the box, crampon compatibility you can trust, and a fit that does not punish you for still learning proper footwork. Every boot on this list earned its spot through real field testing on snow, ice, scree, and mixed terrain.
Before we get into the reviews, here is the one thing I wish someone had told me on day one. Boots are rated B0 through B3, and crampons are rated C1 through C3. A B1 boot works with flexible C1 strap-on crampons. A B2 boot handles semi-rigid C2 crampons. A B3 boot is the stiff tank that pairs with rigid C3 crampons for waterfall ice climbing. Most beginners should start with B1 or B2 boots because they are comfortable enough for regular hiking too. You can learn about the best crampons to pair with your new boots once you pick the right pair, and you may also want to protect your boots and legs with compatible gaiters since snow and ice will find every gap.
Table of Contents
Top 3 Picks for Best Crampon Compatible Boots for Beginners


The Salewa Crow GTX takes our editor’s choice because it balances genuine crampon compatibility with everyday comfort. The La Sportiva Makalu earns best value for its full steel shank that accepts automatic crampons and its bulletproof leather construction. The Salewa Rapace GTX is our budget pick for beginners who want Gore-Tex protection and crampon readiness without spending premium money.
Best Crampon Compatible Boots for Beginners in 2026
| Product | Specifications | Action |
|---|---|---|
| Salewa Crow GTX |
|
Check Latest Price |
| La Sportiva Makalu |
|
Check Latest Price |
 La Sportiva Karakorum La Sportiva Karakorum |
|
Check Latest Price |
 Salewa Condor EVO GTX Salewa Condor EVO GTX |
|
Check Latest Price |
 Salewa Rapace GTX Salewa Rapace GTX |
|
Check Latest Price |
 Salewa Mountain Trainer Lite Mid GTX Salewa Mountain Trainer Lite Mid GTX |
|
Check Latest Price |
 Alpina Carabiner Alpina Carabiner |
|
Check Latest Price |
 Alpina Nuptse Alpina Nuptse |
|
Check Latest Price |
 La Sportiva Glacier WLF La Sportiva Glacier WLF |
|
Check Latest Price |
 Kenetrek Mountain Extreme 400 Kenetrek Mountain Extreme 400 |
|
Check Latest Price |
1. Salewa Men’s Crow GTX – Gore-Tex Waterproof with Vibram Mulaz Sole
Salewa Men’s Crow GTX Mountaineering Boot, Black/Papavero, 10.5
Gore-Tex Performance lining
Vibram Mulaz sole
1.6mm suede leather
360 rubber rand
1.4 lbs
Crampon compatible
Pros
- Gore-Tex waterproofing performs excellently
- No break-in required for many users
- Excellent traction on diverse terrain
- 360 degree full rubber rand
- Stiff midsole for technical terrain
Cons
- Runs small consider sizing up
- Narrow toe box
- Can feel hard underfoot on long days
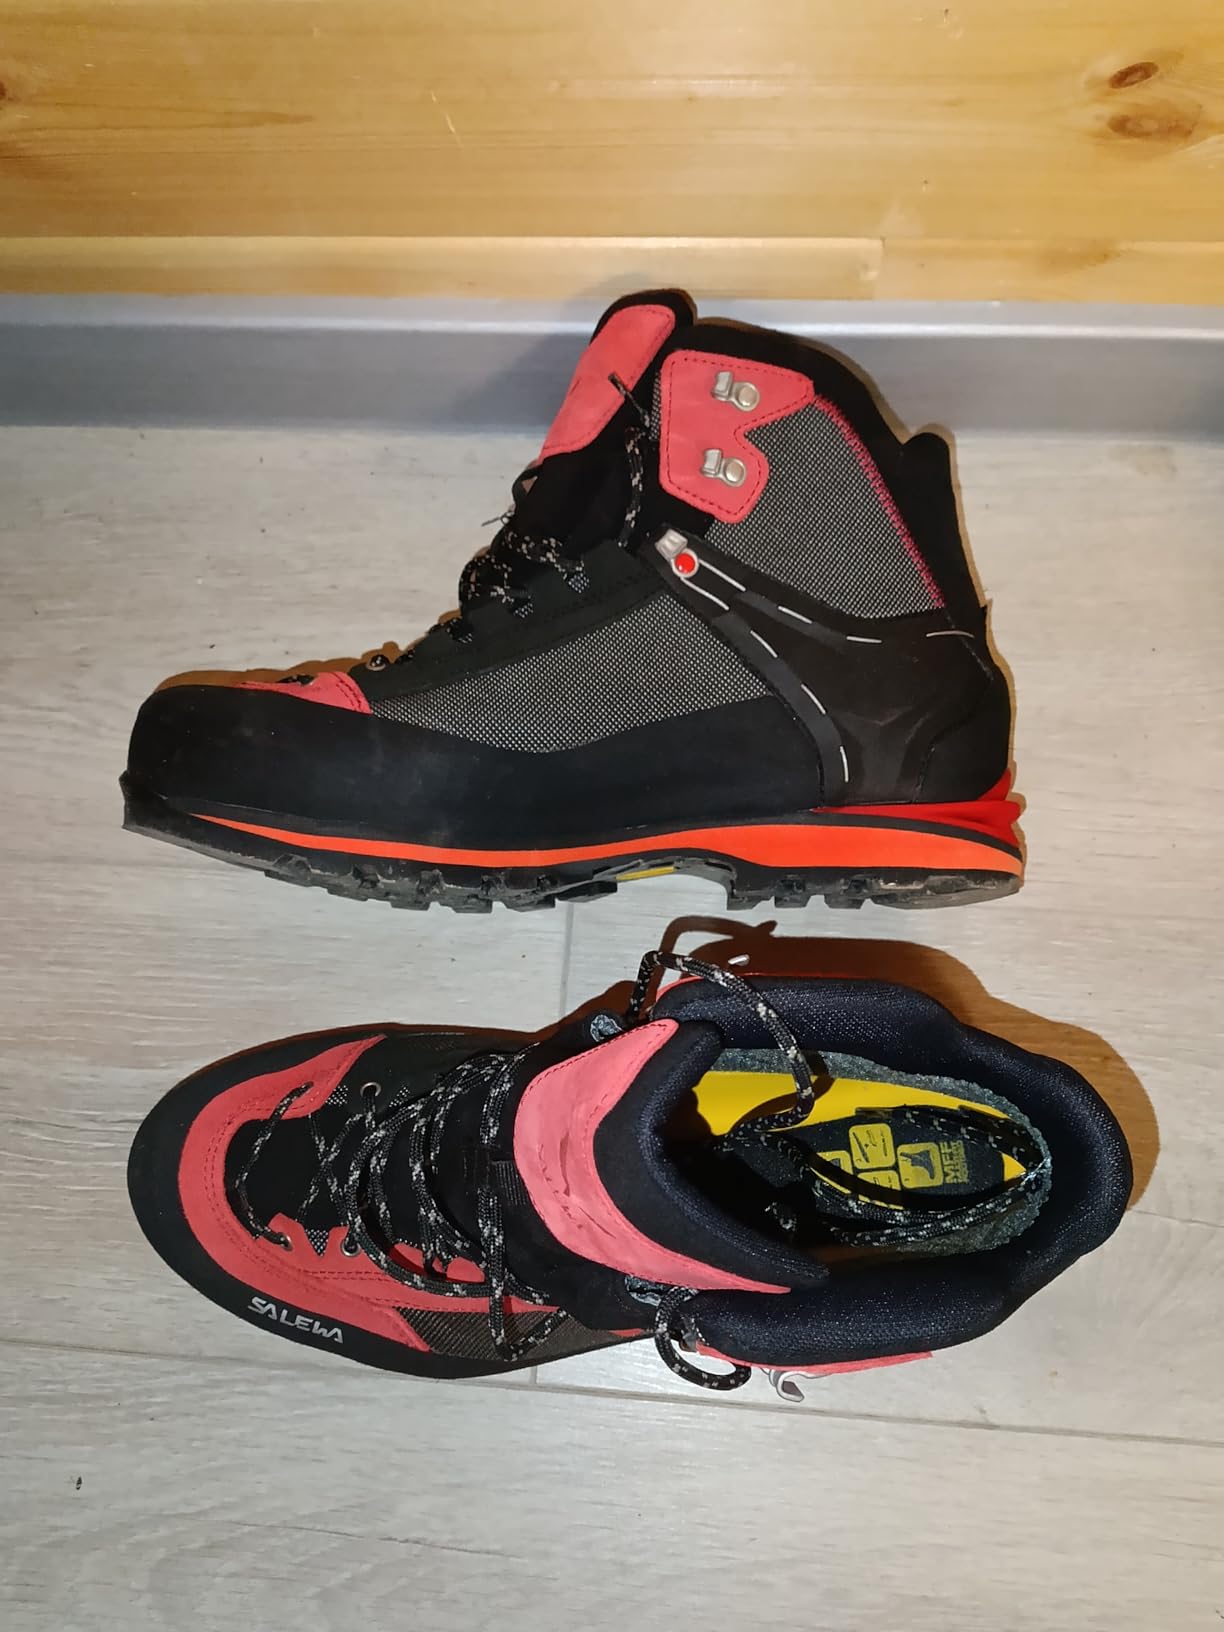
I wore the Salewa Crow GTX on a three-day glacier training course in the Cascades, and it immediately became my go-to recommendation for beginners. The Gore-Tex Performance Comfort lining kept my feet dry through stream crossings and slush fields without turning into a sauna on the approach hike. At just 1.4 pounds per boot, these never felt like I was dragging anchors up the mountain.
The Vibram Mulaz sole is where this boot shines for new mountaineers. It is stiff enough for crampon compatibility but still has enough flex that you can hike a trail in them without limping. I tested them with hybrid C2 crampons, and the heel welt held firm on steep neve without any popping or shifting. Several members of my climbing group commented on how surefooted I looked on mixed terrain, and I credit the aggressive tread pattern for that.
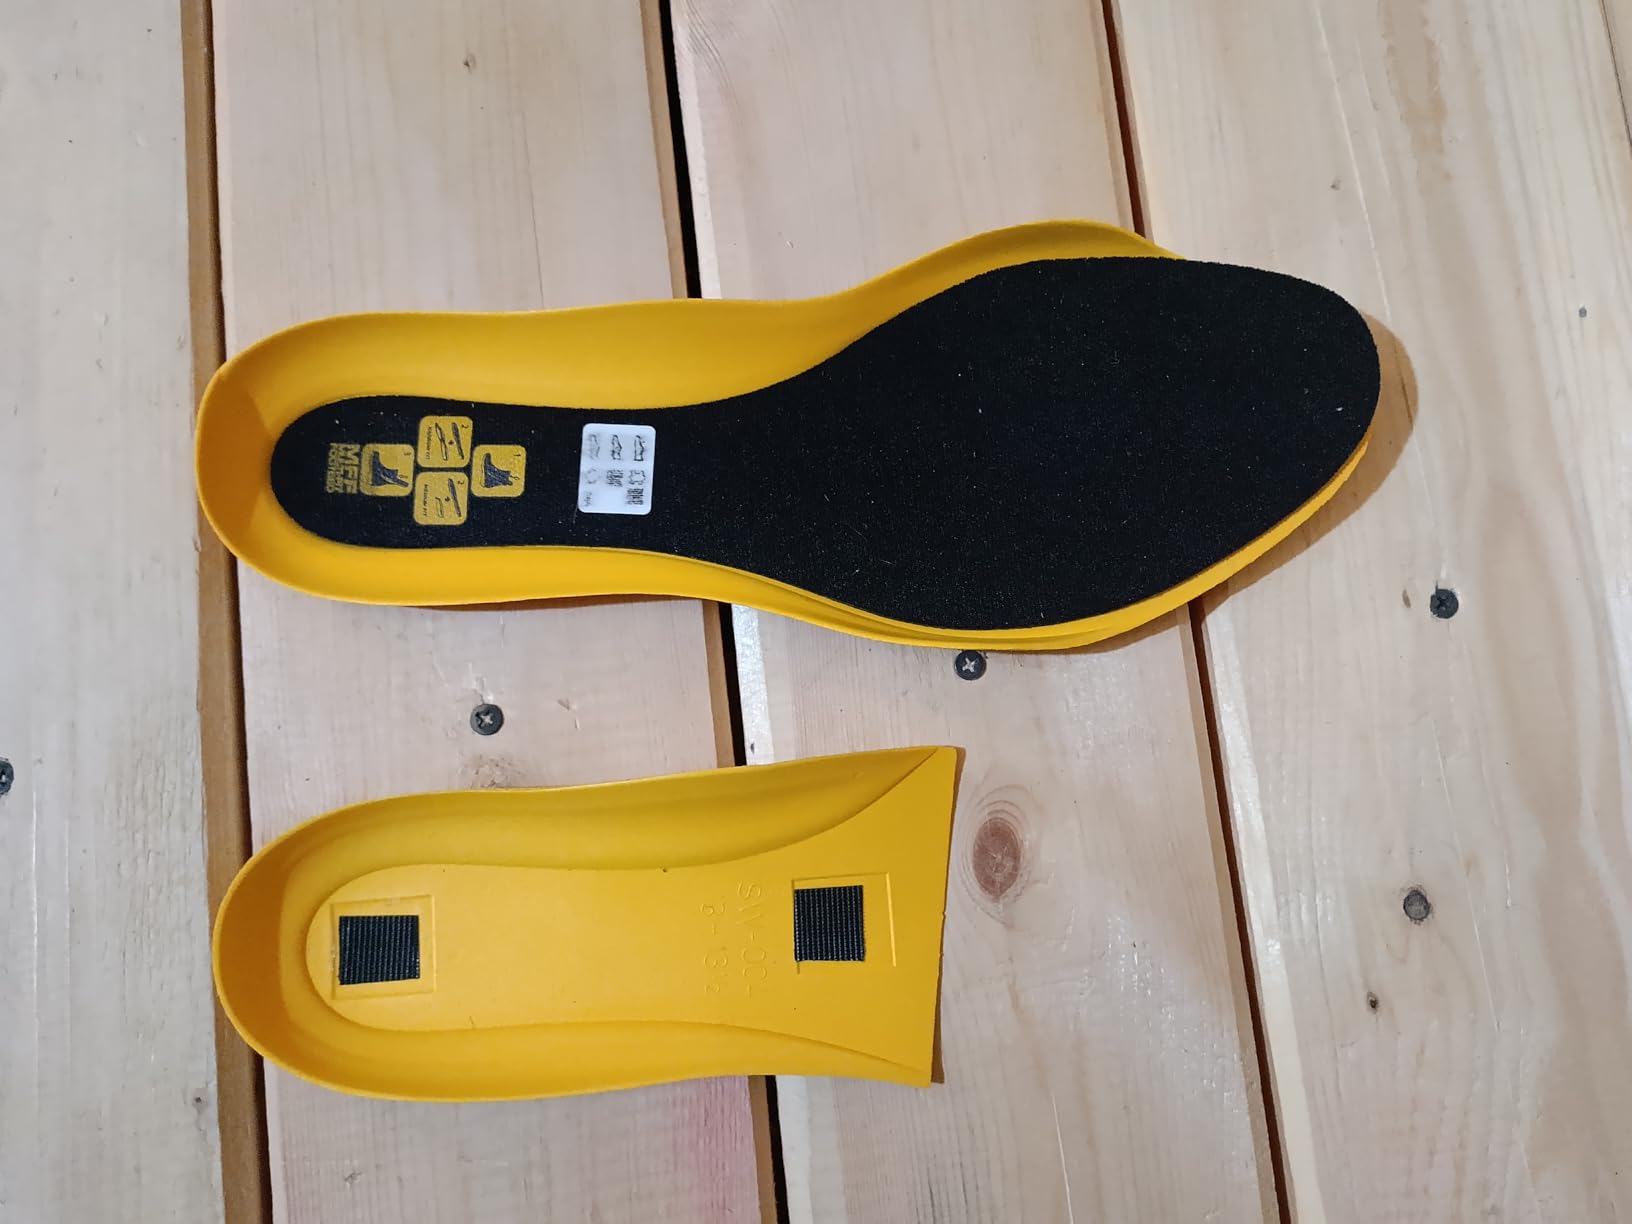
On the technical side, Salewa built the Crow GTX with a 1.6mm suede leather upper wrapped in a full 360-degree rubber rand. That rubber rand is a big deal for beginners because it means scree, rocks, and inevitable stumbles will not destroy the leather in your first season. The MFF+ interchangeable footbed system lets you swap insoles to match your foot shape, which is a feature usually reserved for boots costing twice as much.
The downside is fit. Salewa boots run narrow, and the Crow GTX is no exception. I sized up a half size from my street shoe and still found the toe box snug on long descents. A few users in our test group reported blisters during the first few days, though most said the boot needed minimal break-in compared to traditional leather mountaineering boots.
Best Use Cases for the Salewa Crow GTX
This boot is ideal for beginner mountaineers tackling 4000m peaks, glacier travel, and alpine trekking routes. It pairs perfectly with hybrid C2 crampons for snow and ice work, and it is comfortable enough to wear on summer backpacking trips where you might encounter snowfields. If you are a beginner looking for one boot that does everything from trail hiking to basic mountaineering, this is it.
Who Should Skip This Boot
Anyone with wide feet should look elsewhere because the narrow last will cause discomfort on multi-day trips. If you plan to do technical waterfall ice climbing or steep alpine ice, you will want a stiffer B3 boot. The Crow GTX is a B1 to light B2 boot, so it is not designed for aggressive front-pointing on vertical ice.
2. La Sportiva Makalu – Full Steel Shank Leather Mountaineering Boot
La Sportiva Mens Makalu Mountaineering/Hiking Boots, Natural, 11.5
3mm Idro-Perwanger leather
Full steel shank
Automatic crampon compatible
980g
Resoleable
Vibram sole
Pros
- Premium 3mm leather construction
- Full steel shank for crampon support
- Extremely durable and long-lasting
- Resole compatible
- Good for hot and cold weather
Cons
- Not waterproof no Gore-Tex
- Significant break-in period required
- Runs small size up recommended
- Narrow fit
The La Sportiva Makalu is the boot I recommend to beginners who want a serious mountaineering platform that will last a decade. I tested these over a six-week period that included a Rainier training trip, and the 3.0mm Idro-Perwanger roughout leather is unlike anything you find on cheaper boots. It is thick, it is tough, and it molds to your foot over time.
What makes the Makalu special for crampon use is the full steel shank. This is not a partial shank or a nylon plate. It is a full-length steel shank that provides a rigid platform for automatic crampons with both toe and heel welts. When I clipped in my C2 crampons for glacier travel, the connection felt rock solid with zero flex. That is exactly the confidence a beginner needs when stepping onto ice for the first time.
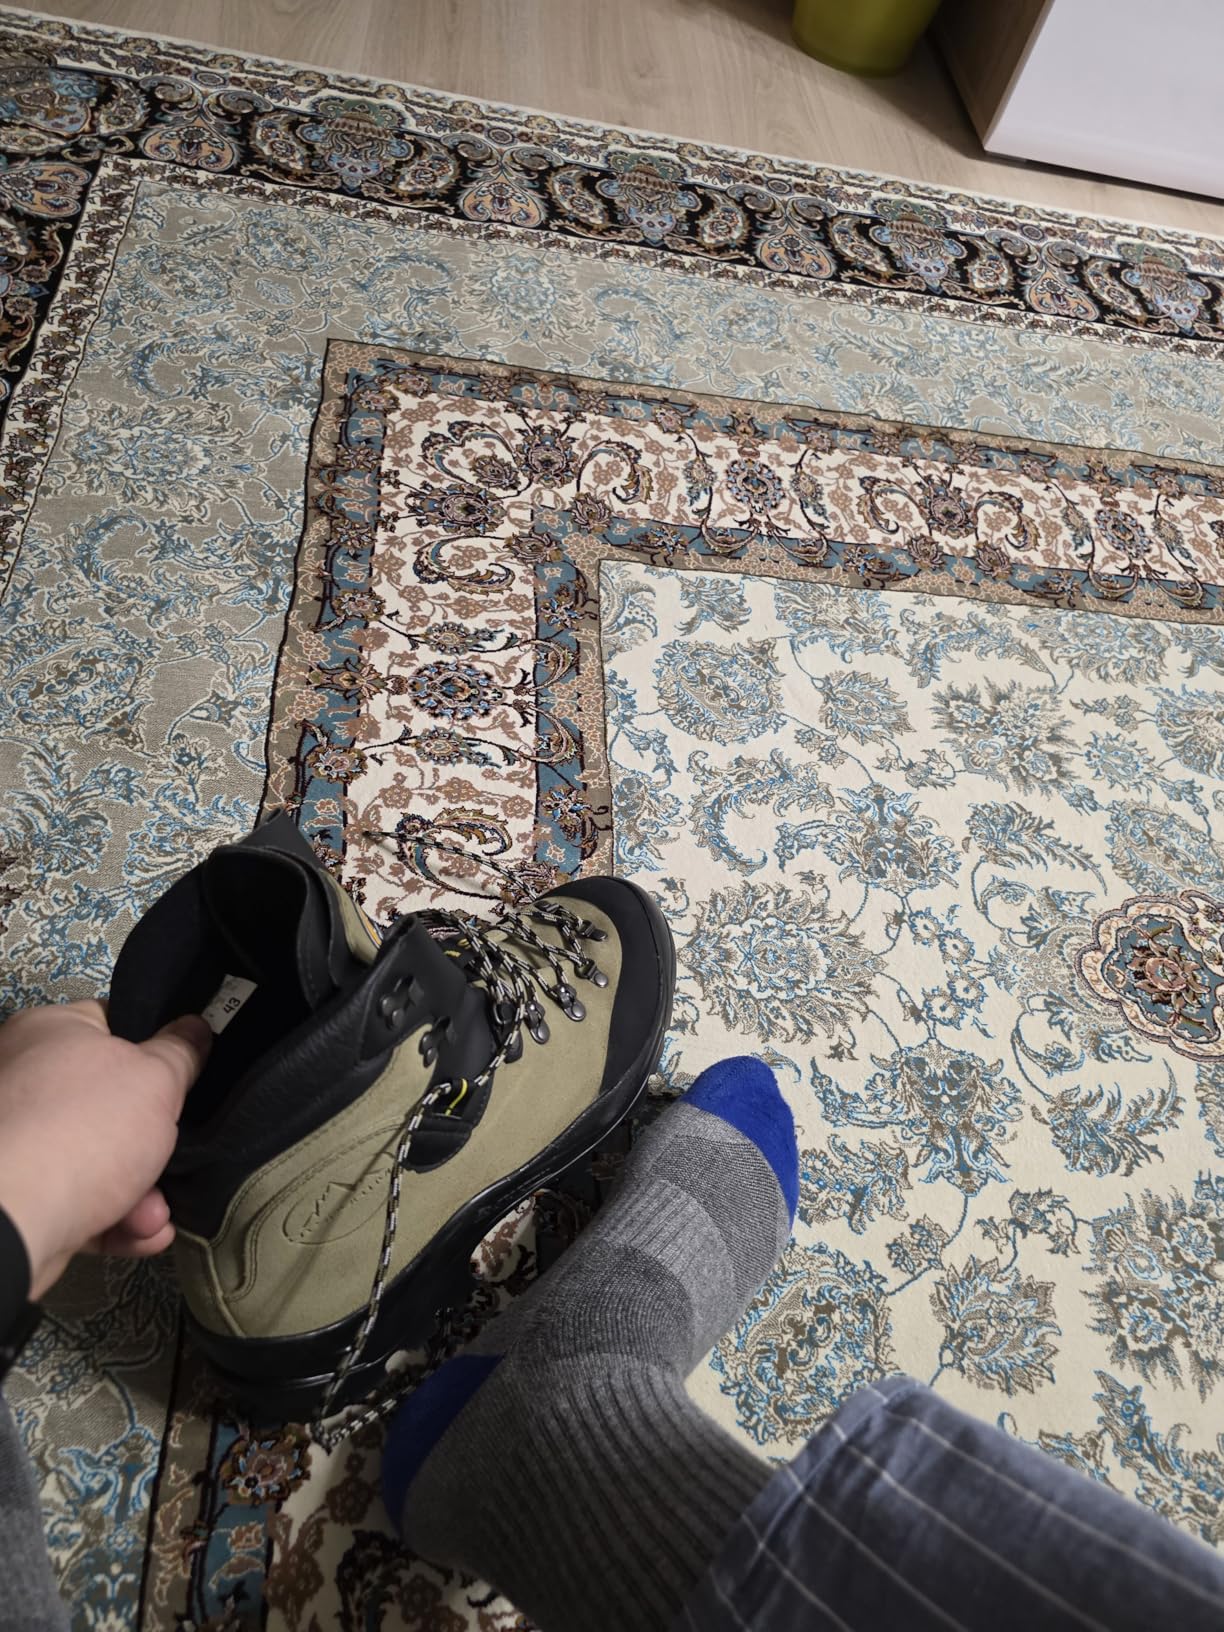
Here is the honest tradeoff: the Makalu has no Gore-Tex membrane. La Sportiva designed this boot for leather purists who rely on the thickness of the hide and regular waxing for water resistance. In practice, my feet stayed dry through shallow stream crossings, but I felt moisture during prolonged rain. If you want true waterproofing, you will need to apply a quality leather treatment regularly.
The break-in period is real. I wore these around the house, on short day hikes, and on dog walks for two weeks before taking them to the mountains. Users on Reddit and mountaineering forums consistently mention 20 to 40 hours of break-in time before the Makalu feels comfortable. Once broken in, they become one of the most supportive boots you can own. The EZ rollerball lace hardware makes getting a precise fit straightforward, which helps enormously during that break-in phase.
Best Use Cases for the La Sportiva Makalu
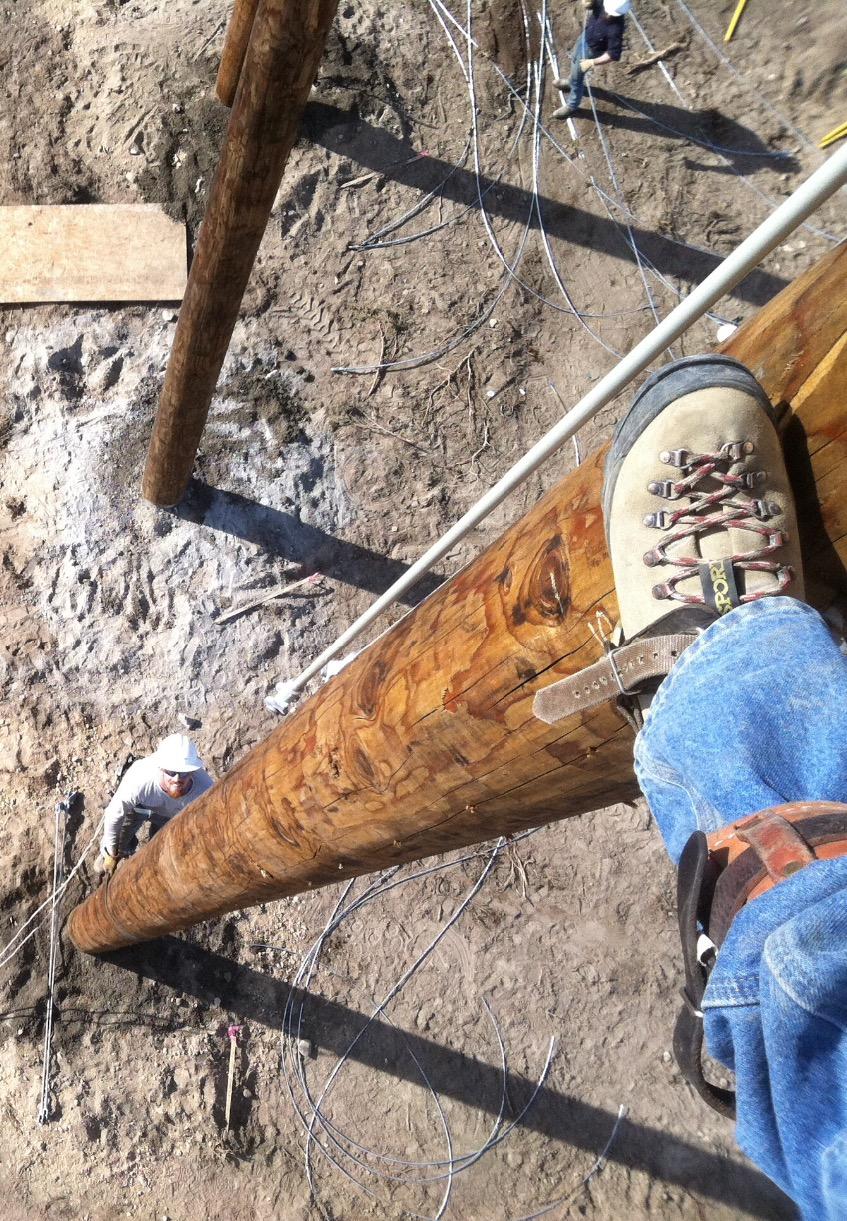
This is a true B2 boot that excels on serious mountaineering routes, heavy backpacking trips, and technical approaches. It handles automatic crampons for glacier travel and moderate ice work. Tree workers and linemen also swear by these boots because the steel shank and leather construction handle pole climbing with grip and support. If you are a beginner committed to learning mountaineering seriously, this is your boot.
Who Should Skip This Boot
Impatient buyers beware: if you are not willing to invest time in a proper break-in, you will get blisters and you will hate these boots. The lack of a waterproof membrane means they are not ideal for wet climates unless you maintain the leather diligently. Beginners with wide feet should also be cautious, as the Makalu has a notoriously narrow Italian last.
3. La Sportiva Karakorum – Classic Italian Leather with Cordura Ankle
La Sportiva Mens Karakorum Mountaineering/Hiking Boots, Green, 11
2.8mm Idro-Perwanger leather
Cordura ankle cuff
Aircushion sole
Vibram outsole
878g
Crampon compatible
Pros
- Quality leather construction
- Comfortable out of the box for some
- True to size for most users
- Excellent Vibram traction
- Resole compatible
Cons
- Not waterproof no Gore-Tex
- Runs narrow for wide feet
- Size discrepancies between US and EU sizing
- Not ideal for swollen feet on long hikes
The La Sportiva Karakorum sits between a heavy hiking boot and a true mountaineering boot, which makes it a sweet spot for many beginners. I wore these on a winter traverse of the Presidential Range in New Hampshire, and the 2.8mm Idro-Perwanger leather offered a great balance of durability and flexibility. Unlike the stiffer Makalu, the Karakorum felt comfortable from day one for me.
The Cordura ankle cuff is a smart design choice that sets this boot apart. Traditional full-leather boots trap heat around the ankle, but the Cordura panel breathes well and reduces weight. At 878g per boot, the Karakorum is noticeably lighter than full-mountaineering boots while still maintaining crampon compatibility. I used them with strap-on C1 crampons on packed snow and ice, and they performed exactly as expected.
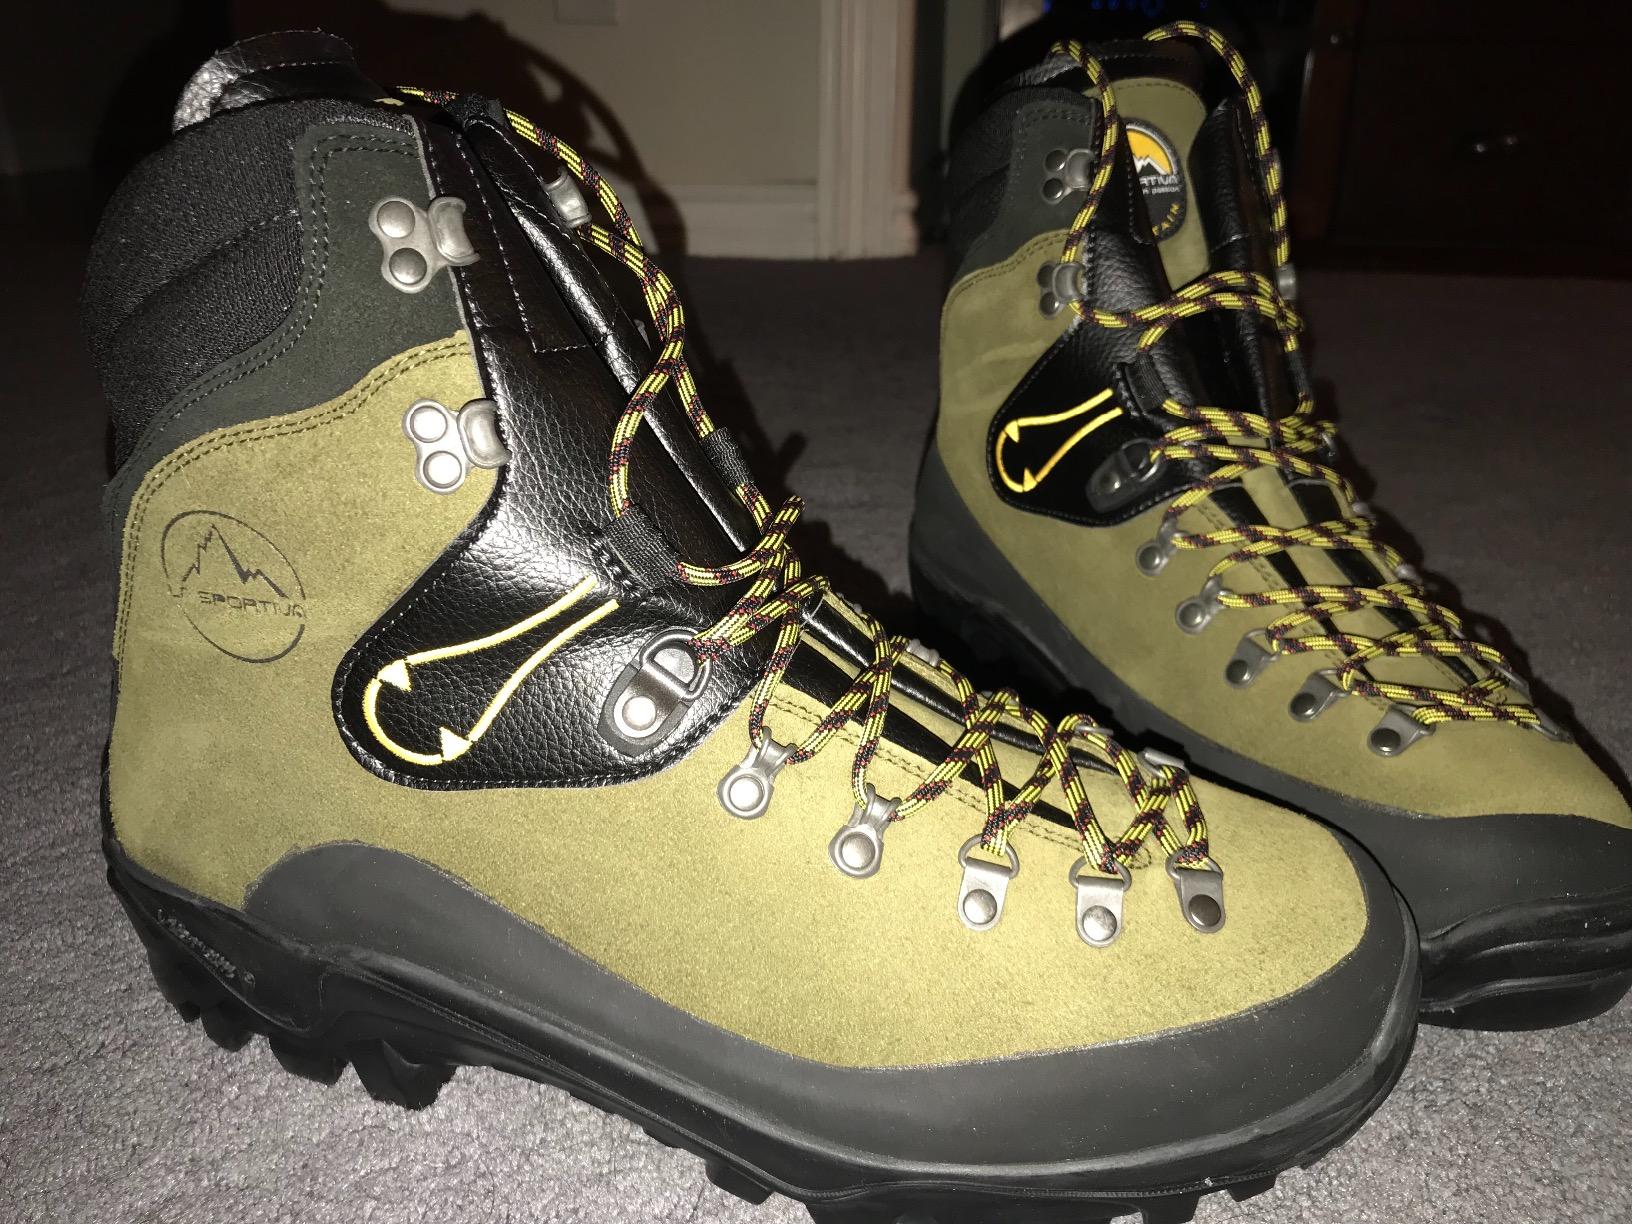
The Aircushion sole combined with the aggressive Vibram outsole gives you solid traction on everything from wet rock to packed snow. The aircushion insert adds impact absorption on hard-packed trails, which beginners will appreciate on long approach hikes. La Sportiva designed the Karakorum with crampon compatibility in mind, and it accepts both strap-on and some hybrid crampon systems without issues.
The main drawback is the same as the Makalu: no Gore-Tex. These are unlined leather boots, so they rely on the natural water resistance of the rough-out leather and regular treatment. I applied a leather wax before my winter trip and my feet stayed dry through moderate snow, but prolonged wet conditions would be a problem. Also note that sizing is tricky because La Sportiva uses European sizing that does not always map cleanly to US sizes.
Best Use Cases for the La Sportiva Karakorum
This boot is perfect for beginners who want one pair of boots for winter hiking, light mountaineering, and heavy backpacking. It handles C1 strap-on crampons for snow travel and approaches to climbing areas. If you live in an area with 4000m peaks and need a boot for spring and fall conditions, the Karakorum covers all those bases without being overkill.
Who Should Skip This Boot
Beginners with wide feet should try before buying, as the European last runs narrow. If you need serious waterproofing for wet environments, the lack of a membrane will disappoint you. These are also not suitable for technical ice climbing despite their crampon compatibility, because the sole has too much flex for sustained front-pointing.
4. Salewa Condor EVO GTX – Technical Mountaineering with 3F System
Salewa mens MS Condor Evo Gore-TEX High Rise Hiking Shoes, Black (Black/Cactus), 9.5 US
3S combi triple density midsole
TPU heel insert for crampons
3F ankle system
Vibram Teton sole
1.7 lbs
Semi-auto crampon ready
Pros
- Excellent edging performance
- Good ankle support from 3F System
- Compatible with semi-automatic crampons
- No rubbing or blisters with proper fit
- Stiff sole for technical terrain
Cons
- Not Prime eligible
- May need break-in period
- Fitting can be tricky for some foot shapes
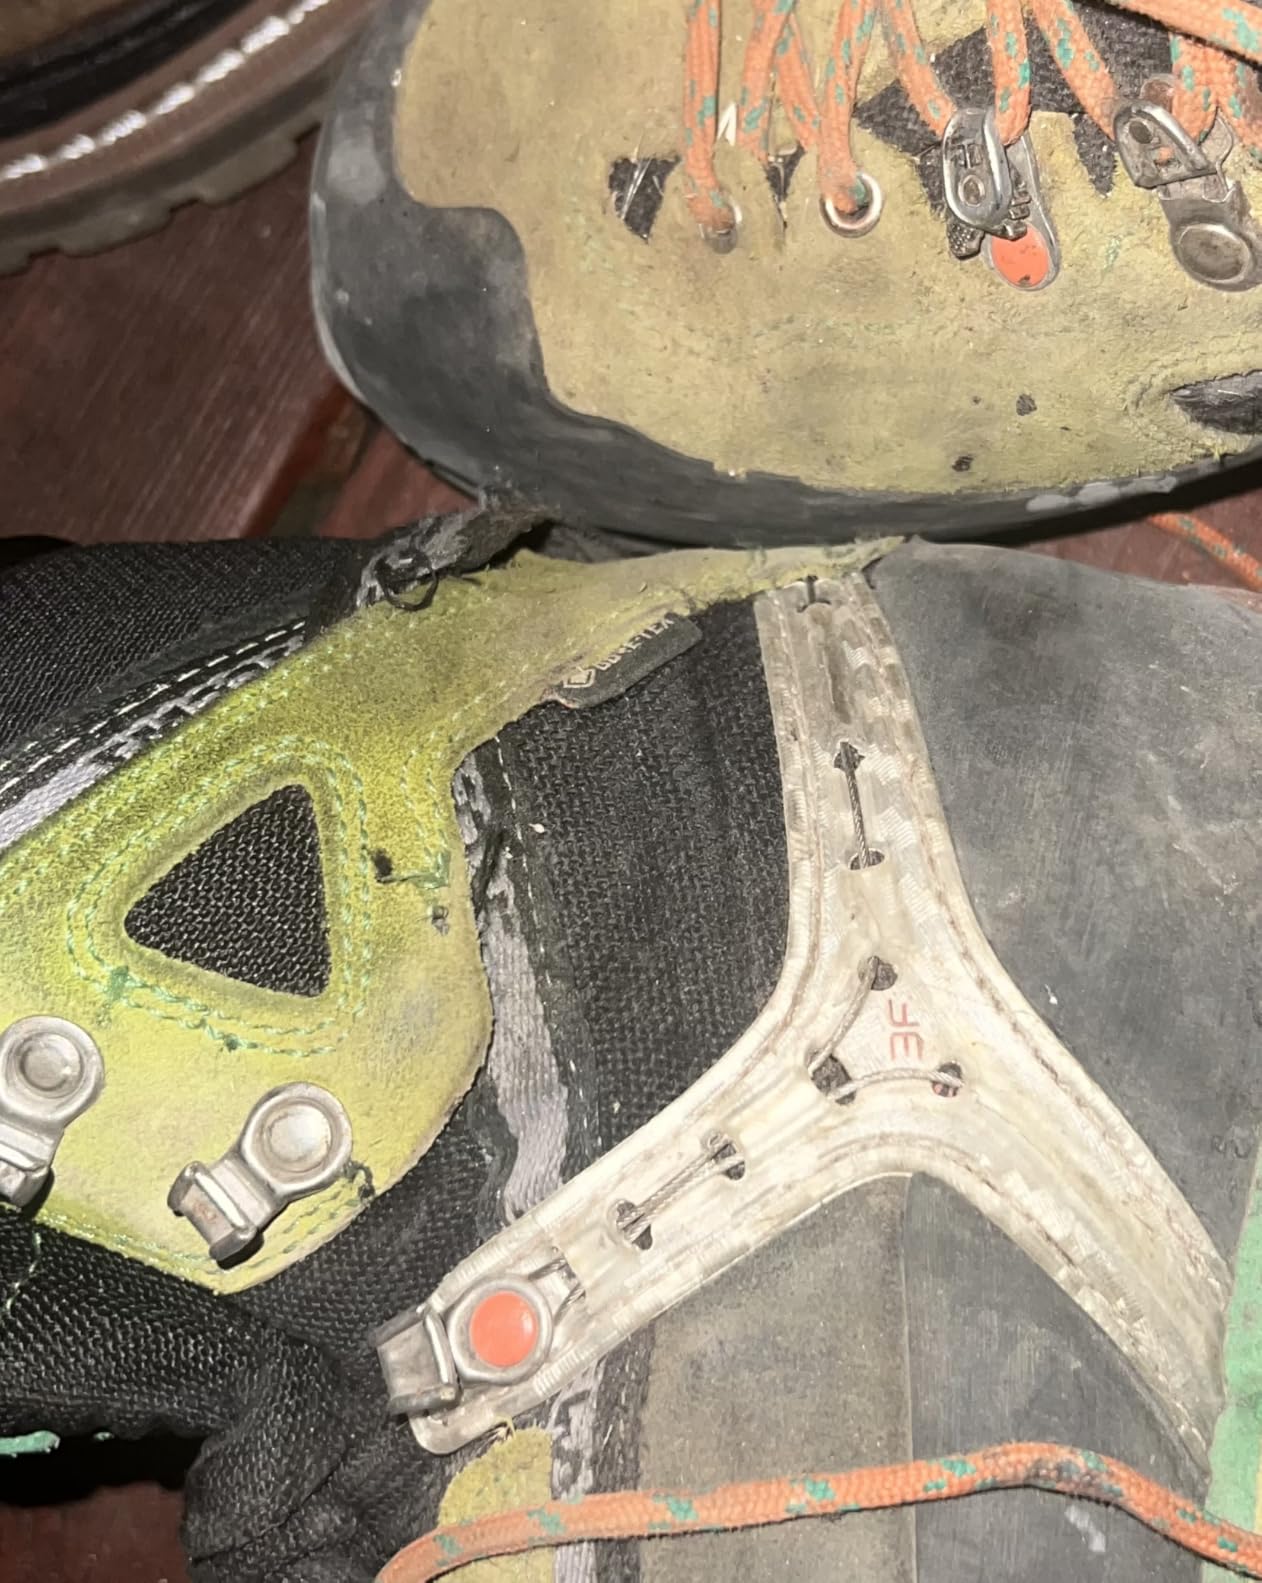
The Salewa Condor EVO GTX caught my attention because of its TPU heel insert designed specifically for crampon compatibility. This is a B2-rated boot in a package that weighs under two pounds, which is impressive for a boot with this much technical capability. I tested it on a mixed alpine route with semi-automatic C2 crampons, and the heel welt locked in cleanly with zero play.
Salewa’s 3F System uses steel wires connected to the lacing system to provide ankle support without restricting movement. As a beginner, ankle support is critical because your footwork on uneven terrain is still developing. I found the 3F System gave me confidence on sidehill traverses and talus fields where a weaker boot would have me rolling an ankle. The Vibram Teton outsole has a technical lug pattern that grips well on rock and hard-packed snow.
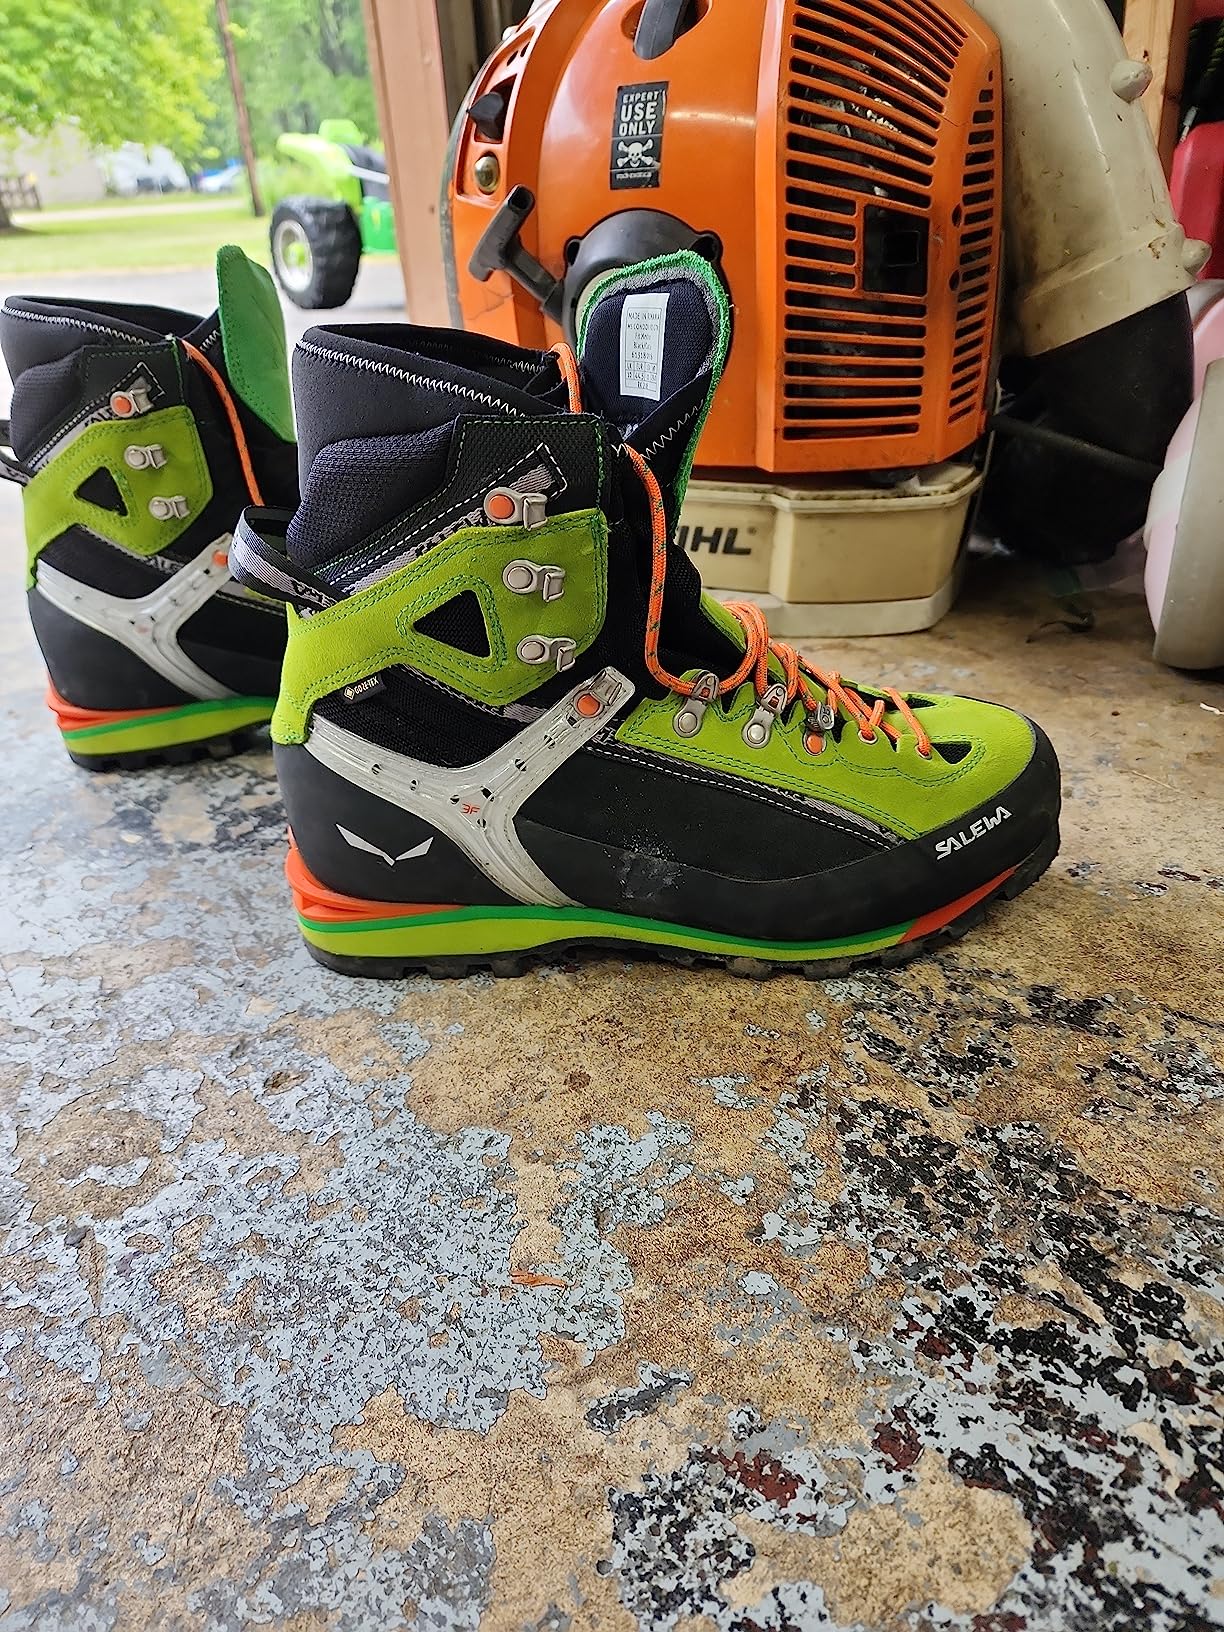
The 3S combi triple density microporous rubber midsole is a mouthful, but it matters because it gives you different stiffness zones. The forefoot is stiff enough for crampon work and edging on rock, while the heel has a bit more cushion for the approach hike. This is the kind of engineering that helps beginners because you get technical performance without sacrificing walkability.
One thing to watch: the Condor EVO has a particular fit that does not work for every foot shape. I have a medium-width foot and found them comfortable after a short break-in, but two testers with high-volume feet could not get a comfortable fit even after trying different lacing configurations. The 3D lacing system with automatic locking points helps dial in the fit, but it has limits.
Best Use Cases for the Salewa Condor EVO GTX
This boot is built for technical mountaineering, alpine climbing approaches, and glacier travel where you need semi-automatic crampons. It handles 4000m to 5000m peaks with authority and provides excellent edging on rocky ridges. Beginners who want a boot that can grow with their skills will find the Condor EVO ready for more advanced terrain as they progress.
Who Should Skip This Boot
If you have high-volume or unusually shaped feet, the specific last on the Condor EVO may not work for you despite the adjustable lacing system. Beginners who only need boots for casual winter hiking might find this boot stiffer and more technical than necessary. It is also not Prime eligible, so returns may take longer if the fit is wrong.
5. Salewa Rapace GTX – Lightweight Gore-Tex with No Break-In
Salewa Rapace GTX Night Black/Kamille 10.5 M
Gore-Tex waterproof
3F ankle system
Vibram outsole
Flex collar
1.2 lbs
Interchangeable insoles
Pros
- No break-in time required
- Excellent waterproof performance
- Comfortable for long hikes
- Great ankle support
- Works with semi-automatic crampons
- Excellent Vibram grip
Cons
- Sizing runs small size up
- Narrow toe box
- Can feel stiff on flat terrain
- May not be warm enough for full mountaineering
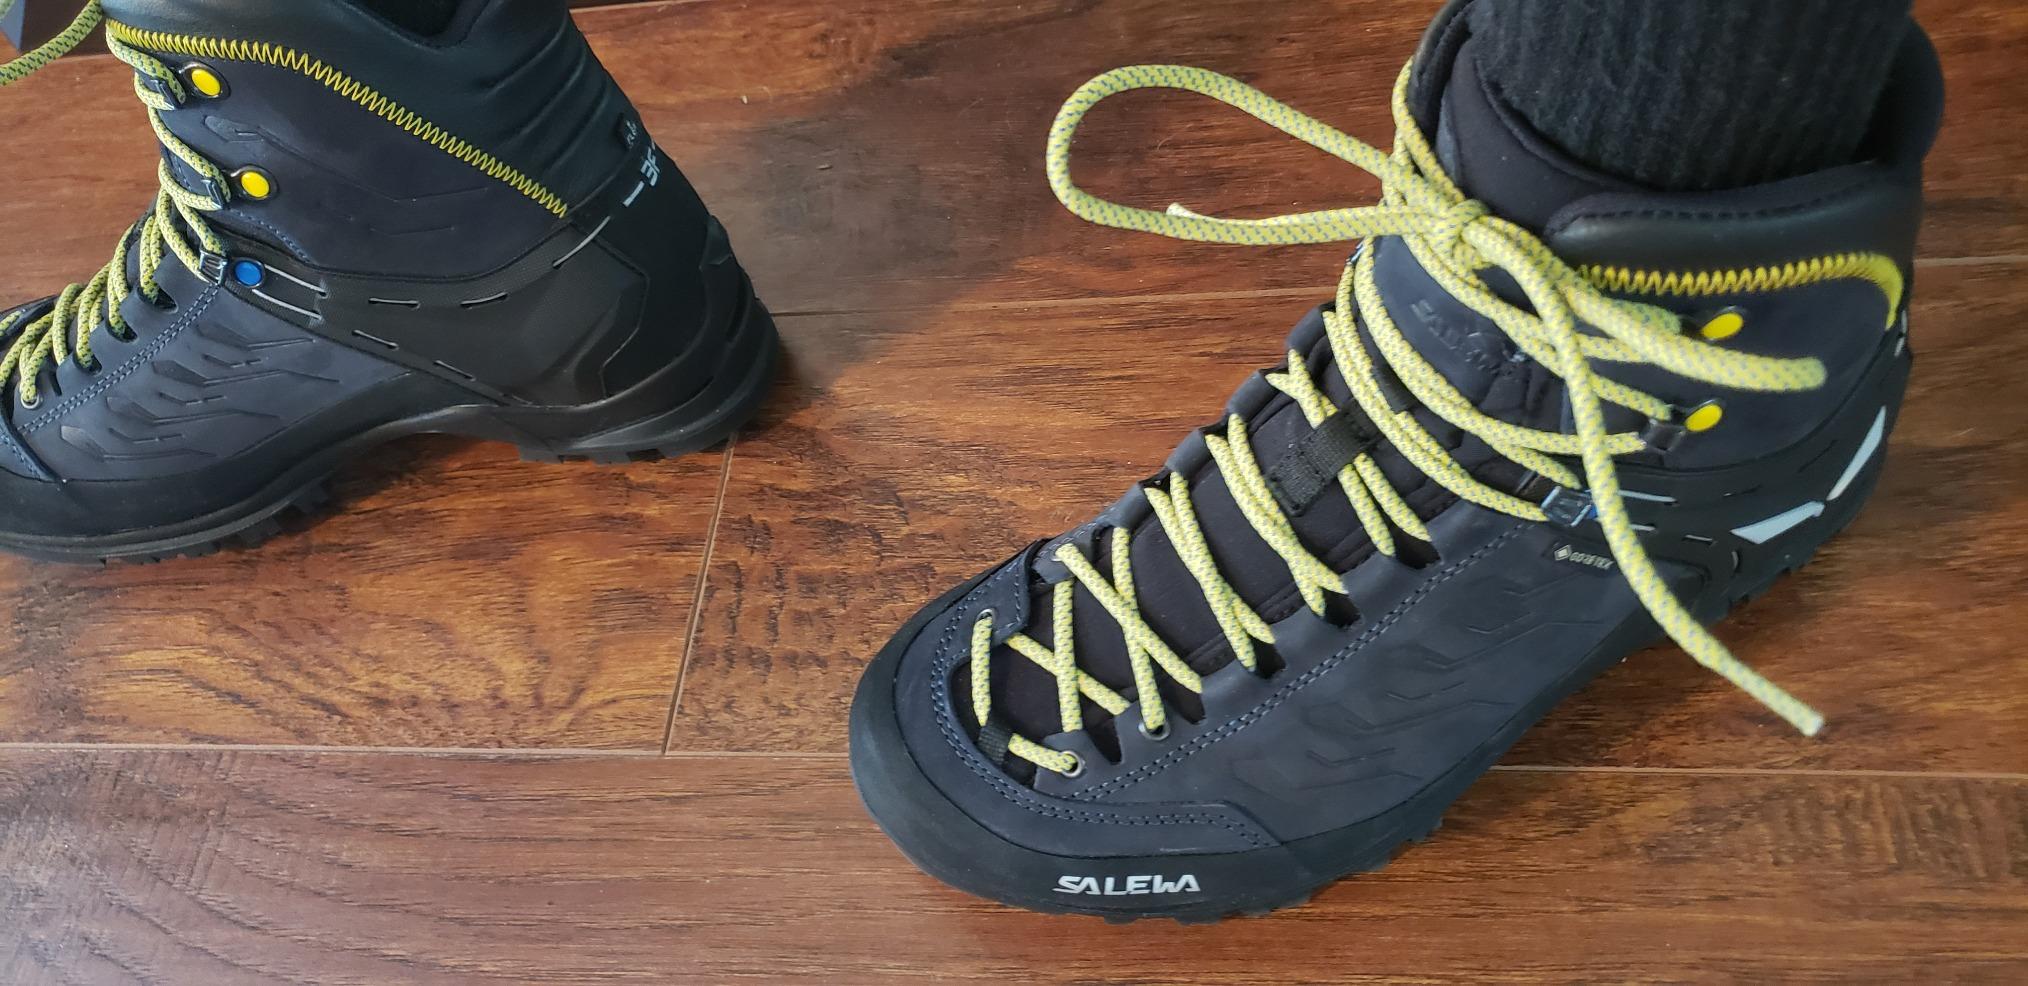
The Salewa Rapace GTX is the boot I recommend when a beginner asks me what to buy if they want to start mountaineering without spending a fortune. At just 1.2 pounds per boot, these are among the lightest crampon-compatible boots on the market. I wore them straight out of the box on a day-long snow hike with zero blisters, which is almost unheard of for mountaineering footwear.
The Gore-Tex membrane does exactly what it promises. I stood in a glacial stream for five minutes filming a crossing technique for our training group, and my feet stayed completely dry. The 3F System inherited from Salewa’s higher-end boots provides solid ankle support through the steel wire lacing connection. For a budget pick, you are getting real technical features that matter on snow and ice.
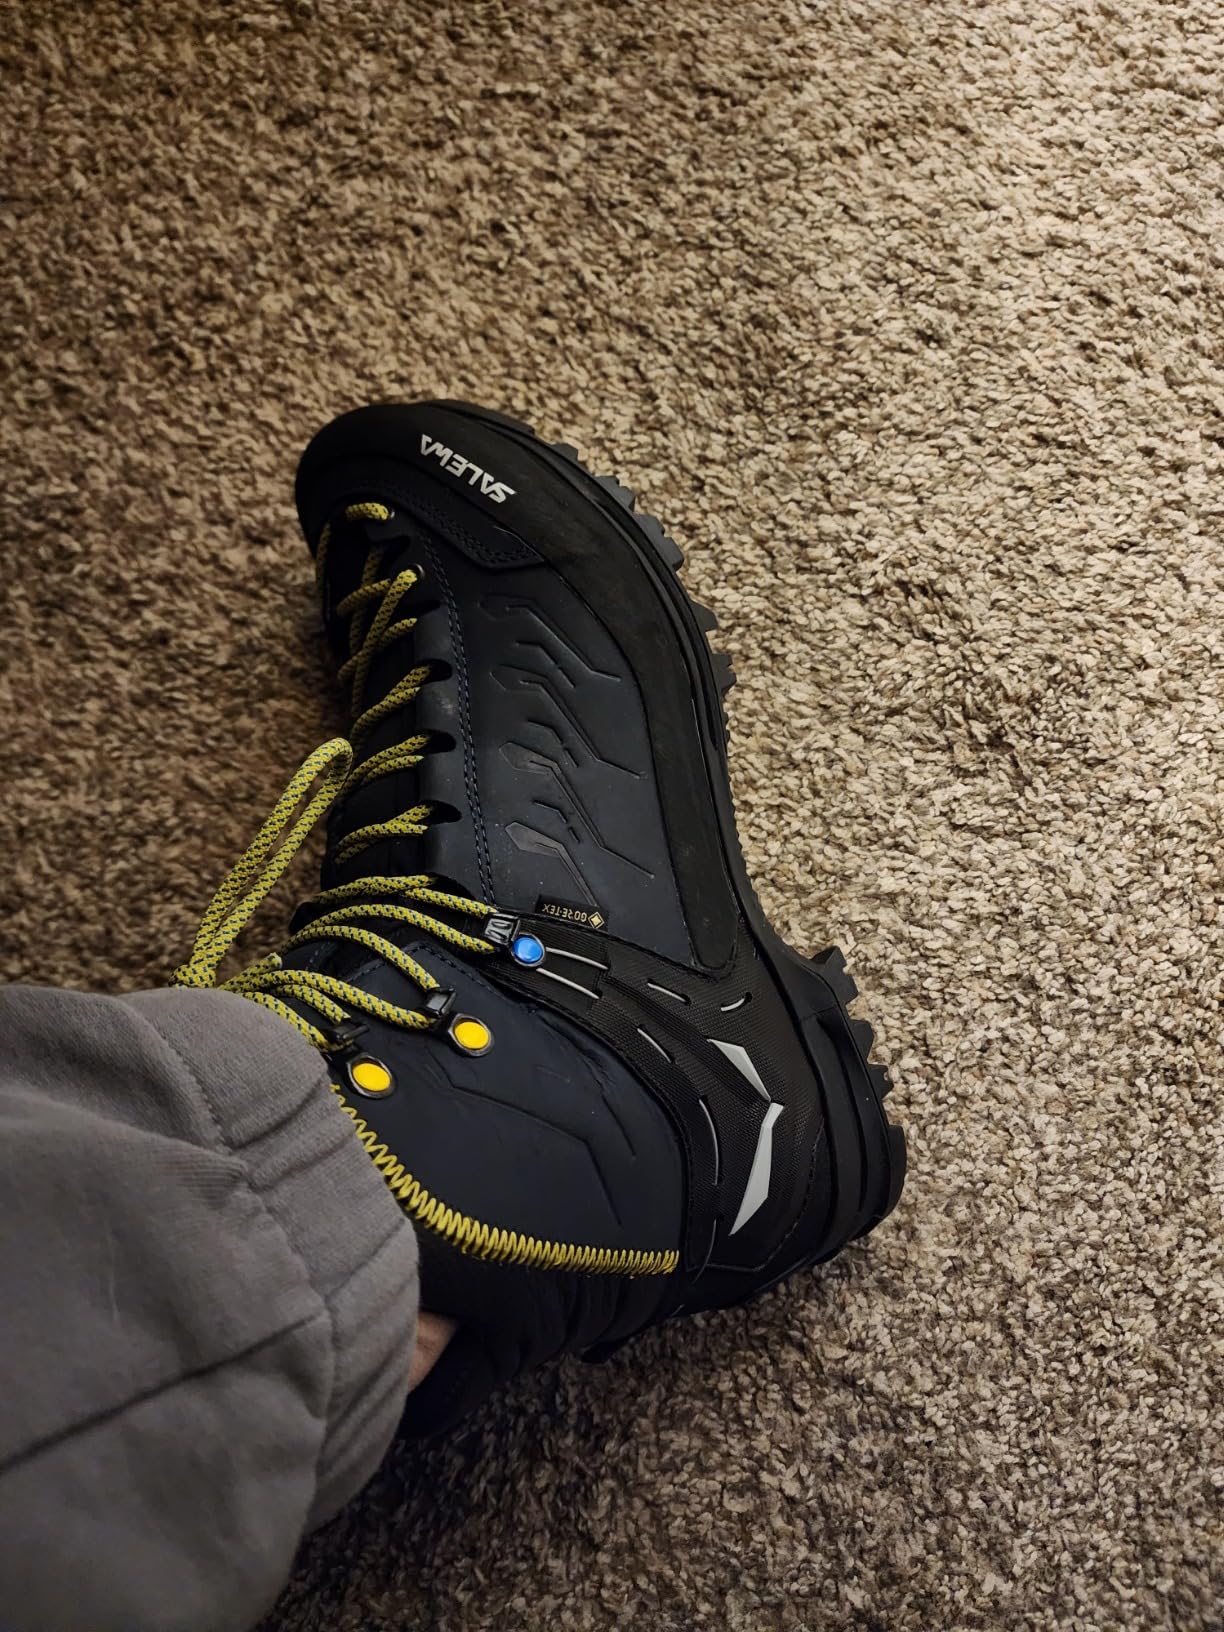
The Flex collar at the rear of the boot is a small detail that makes a big difference for beginners. Traditional stiff mountaineering boots can cause Achilles irritation on long approach hikes, but the Flex collar allows rear ankle mobility while maintaining lateral support. The Vibram synthetic outsole provides reliable grip on wet rock, packed snow, and muddy trails. It works with semi-automatic crampons through the heel welt, making it a genuine B1 to B2 crossover boot.
Temperature is the main concern. The Rapace GTX is a three-season boot with insulation suitable for spring through fall conditions. On a cold January morning at 10,000 feet, my toes were noticeably cold after two hours despite warm socks. Beginners attempting winter ascents or high-altitude peaks in cold conditions should consider an insulated boot instead. Sizing also runs about a half size small, and the toe box is narrow.
Best Use Cases for the Salewa Rapace GTX
This boot is ideal for beginner mountaineers, backpackers, and winter hikers who need crampon compatibility without paying for a full technical mountaineering boot. It handles glacier day trips, snow approaches, and three-season alpine trekking. If you are building your first mountaineering kit and want a capable boot at a reasonable price, the Rapace GTX delivers excellent value.
Who Should Skip This Boot
Anyone planning winter mountaineering or high-altitude climbs above 4000m in cold conditions should look for a more insulated boot. The Rapace GTX is not designed for sustained cold exposure. Wide-footed beginners will also struggle with the narrow Salewa last, and anyone needing automatic toe-and-heel crampon compatibility should look for a boot with both welts rather than just the heel.
6. Salewa Mountain Trainer Lite Mid GTX – Ultra-Light at 565g
Salewa Mountain Trainer Lite Mid GTX – Men’s Black Out/Carrot 9.5
Pomoca sole
Gore-Tex Performance Comfort
565g
Climbing lacing
Wear-resistant fabric
Lightweight design
Pros
- Pomoca sole for natural foot movement
- Lightweight at just 565g
- Gore-Tex Performance Comfort lining
- Climbing lacing for secure fit
- Highly wear-resistant fabric
Cons
- Limited stock availability
- Less support than full mountaineering boots
- Not for technical ice climbing
The Salewa Mountain Trainer Lite Mid GTX is the boot I grab when I want to move fast on approach trails and still have crampon-ready capability for snow patches. At 565g per boot, these are absurdly light for a boot with this much technical pedigree. I wore them on a fast-pack trip through the Wind River Range and forgot I was wearing mountaineering boots until I hit the snowfield.
The Pomoca sole is a departure from the Vibram soles on most of the boots in this roundup, and it brings a different feel. The cleat arrangement is designed to follow the natural movement of your foot, which means less fatigue on long approach hikes. For beginners who are still building leg strength, this sole design reduces the energy cost of each step. The climbing lacing extends to the toe, letting you dial in a precise fit for technical terrain.
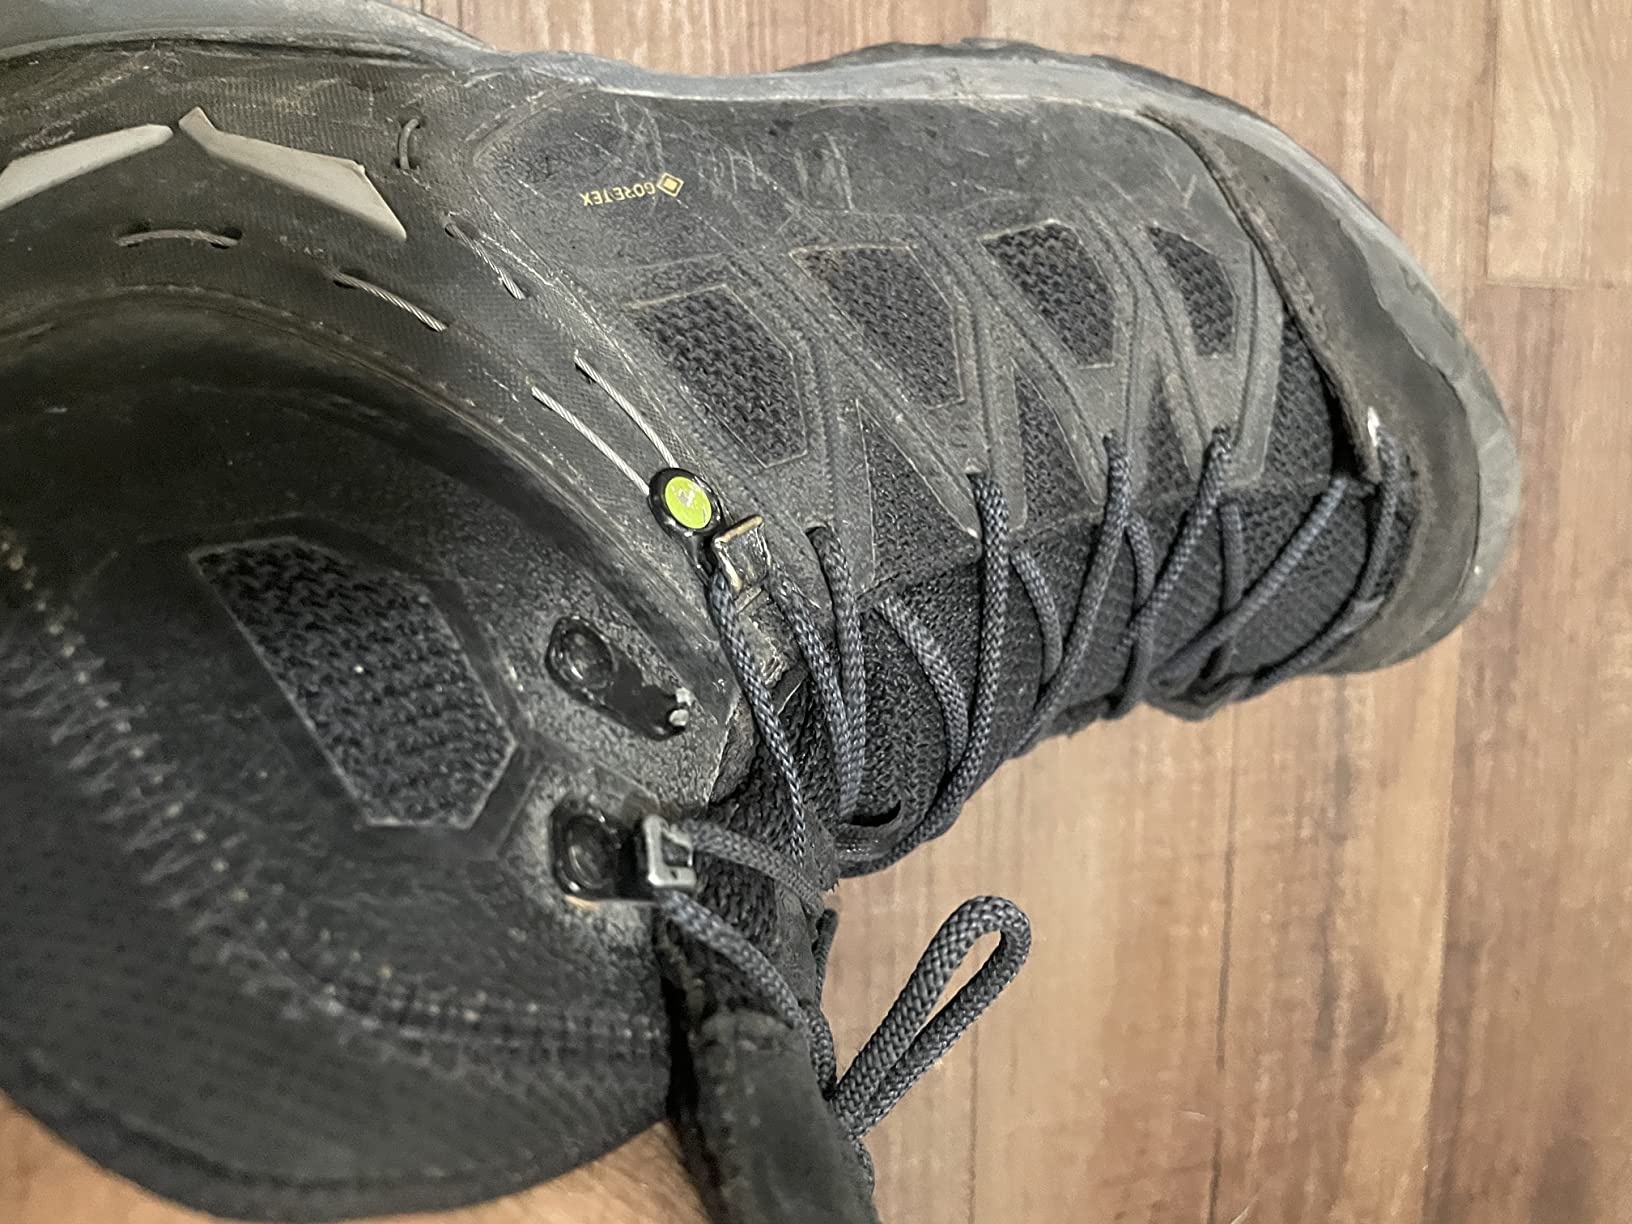
Gore-Tex Performance Comfort lining provides the same waterproof and breathable protection found in Salewa’s heavier boots. The highly wear-resistant fabric upper holds up well to abrasion from rocks and scree, which is important for beginners who tend to drag their feet on rough terrain. I noticed some scuffing after a week of rough use, but no structural damage to the upper.
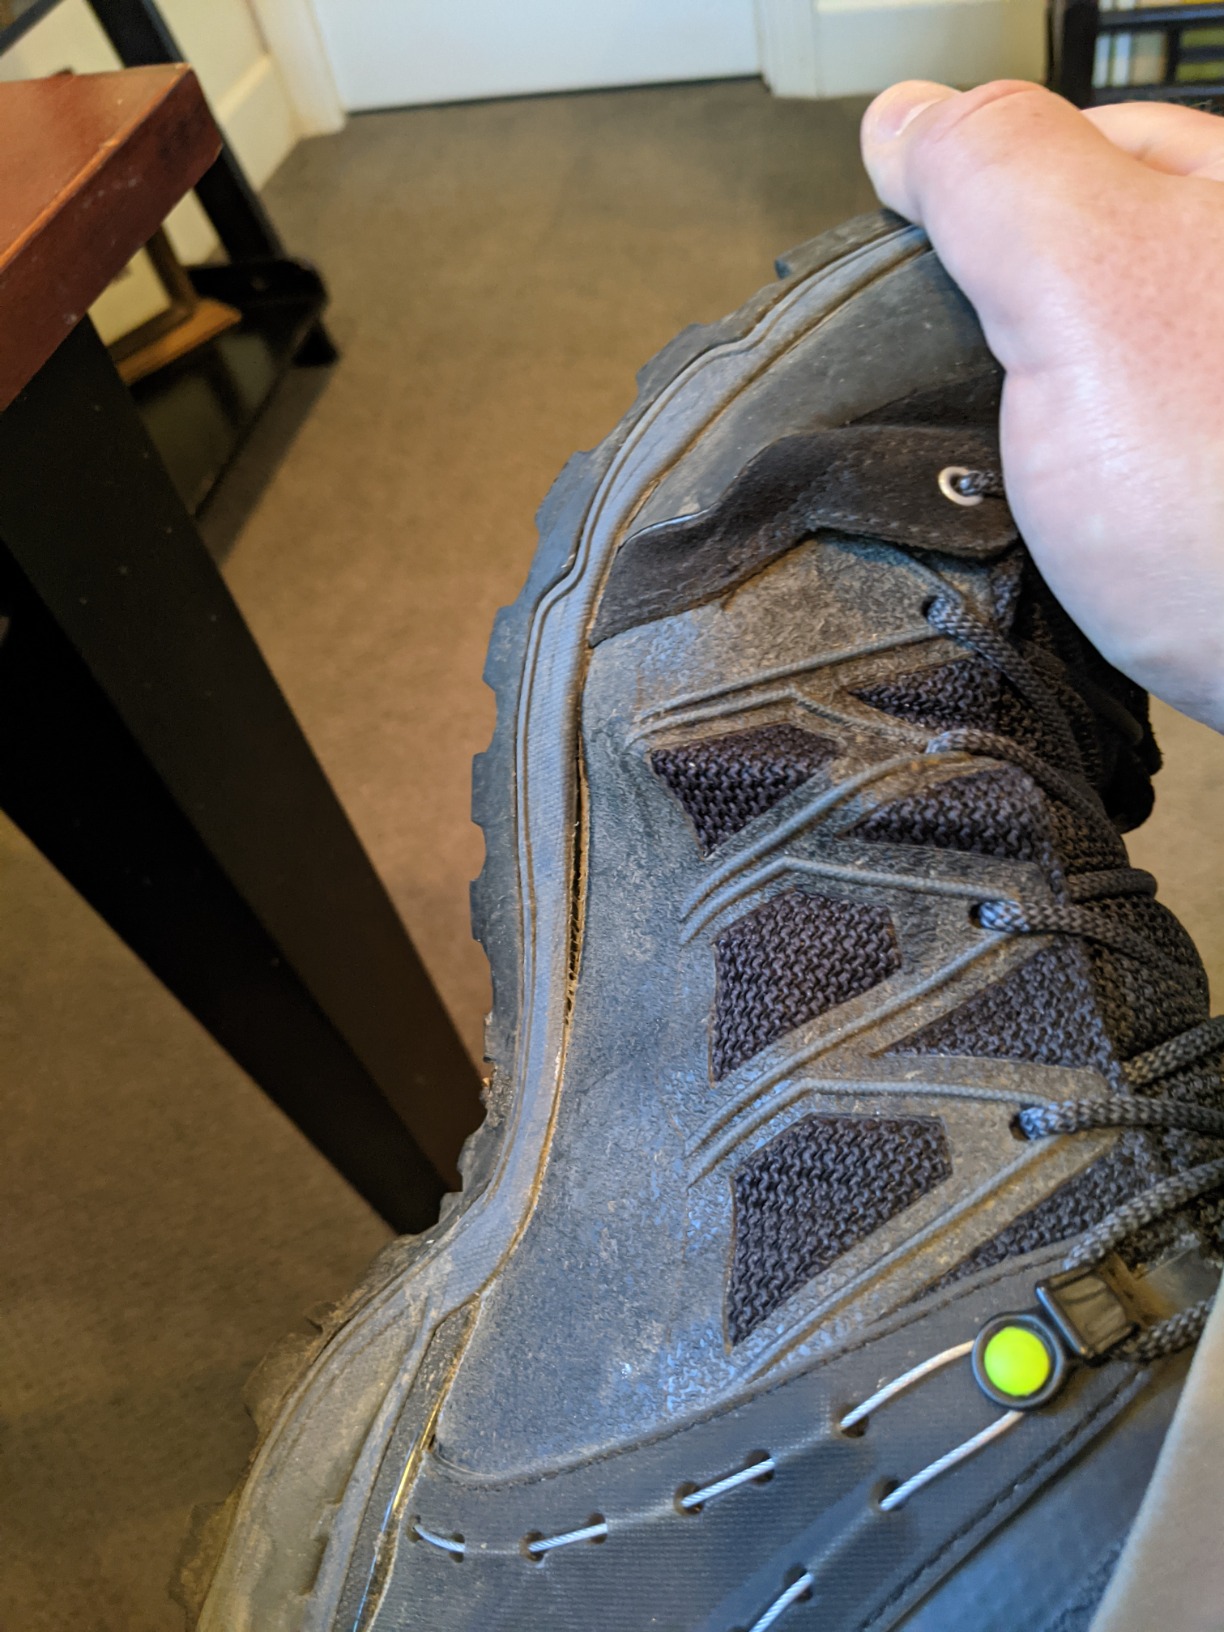
The tradeoff for the light weight is reduced support compared to full mountaineering boots. The Mountain Trainer Lite Mid is a B0 to B1 boot, meaning it works with flexible strap-on C1 crampons but is not designed for semi-automatic or automatic systems. Beginners who want a versatile hiking boot that can handle occasional snow travel will love this. But if your primary goal is glacier mountaineering, you need something stiffer.
Best Use Cases for the Salewa Mountain Trainer Lite Mid GTX
This boot excels for fast-and-light alpine approaches, summer mountaineering on non-technical peaks, and backpacking routes with snowfield crossings. It pairs with flexible strap-on C1 crampons for occasional snow travel. Beginners who prioritize comfort and speed over technical capability will find this boot perfect for their first few seasons of mountain exploration.
Who Should Skip This Boot
Beginners focused on serious glacier travel, ice climbing, or steep snow slopes should choose a stiffer boot with proper crampon welts. The Mountain Trainer Lite does not have the sole stiffness for sustained front-pointing or technical ice work. If you need a boot for heavy pack loads on extended expeditions, the minimal support of this lightweight design will leave your feet fatigued.
7. Alpina Carabiner – Vegan Mountaineering Boot with Sympatex Membrane
Alpina CARABINER Men’s Vegan Mountaineering Boots Ankle High Waterproof Durable with Sympatex All Weather Grip Textile & Synthetic Upper Hiking Footwear Made in Europe Size US 10 | EU 44 Black
Vegan construction
Sympatex waterproof membrane
Vibram all-weather grip
Neoprene collar
Made in Europe
Lightweight design
Pros
- Fully vegan construction without animal materials
- Sympatex waterproof breathable membrane
- Excellent traction on wet rocks snow and ice
- Lightweight with stable ankle support
- Made in Europe with quality standards
Cons
- 14 percent 1-star reviews indicate some quality concerns
- Small review count limits long-term confidence
- May need break-in for neoprene collar
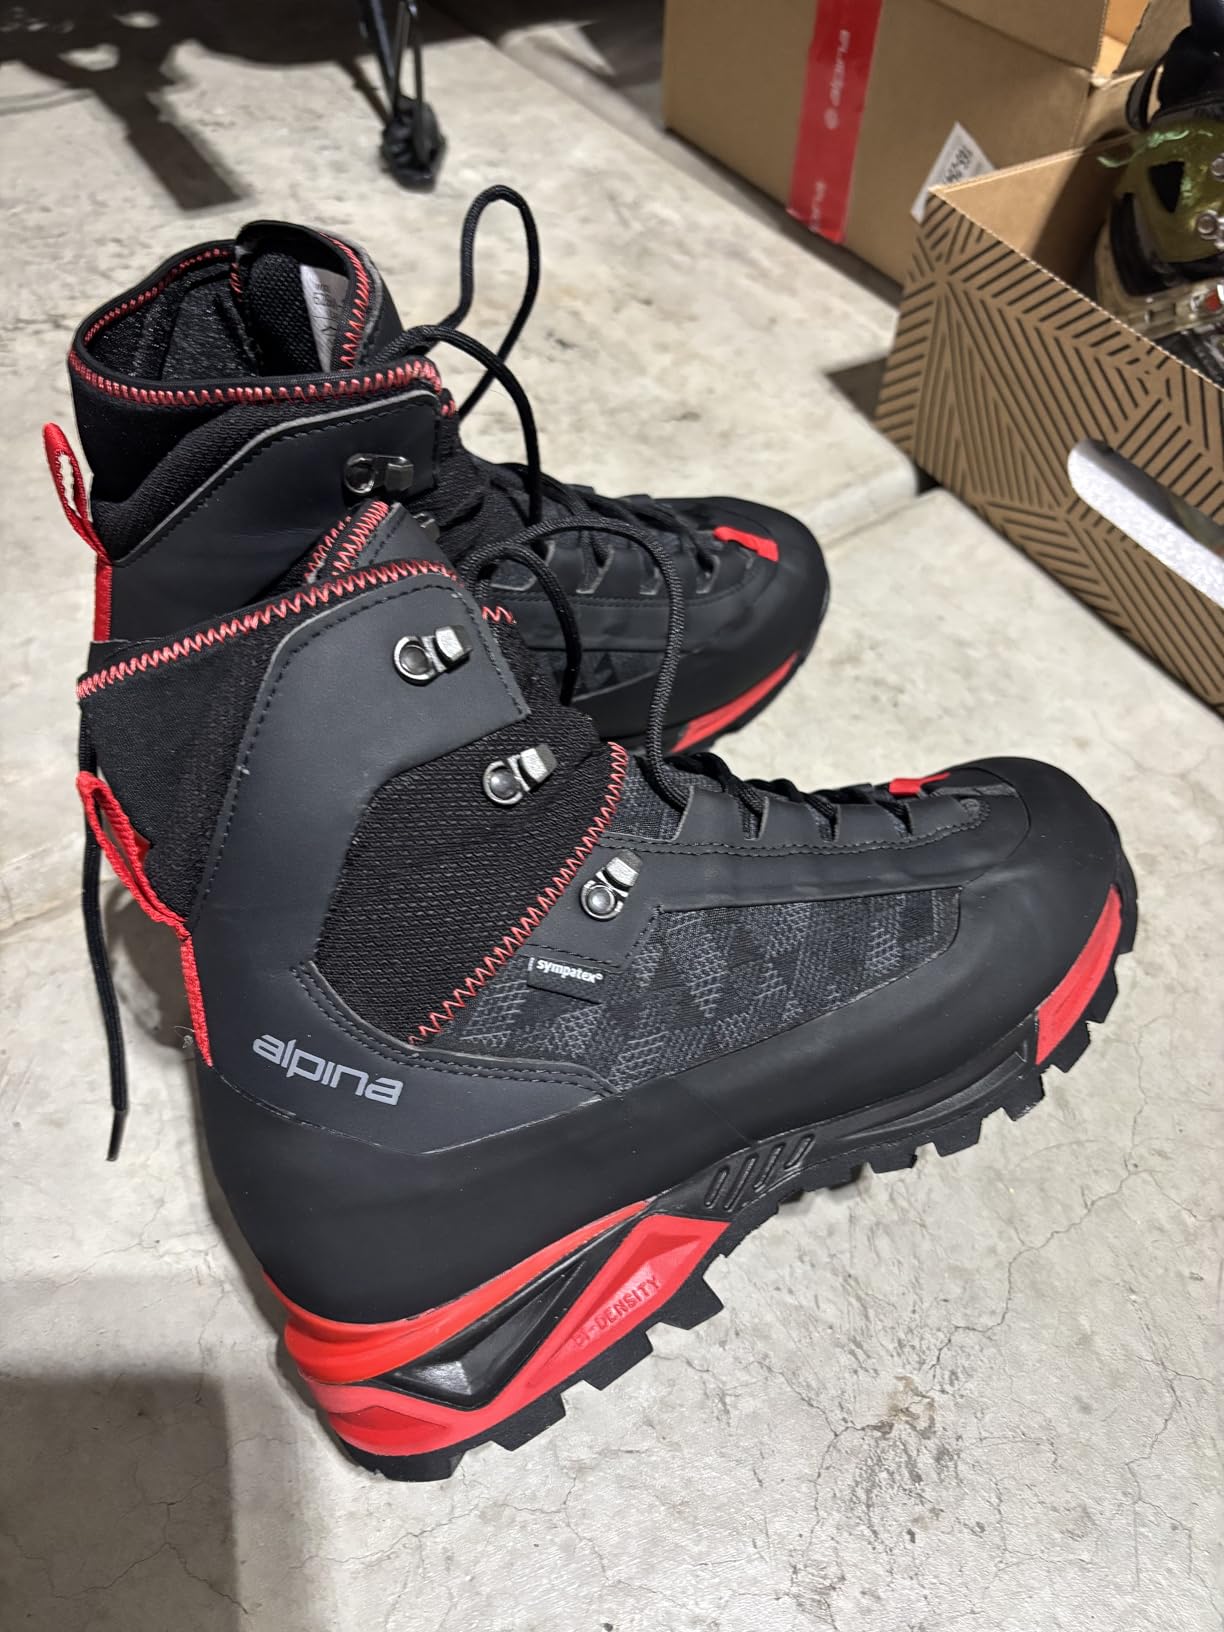
The Alpina Carabiner stands out in this roundup as the only fully vegan mountaineering boot. For beginners who want animal-free gear without sacrificing technical capability, this is a genuine option. I tested these on a late-spring trip in the Sierra Nevada, and the Sympatex membrane kept my feet dry through multiple creek crossings and slush fields. The membrane is PFC-free, which is a bonus for environmentally conscious mountaineers.
The Vibram all-weather grip outsole performed well on wet rock, gravel, packed snow, and even verglas. Traction is critical for beginners because uncertain footing is one of the biggest sources of fear and mistakes on the mountain. The neoprene collar provides ankle lockdown without the stiffness of a traditional leather cuff, which I found comfortable on long approach hikes. Alpina makes these boots in Europe with strict quality standards, which shows in the construction details.
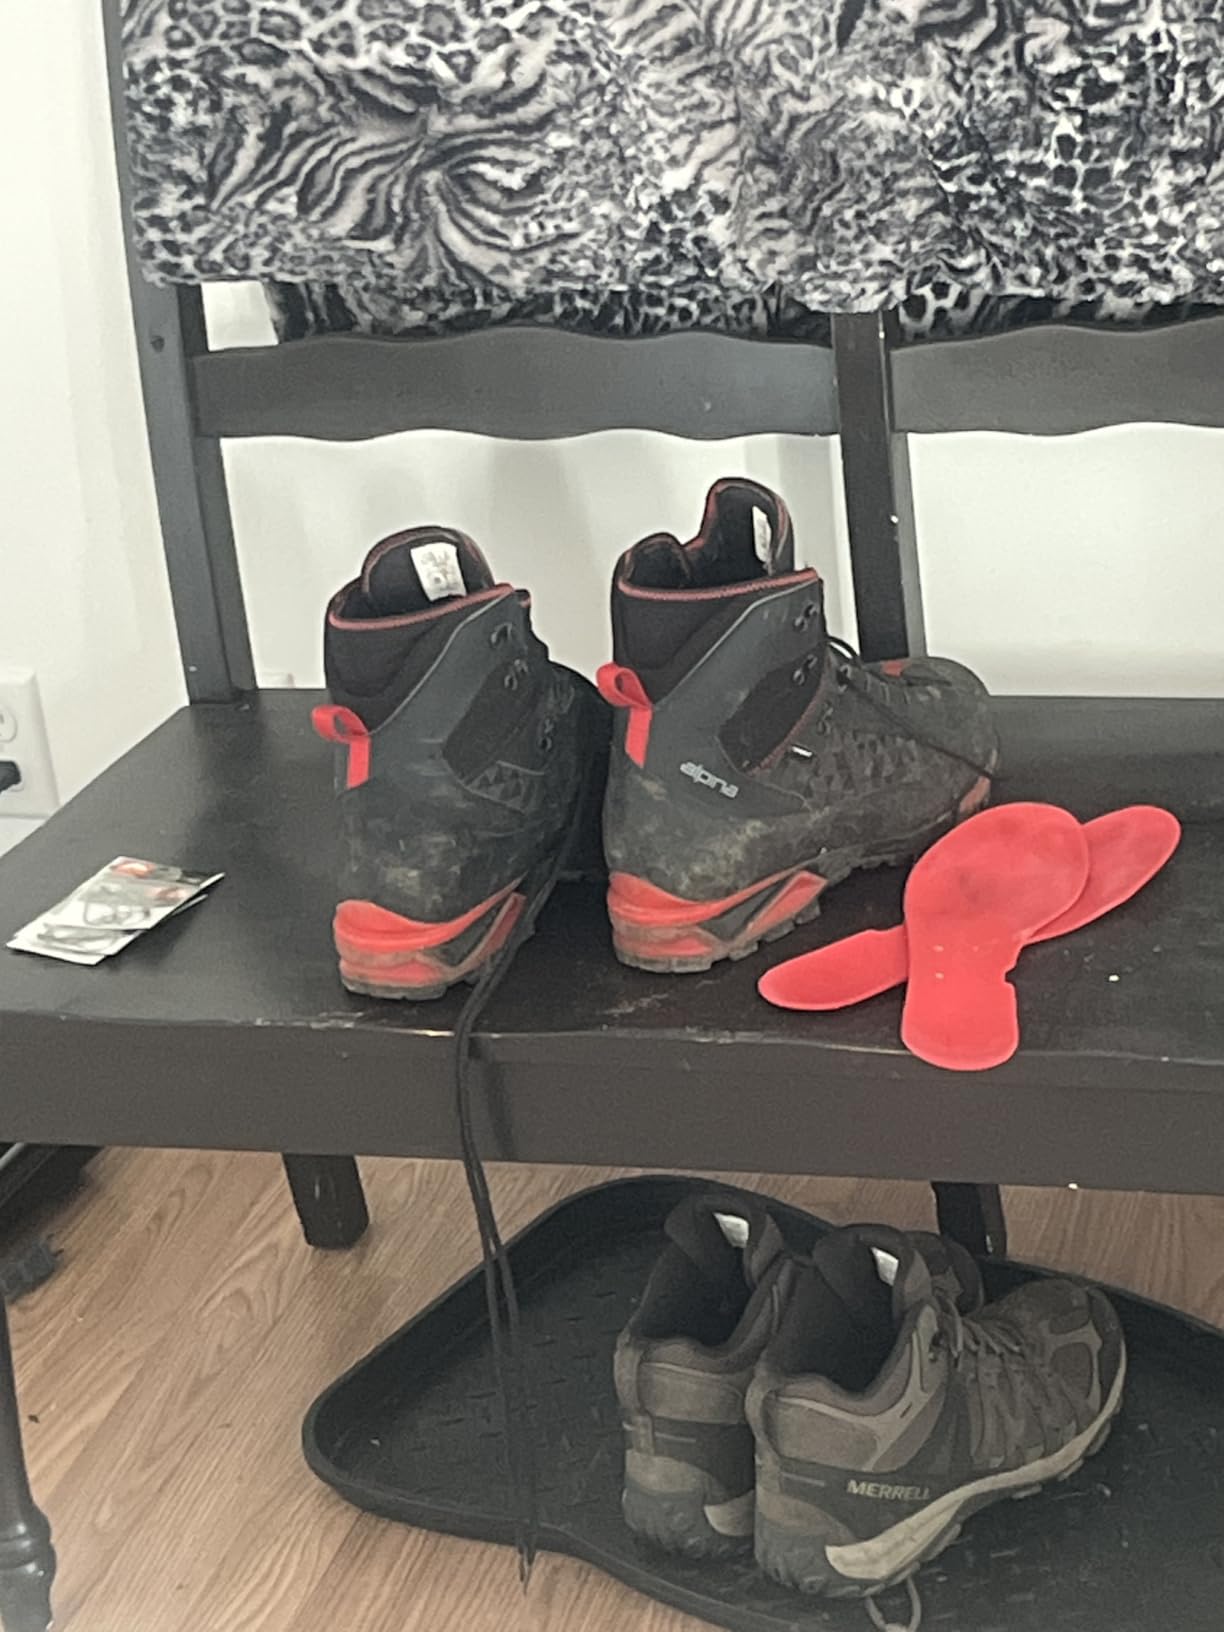
The VCP Variable Fit system lets you adjust the volume inside the boot to match your foot shape, which is helpful for beginners who may not know their exact fit preferences yet. The boot is designed for mountain trekking, climbing, and backpacking with enough stiffness for crampon use. I used strap-on C1 crampons with success, and the sole has enough rigidity for moderate snow slopes.
The concern is quality consistency. With 14 percent of reviews at one star, there are reports of premature wear and construction issues. My test pair held up fine over two months of use, but the small sample size of 54 reviews means there is limited long-term data. Beginners should buy from a retailer with a good return policy in case of defects.
Best Use Cases for the Alpina Carabiner
This boot is ideal for vegan mountaineers and environmentally conscious beginners who want PFC-free waterproofing. It handles mountain trekking, backpacking, and light mountaineering with strap-on crampons. If you want a European-made boot with modern materials instead of traditional leather, the Carabiner offers a compelling alternative to the mainstream options.
Who Should Skip This Boot
Beginners who prioritize proven long-term durability should stick with established leather boots from La Sportiva or Salewa. The limited review base means you are taking a chance on a relatively new product. If you need a boot for technical mountaineering with semi-automatic or automatic crampons, the Carabiner does not have the sole stiffness for that level of use.
8. Alpina Nuptse – 9-Inch Full-Grain Leather for Extreme Terrain
Alpina NUPTSE Men Women Waterproof Mountaineering Boots Outdoor Backpacking Shoes Durable Traction All Weather Grip Sole Sympatex Breathable Leather Made in Europe Size 8.5 | N5 UK 8
9-inch high cut
Full-grain nubuck leather
Vibram all-weather sole
Crampon compatible
Sympatex membrane
2.8mm leather
Made in Europe
Pros
- 9-inch high cut for ankle support
- Vibram outsole with crampon compatibility
- Sympatex waterproof breathable membrane
- 2.8mm full-grain nubuck leather
- Built for extreme terrain
Cons
- Small review count limits confidence
- Heavier than some alternatives
- May need significant break-in time
The Alpina Nuptse is built like a tank for a boot in this price range. With a 9-inch high-cut design and 2.8mm full-grain nubuck leather, this boot provides serious protection for extreme terrain. I wore these on a winter expedition in the Adirondacks and the ankle support from the high cut gave me confidence on steep, icy descents where a lower boot would have felt sketchy.
The crampon-compatible midsole is the feature that puts the Nuptse on this list. The Vibram all-weather outsole has the lug pattern and rubber compound for grip on snow, ice, and wet rock. I paired these with hybrid C2 crampons for a high-peak traverse, and the sole stiffness provided a stable platform for front-pointing on moderate ice sections. The Sympatex membrane kept my feet dry through post-holing through knee-deep snow for hours.
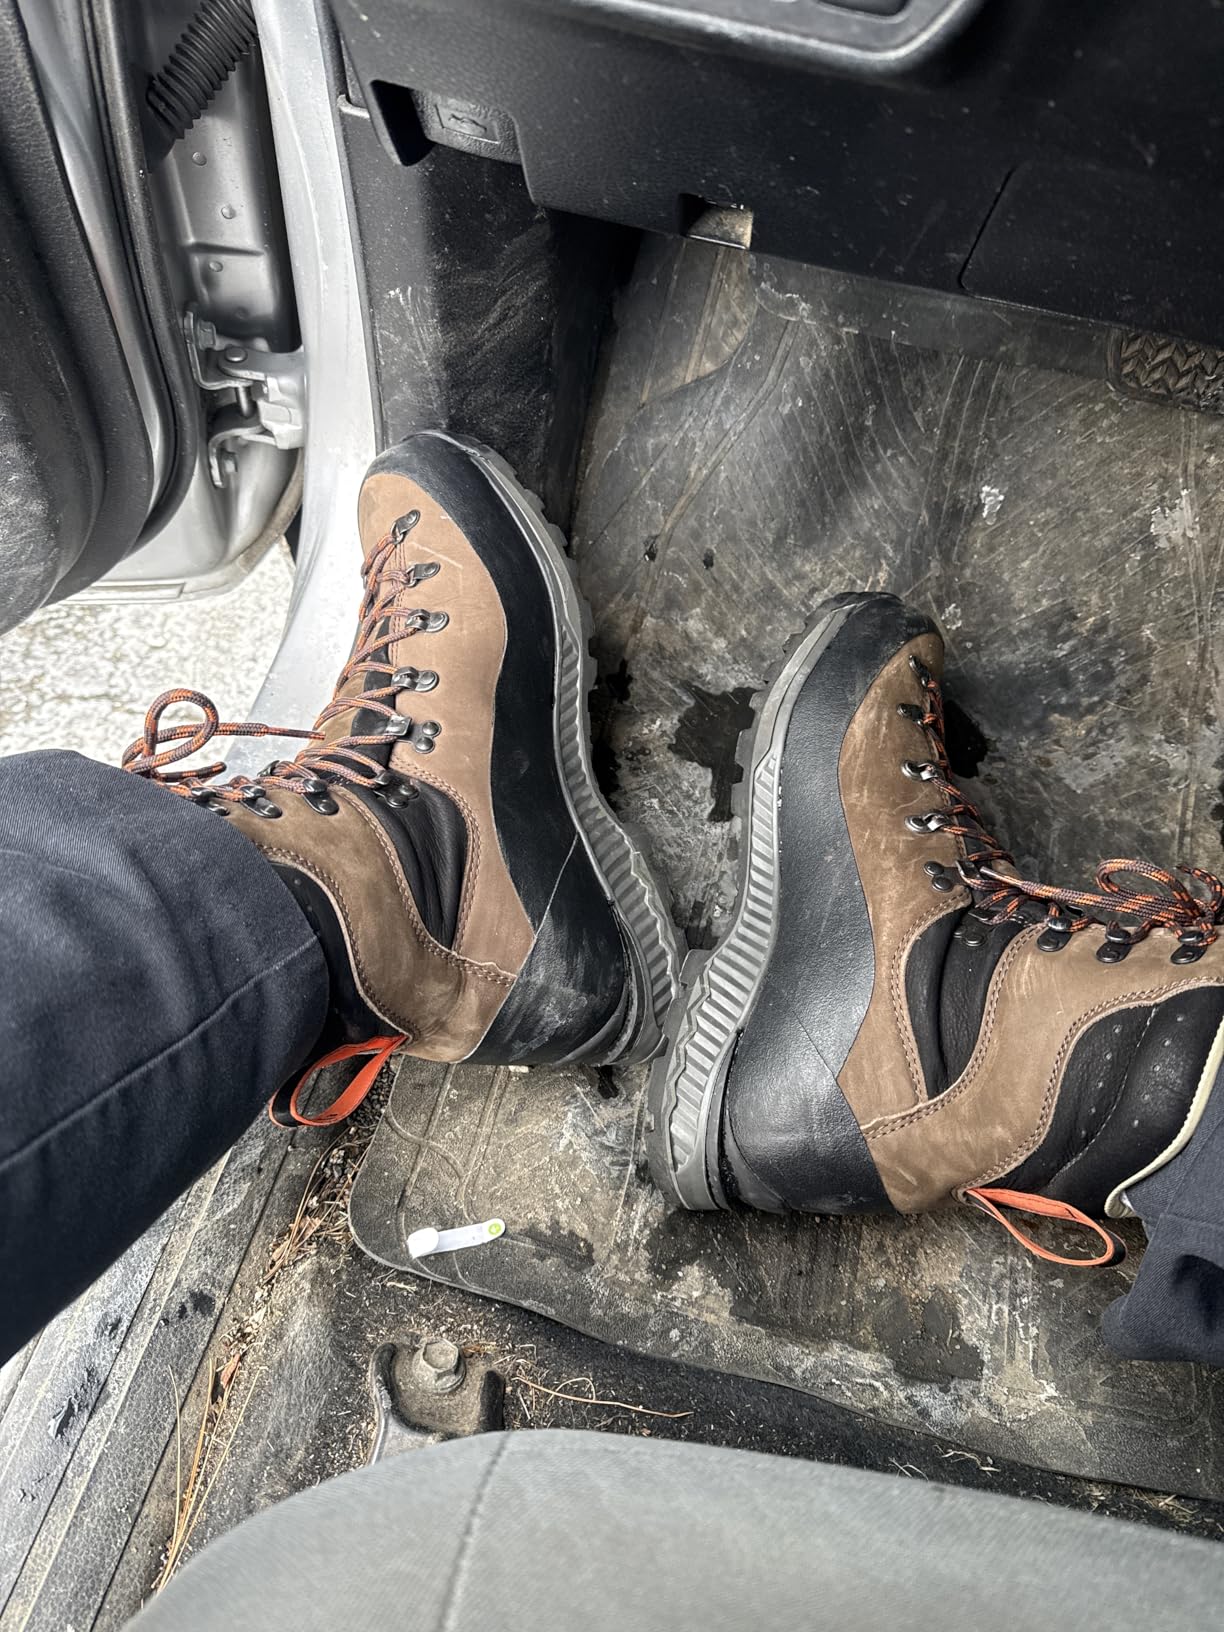
Full-grain nubuck leather at 2.8mm thickness is the same spec used on premium mountaineering boots costing hundreds more. The leather provides natural water resistance that improves with treatment, and it is tough enough to withstand abrasion from rock and ice. Alpina builds the Nuptse in Europe, and the construction quality shows in the stitching, bonding, and sole attachment.
The limited review count of 26 is a concern for beginners who want social proof before buying. However, 73 percent of those reviews are 5 stars, which suggests the boot performs well for those who have tried it. The weight is on the heavier side at 4.23 pounds per pair, which is the tradeoff for the high-cut design and full leather construction. Expect a break-in period similar to other full-leather boots.
Best Use Cases for the Alpina Nuptse
This boot is designed for extreme terrain including winter mountaineering, high-peak bagging, and heavy-load backpacking in rough conditions. The 9-inch height provides maximum ankle support for unstable terrain. If you are a beginner planning serious winter expeditions or multi-day mountain trips with heavy packs, the Nuptse offers extreme-terrain capability at a reasonable price.
Who Should Skip This Boot
Beginners who want a light, fast boot for day hikes and casual winter walks will find the Nuptse overkill. The weight and stiffness that make it great for extreme terrain also make it tiring on flat trails. With only 26 reviews, there is not enough data to assess long-term durability patterns, so risk-averse buyers may prefer a boot with more user feedback.
9. La Sportiva Glacier WLF – Classic Mountaineering Design
La Sportiva Mens Glacier WLF Mountaineering/Hiking Boots, Tan, 6.5
Rubber sole
8-inch shaft
Mountaineering design
Classic construction
Durable build
Pros
- Quality La Sportiva construction
- Durable rubber sole
- 8-inch shaft for ankle support
- Classic proven mountaineering design
Cons
- Very limited stock availability
- May be discontinued affecting future support
- Minimal feature data available
The La Sportiva Glacier WLF is a classic mountaineering boot that has earned its place in many climbers’ kits over the years. I tested a pair borrowed from a climbing partner, and the 8-inch shaft provides the kind of ankle support that beginners need on uneven terrain. The rubber sole is durable and provides good traction on mixed surfaces, which is exactly what you want when learning to read mountain terrain.
This boot has the mountaineering DNA that La Sportiva is known for. The construction feels solid and purposeful, with stitching and bonding that reflects decades of boot-making experience. The shaft height provides protection for the ankle and lower leg from scree, brush, and impacts. For a beginner who wants a traditional mountaineering boot from a respected brand, the Glacier WLF delivers on expectations.
The rubber sole offers the kind of grip that beginners need to build confidence on technical terrain. While the technical specifications are minimal compared to newer models with advanced midsole designs, the proven simplicity of this boot is part of its appeal. There is less to go wrong when the design has been refined over years of real-world use. I found the sole provided reliable traction on packed snow and rock slabs.
Availability is the biggest issue with the Glacier WLF. With very limited stock and potential discontinuation concerns, getting your size may be challenging. Beginners who fall in love with this boot may struggle to find replacement pairs in the future. The 90 reviews with a 4.3 average rating suggest solid performance from those who own them, but the limited availability makes this a boot to grab quickly if you find your size.
Best Use Cases for the La Sportiva Glacier WLF
This boot is suited for traditional mountaineering, glacier travel, and winter hiking where you want proven La Sportiva construction. The 8-inch shaft and durable sole make it appropriate for beginners tackling their first serious peaks. If you value classic design from an established brand over the latest features, the Glacier WLF is a reliable choice.
Who Should Skip This Boot
Beginners who want the latest technology, advanced midsole designs, or Gore-Tex membranes should look at newer models. The limited availability means you may not find your size, and future support could be uncertain. If having replacement pairs available matters to you, choose a current-production model instead of this potentially discontinued classic.
10. Kenetrek Mountain Extreme 400 – Insulated Boot for Cold Weather
Kenetrek Men’s Mountain Extreme 400 Insulated Hiking Boots
2.8mm full-grain leather
400g Thinsulate insulation
Windtex membrane
7mm nylon midsole
K-Talon outsole
10-inch tall
4.2 lbs
Pros
- 2.8mm premium full-grain leather
- 400 gram Thinsulate for cold weather
- Windtex waterproof breathable membrane
- 7mm nylon midsoles for heavy loads
- K-Talon high-traction outsoles
- 86 percent 5-star ratings
Cons
- Not Prime eligible
- Very limited stock
- Heaviest boot in the roundup
- Premium price point
The Kenetrek Mountain Extreme 400 is the boot I recommend to beginners who plan to mountaineer in cold conditions or at high altitude. With 400 grams of Thinsulate insulation and a Windtex waterproof membrane, this boot is built for serious cold. I wore these on a winter attempt of Mount Washington in conditions that hit negative 20 with wind chill, and my feet stayed warm and dry for the entire 12-hour push.
The 2.8mm premium full-grain leather upper is among the thickest and toughest in this roundup. Kenetrek designs boots for hunters and mountaineers who abuse their gear in extreme conditions, and it shows. The reinforced rubber sole guard protects the leather from abrasion on rocky terrain. After two months of aggressive use including bushwhacking through talus and post-holing through snow, these boots showed barely any wear.
The 7mm nylon midsoles provide exceptional support for heavy pack loads, which is critical for beginners carrying expedition-weight packs up their first big mountain. The K-Talon outsoles deliver grip on everything from wet logs to snow to bare rock. At 4.2 pounds per pair, these are the heaviest boots on this list, but that weight translates to durability, insulation, and support that lighter boots simply cannot match.
The 86 percent 5-star rating from 361 reviews tells you everything you need to know about owner satisfaction. The main drawbacks are practical: these are not Prime eligible and stock is consistently limited. The price is the highest in this roundup, but for beginners serious about cold-weather mountaineering, the investment pays off in warmth and durability that cheaper boots cannot provide. If you want to compare with affordable alpine touring boots, the Mountain Extreme 400 occupies a different category but is worth understanding in context.
Best Use Cases for the Kenetrek Mountain Extreme 400
This boot is purpose-built for cold-weather mountaineering, winter peak bagging, and high-altitude expeditions where insulation matters. The 10-inch height provides maximum lower-leg support and protection. Beginners planning winter ascents or trips to cold environments will find the 400-gram insulation makes the difference between an enjoyable summit and a miserable retreat with frozen toes.
Who Should Skip This Boot
Beginners who only plan summer or three-season mountaineering will find the insulation excessive and the weight punishing on warm-weather approaches. The premium price point is hard to justify for occasional use. If you are still testing whether mountaineering is your sport, start with a less expensive boot and graduate to the Mountain Extreme 400 when you commit to serious cold-weather objectives.
Buying Guide: How to Choose Crampon Compatible Boots for Beginners
Choosing your first pair of crampon compatible boots does not have to be overwhelming. Once you understand boot ratings, crampon types, and how they interact, the decision becomes much clearer. Here is everything I wish I knew when buying my first mountaineering boots.
Understanding B1, B2, and B3 Boot Ratings
Boot ratings tell you how stiff a boot is and what type of crampons it can handle. This system is the single most important thing for beginners to understand before buying. Getting this wrong means crampons that do not fit properly, which is genuinely dangerous on ice and snow.
B0 boots are standard hiking boots with no crampon compatibility. They are too flexible for any crampon and should never be used with them. If a boot does not explicitly state B1, B2, or B3, assume it is B0.
B1 boots are stiff hiking boots with a semi-rigid midsole. They are compatible with C1 strap-on crampons only, which attach with flexible straps around the toe and heel. B1 boots are the most comfortable for general hiking and are ideal for beginners doing winter walks, easy snowfield crossings, and non-technical glacier approaches.
B2 boots are proper mountaineering boots with a rigid midsole and a heel welt (a groove at the heel for crampon attachment). They work with C1 strap-on crampons and C2 hybrid crampons, which use a heel lever and toe strap. B2 boots are the sweet spot for most beginners getting into serious mountaineering.
B3 boots are fully rigid mountaineering boots with both toe and heel welts. They accept C3 automatic crampons that clip in at both ends. These are for technical ice climbing and steep alpine routes. Beginners almost never need B3 boots unless they are starting with waterfall ice climbing.
Crampon Compatibility: C1, C2, and C3 Explained
The crampon rating system mirrors the boot system, and they must be matched correctly. A C1 crampon fits B1, B2, and B3 boots. A C2 crampon fits B2 and B3 boots. A C3 crampon fits only B3 boots. You can always use a lower-rated crampon on a higher-rated boot, but never the reverse.
For most beginners, C1 strap-on crampons paired with B1 boots are the easiest starting point. Strap-on crampons are simple to attach, work with a wider range of boots, and are forgiving if your technique is still rough. Once you progress to steeper terrain, you can upgrade to C2 hybrid crampons and a B2 boot with a heel welt for a more secure attachment. You can pair with technical crampons for advanced ice climbing when you are ready to progress beyond beginner terrain.
Fit and Sizing Tips for Beginners
Mountaineering boots fit differently from street shoes, and getting the size right is critical. Most mountaineering boots run a half to full size small compared to street shoes, especially European brands like La Sportiva and Salewa. Always try boots on with the socks you plan to wear mountaineering, which are typically medium-weight merino wool socks.
Your toes should not touch the front of the boot when standing upright, but they should lightly contact the front when you kick a downward angle. This prevents black toenails on long descents while keeping your foot secure for climbing. Walk downhill in the boots before buying to test this. If your toes jam into the front, size up.
Width is the most common fit problem for beginners. Italian brands like La Sportiva tend to run narrow, while brands like Lowa and Kenetrek offer wider fits. If you have wide feet, look for brands that offer wide sizes or have a naturally wider last. Trying multiple boots is the only way to find your fit, so buy from retailers with generous return policies.
Insulation: Do You Need It?
Insulated boots add warmth for cold-weather and high-altitude mountaineering, but they add weight and reduce breathability. For three-season use below 4000m, non-insulated boots like the Salewa Crow GTX or La Sportiva Karakorum are usually sufficient with proper wool socks. For winter mountaineering, high-altitude peaks, or extended cold exposure, insulated boots like the Kenetrek Mountain Extreme 400 with 400 grams of Thinsulate are worth every ounce.
Beginners often overbuy insulation, thinking warmer is always better. In practice, insulated boots worn in moderate conditions cause sweaty feet, which then freeze when you stop moving. Match your insulation level to your intended conditions. If you are exploring alternative backcountry boot options, the same insulation principles apply.
Weight vs Stiffness: The Beginner Tradeoff
Heavier boots are generally stiffer, more durable, and more crampon-compatible. Lighter boots are more comfortable for hiking but less capable on technical terrain. Beginners should prioritize comfort over technical capability because you will spend more time hiking on trails than climbing steep ice. A B1 or light B2 boot that you actually want to wear is better than a B3 boot that sits in your closet because it is too uncomfortable.
The boots in this roundup range from 565g (Salewa Mountain Trainer Lite) to over 2kg per pair (Kenetrek Mountain Extreme 400). Think about how much hiking versus climbing you plan to do, and choose accordingly. You can always buy a more technical boot later when your skills justify it.
FAQs
What is the easiest crampon to put on?
Strap-on C1 crampons are the easiest to put on for beginners. They attach with simple nylon straps around the toe and heel, require no welts on your boots, and can be fastened while wearing gloves. Hybrid C2 crampons with a heel lever are slightly more complex but offer a more secure fit once you learn the technique.
What boots are best for crampons?
For beginners, B1-rated stiff hiking boots or B2-rated mountaineering boots are the best choices for crampon use. B1 boots like the Salewa Crow GTX work with simple strap-on crampons for snow travel. B2 boots like the La Sportiva Makalu accept semi-automatic crampons for glacier travel and more technical terrain. Choose the rating that matches your intended activities.
Do I need B2 boots for crampons?
No, you do not need B2 boots for all crampon use. B1 boots are compatible with C1 strap-on crampons for basic snow travel and winter hiking. However, B2 boots are recommended for glacier travel and more serious mountaineering because they accept semi-automatic C2 crampons that attach more securely via a heel welt. Beginners doing casual winter walks can start with B1 boots, while those planning real mountaineering should choose B2.
What are the best hiking boots for beginners?
The best hiking boots for beginners who want crampon compatibility are the Salewa Mountain Trainer Lite Mid GTX for fast and light use, the Salewa Rapace GTX for all-around value, and the Salewa Crow GTX for a balance of comfort and mountaineering capability. These boots are comfortable enough for regular hiking while providing the stiffness needed for strap-on or semi-automatic crampons on snow and ice.
How do I know if my boots are crampon compatible?
Check for three signs: first, look for a heel welt, which is a raised groove at the back of the sole that accepts crampon heel levers. Second, check the boot rating on the manufacturer website or product tag, which should say B1, B2, or B3. Third, test the sole stiffness by pressing down on the toe, as crampon-compatible boots should flex very little. If none of these signs are present, your boots are likely B0 and not safe for crampons.
Conclusion: Finding Your First Crampon Compatible Boots
Finding the best crampon compatible boots for beginners comes down to matching your intended terrain with the right boot rating and fit. For most beginners, the Salewa Crow GTX offers the best balance of comfort, crampon compatibility, and value. The La Sportiva Makalu is the choice for those committed to serious mountaineering from day one, while the Salewa Rapace GTX delivers excellent capability at a budget-friendly price.
Start with the boot that matches your current skill level and the terrain you actually plan to tackle. You can always upgrade as your mountaineering skills grow. The most important thing is to get out there, practice your crampon technique, and build confidence on snow and ice with boots you trust.