
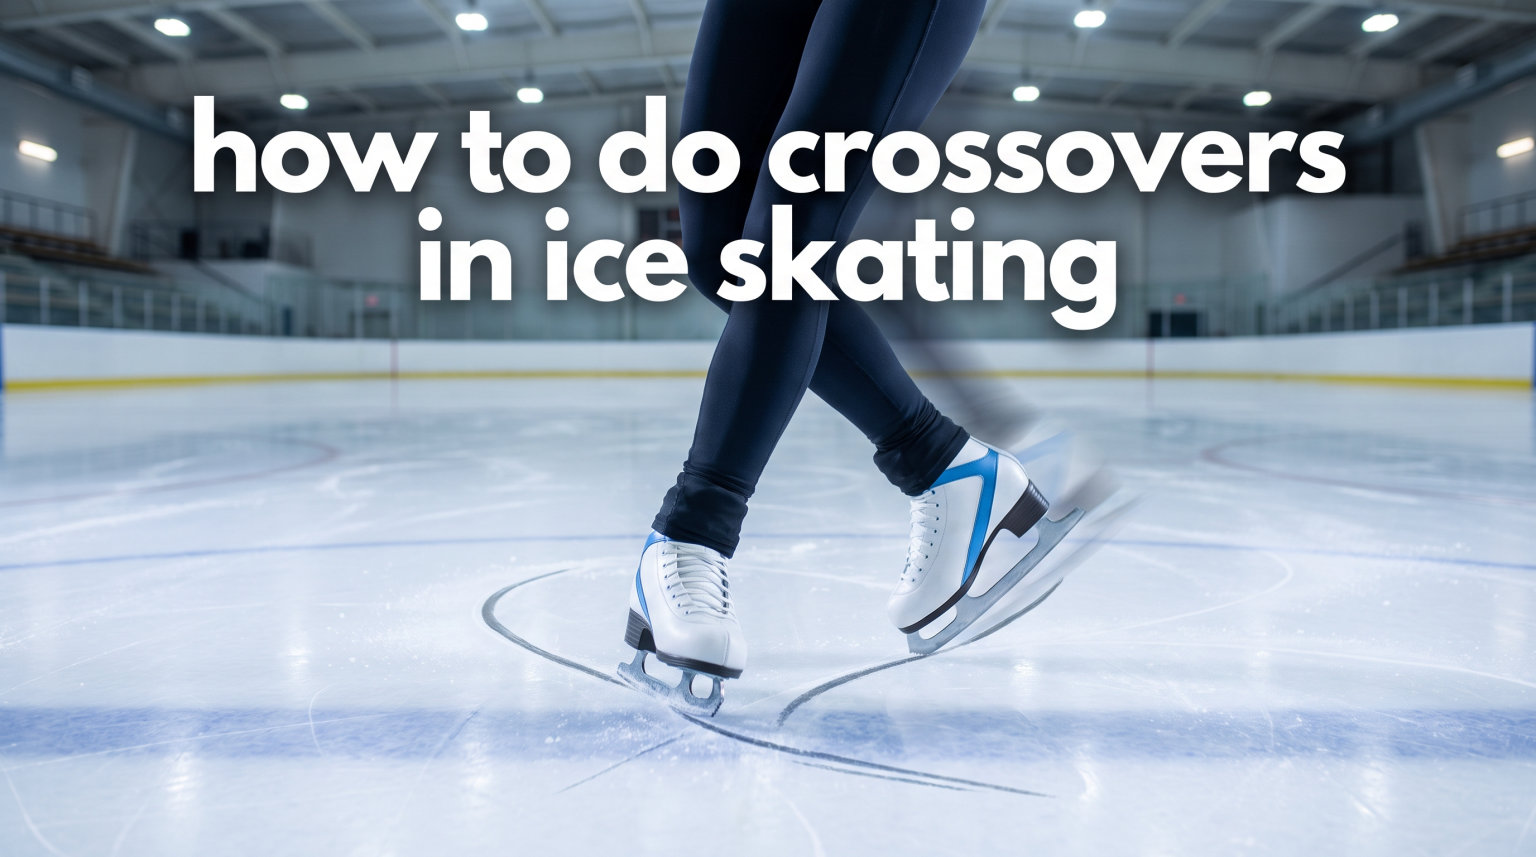
You have finally mastered gliding across the ice without hugging the boards. Now you watch experienced skaters execute smooth, flowing turns that look almost effortless. Learning how to do crossovers in ice skating is the skill that bridges the gap between beginner shuffling and confident, fluid skating.
Our team has taught hundreds of adults and children to skate over the past five years. Crossovers consistently rank as the technique that transforms a novice into someone who truly looks comfortable on the ice. This guide breaks down every step so you can learn this fundamental skill safely and correctly.
Table of Contents
What Are Crossovers in Ice Skating?
Crossovers are a skating technique where you cross one foot over the other to maintain speed and balance while turning. Instead of losing momentum when going around a curve, crossovers allow you to generate power and accelerate through the turn.
The movement creates a continuous pattern where your inside foot crosses in front of (for forward crossovers) or behind (for backward crossovers) your outside foot. This alternating motion keeps you gliding smoothly around circles, corners, and curves.
Crossovers matter because they solve one of skating’s basic physics problems. When you simply glide around a turn, friction and centrifugal force slow you down. Crossovers counteract this by adding propulsion through each stroke, keeping your speed consistent or even increasing it through the curve.
Prerequisites: Skills You Need First
Before attempting crossovers, you should have a solid foundation in basic skating. Trying to learn crossovers too early leads to frustration and bad habits that are difficult to correct later.
Make sure you can comfortably glide forward on two feet for at least 20 feet without assistance. You should also be able to glide on one foot for about three seconds on each leg. Basic stopping ability is essential for safety when you inevitably lose balance during practice.
Edge awareness represents the most important prerequisite. Practice gliding on your inside edges and outside edges separately. If you cannot feel the difference between these edges, spend more time on basic two-foot and one-foot glides before moving to crossovers.
How to Do Crossovers in Ice Skating: Forward Crossovers Step-by-Step
Forward crossovers form the foundation of smooth turning. Most skaters learn this technique first because it feels more natural and provides better visibility of where you are going.
Step 1: Start with the Basic Position
Begin by skating forward in a counter-clockwise circle around the rink. Bend your knees deeply, keeping them flexed at roughly 90 to 110 degrees. Extend your arms out to the sides at shoulder height for stability.
Your body should lean slightly into the center of the circle. This lean creates the edge angle you need for the crossover to work. Many beginners try to stay too upright, which makes the technique nearly impossible.
Step 2: Shift Weight to the Outside Foot
Transfer approximately 80 percent of your weight onto your left foot (the foot on the outside of the circle). Your right foot, now on the inside of the circle, should feel light and ready to move.
As you shift weight, press into the outside edge of your left skate. You should feel the blade digging into the ice at an angle. This edge pressure creates the platform for your crossover.
Step 3: Cross the Inside Foot Over
Lift your right foot slightly off the ice, no more than two to three inches. Bring it across the front of your left foot, placing it down on the ice on the outside of the circle.
Keep this cross low and tight. A common error is lifting the foot too high or crossing too wide, which throws off balance and looks awkward. The movement should be smooth and controlled, not a high kick.
Step 4: Transfer Weight and Push
Once your right foot lands on the ice outside the circle, quickly shift your weight onto it. This foot now becomes your new outside foot for the next part of the sequence.
As you transfer weight, push with your left foot (the one you just crossed over). This push generates power and maintains your speed through the turn. The push should come from your inside edge against the ice.
Step 5: Uncross and Repeat
Return your left foot to the inside position, placing it back on the ice. You are now back in the starting position, ready to repeat the sequence with the opposite feet.
Continue this pattern: cross right over left, push, uncross, cross left over right, push, uncross. With practice, this becomes one continuous, fluid motion rather than separate steps.
Backward Crossovers: Step-by-Step Guide
Backward crossovers build on the same principles as forward crossovers but require more trust in your balance since you cannot see where you are going as easily. Take extra time with each step of this progression.
Step 1: Begin Backward Glide on Circle
Start by skating backward in a clockwise circle. Look over your left shoulder to see where you are going. Keep your knees deeply bent and your weight centered over the balls of your feet.
The backward posture differs slightly from forward skating. Your back should be straight but tilted forward at the hips, not perfectly upright. This forward tilt helps with balance and edge control.
Step 2: Transfer Weight to Outside Foot
Shift most of your weight onto your right foot, which is on the outside of the circle. Your left foot, on the inside, should feel light and ready to lift.
Press into the outside edge of your right skate. Feel the blade cutting into the ice at an angle. This edge creates the resistance you need for the push that comes later in the sequence.
Step 3: Cross Behind
Lift your left foot and bring it behind your right foot, placing it on the ice on the outside of the circle. Unlike forward crossovers where you cross in front, backward crossovers require crossing behind.
This behind-the-back crossing motion feels less natural at first. Practice the foot placement slowly while holding the boards before attempting it while gliding. The movement should be low and close to your other foot, not a wide step.
Step 4: Push and Extend
Once your left foot is planted on the outside edge, push with your right foot. This push propels you through the turn and maintains momentum. Extend your right leg outward as you push for maximum power.
The push comes from the inside edge of your right skate pressing against the ice. Think of drawing a semi-circle on the ice with your blade as you extend. This is where the speed generation happens.
Step 5: Reset and Continue
Bring your right foot back to the starting position on the inside of the circle. You are now ready to repeat the sequence, alternating sides as you continue around the circle.
Backward crossovers typically take two to three times longer to master than forward crossovers. Do not rush the process. Quality repetitions with good form beat sloppy practice every time.
Common Crossover Mistakes and How to Fix Them
After teaching crossovers to hundreds of skaters, we see the same errors repeatedly. Recognizing these mistakes early saves weeks of frustration and potential injuries.
Mistake 1: Looking Down at Your Feet
New skaters instinctively watch their feet during crossovers. This throws off balance and prevents you from seeing where you are going. Keep your head up and eyes focused forward or in the direction of travel.
Fix this by practicing crossovers while focusing on a specific point across the rink. If you need to check foot position, use your peripheral vision or brief glances, not sustained staring.
Mistake 2: Stiff, Straight Knees
Locked knees make crossovers impossible and dangerous. Deep knee bend absorbs impact, allows edge transitions, and generates power. If your legs are straight, you cannot cross effectively.
Practice stationary knee bends at the boards. You should be able to bounce slightly in this position. If you cannot, bend deeper. Proper skating posture feels almost like sitting in a chair.
Mistake 3: Not Committing to the Edge
Fear causes many skaters to stay on flat blades rather than leaning into the edge. Without edge commitment, the crossover has no power and feels unstable. You must trust the blade’s edge to hold you.
Build edge confidence by practicing two-foot glides on circles first. Feel how the lean creates the turn. Once comfortable with edges, crossovers become much easier.
Mistake 4: Crossing Too High or Wide
High, wide crosses look dramatic but destroy balance and efficiency. The crossover should be a low, tight movement where feet pass close to each other. Think inches, not feet.
Practice the cross motion while holding the boards without gliding. Focus on keeping the crossing foot barely off the ice and sliding it across with minimal lift. This muscle memory transfers to gliding crossovers.
Mistake 5: Rushing the Movement
Speed comes from technique, not hurrying. Rushing through crossovers leads to sloppy form, loss of balance, and actual slower progress. Each phase of the crossover deserves attention.
Start with slow, deliberate crossovers where you pause briefly at each step. As form improves, gradually increase speed while maintaining control. Fast, bad crossovers are harder to fix than slow, good ones.
Practice Drills to Master Crossovers
Structured drills accelerate learning far better than random attempts. These progressive exercises build the specific skills crossovers require.
Two-Foot Glides on Circles
Before crossing, master gliding on a circle with both feet on the ice. Push off and glide around a circle without crossing, maintaining the lean into the center. This builds edge awareness and balance.
Practice this for five minutes in each direction at the start of every skating session. The better your two-foot circle glides, the easier crossovers become.
Scissor Crosses on the Line
Stand at the boards with feet in a line, one directly in front of the other. Practice crossing and uncrossing without lifting your feet high. This isolates the foot placement pattern.
Do twenty scissor crosses holding the boards, then twenty without holding. This drill creates the muscle memory for the crossing motion separate from the balance challenge of gliding.
Single Crossover Repetitions
Instead of trying continuous crossovers immediately, practice one crossover followed by a long glide. Cross once, then glide for ten feet before attempting another.
This approach lets you focus on quality for each individual crossover. Once single crossovers feel solid, gradually shorten the glide between crosses until they become continuous.
Clockwise and Counter-Clockwise Practice
Most skaters favor one direction and neglect the other. Spend equal time practicing crossovers in both clockwise and counter-clockwise circles. Weak-direction practice improves overall balance and coordination.
After every three laps in your comfortable direction, force yourself to do one lap in the opposite direction. This ratio gradually builds competence in both directions.
Safety Tips for Learning Crossovers
Crossovers involve more speed and complexity than basic skating, which increases fall risk. Follow these safety guidelines to prevent injuries while learning.
Wear wrist guards and a helmet while learning, especially if you are an adult. Wrist injuries represent the most common skating injury, and crossovers create more opportunities for falls than basic gliding.
Practice during less crowded sessions when possible. Early mornings and weekday afternoons typically have fewer skaters than weekend evenings. Empty rink space gives you room to fall safely and build confidence.
Learn how to fall correctly before attempting crossovers. Bend your knees and tuck your chin when you feel yourself going down. Fall to the side, not forward or backward. Practice controlled falls at slow speed to build this instinct.
Take breaks when fatigued. Tired muscles make mistakes more likely. End your practice on a successful attempt rather than pushing until you are exhausted and frustrated.
Frequently Asked Questions About Ice Skating Crossovers
What are crossovers in figure skating?
Crossovers are a skating technique where one foot crosses over the other to maintain speed and balance while turning. In forward crossovers, the inside foot crosses in front of the outside foot. In backward crossovers, the inside foot crosses behind the outside foot. This technique allows skaters to accelerate through turns rather than slowing down.
How do you cross over when skating?
To perform a forward crossover, shift weight to your outside foot, lift your inside foot and cross it in front of the outside foot, then transfer weight and push with the crossed foot. For backward crossovers, the motion is similar but you cross the inside foot behind the outside foot instead of in front. Keep knees bent, crosses low and tight, and maintain the lean into the turn.
Why are crossovers important in ice skating?
Crossovers are important because they allow skaters to maintain or increase speed through turns instead of losing momentum. They provide the power and control needed for cornering in both recreational and competitive skating. Without crossovers, turns feel awkward and slow. They are fundamental to figure skating, hockey, and recreational rink skating.
How long does it take to learn crossovers?
Most skaters learn basic forward crossovers within 3 to 6 weeks of consistent practice. Backward crossovers typically take 2 to 3 months to master. The timeline varies based on practice frequency, prior skating experience, and comfort with edge work. Practicing 2 to 3 times per week accelerates progress significantly compared to occasional sessions.
Are forward or backward crossovers harder?
Backward crossovers are generally harder for most skaters to learn. The difficulty comes from reduced visibility of where you are going, the less intuitive behind-the-back crossing motion, and the need for stronger backward skating fundamentals. Forward crossovers feel more natural and provide better visual feedback, making them the recommended starting point for beginners.
Conclusion
Learning how to do crossovers in ice skating opens up a new level of confidence and fluidity on the ice. This technique transforms awkward, hesitant turns into smooth, powerful movements that make skating truly enjoyable. With the step-by-step approach outlined in this guide, you have everything needed to master both forward and backward crossovers.
Remember that progress takes time and patience. Focus on proper form over speed, practice the drills regularly, and address mistakes as soon as they appear. Most skaters see significant improvement within their first month of dedicated practice.
Once crossovers feel comfortable, you will be ready to tackle more advanced skills like three-turns, mohawks, and power pulls. The edge control and balance you develop through crossover practice create the foundation for virtually every advanced skating technique. Get out on the ice and start crossing.