I learned the hard way that skipping skate drying is an expensive mistake. After a long session at the rink, I tossed my skates into my bag while still damp. Three days later, I pulled them out to find rust spots on the blades and a musty smell that never quite went away.
Learning how to dry ice skates properly after skating is one of the most important habits any skater can develop. Whether you are a weekend recreational skater or training daily, proper drying protects your investment and keeps your equipment performing at its best.
Moisture is the enemy of ice skates. It causes blade corrosion, weakens boot materials, breeds bacteria and mold, and creates unpleasant odors. The good news is that drying your skates correctly takes just a few minutes and requires no special equipment.
Table of Contents
How to Dry Ice Skates Properly After Skating: Quick Summary
Here is the fastest way to dry your skates properly:
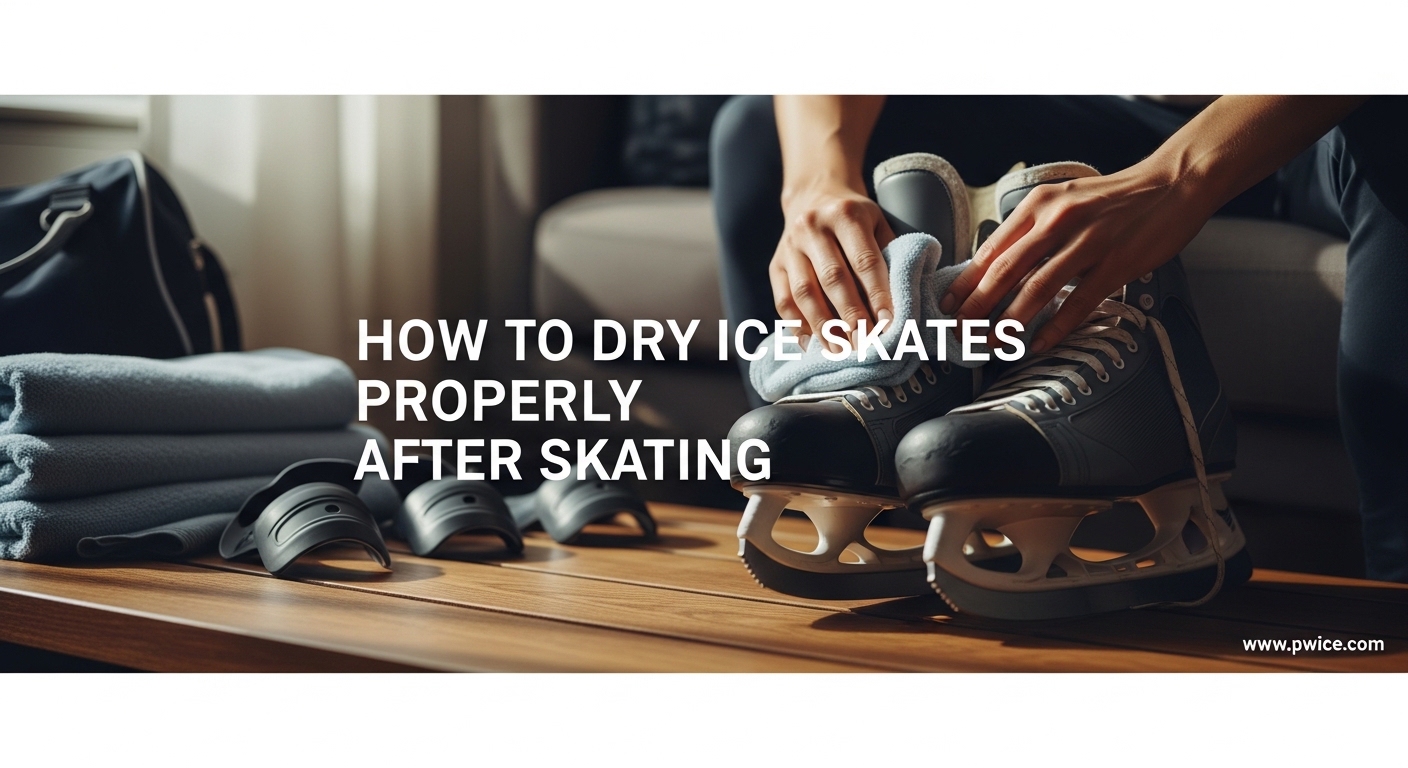
1. Wipe immediately. Use a clean cloth to dry blades and boot exterior right after leaving the ice.
2. Remove insoles. Take out insoles and liners to dry separately.
3. Air dry at room temperature. Place skates in a well-ventilated area away from heat sources.
4. Use soakers for storage. Cover blades with soft soakers, not hard guards.
5. Allow adequate time. Let skates dry completely before next use.
Now let me walk you through each step in detail so you understand exactly what to do and why it matters.
Step 1: Wipe Blades and Boots Immediately After Skating
The moment you step off the ice, condensation starts forming on your blades. Warm air hits the cold steel, creating moisture that sits on the surface and begins the rusting process within hours.
I keep a microfiber cloth in my skate bag and make wiping down my blades the first thing I do after removing my skates. Run the cloth along both sides of each blade, removing all visible moisture. Do not forget the mounting area where the blade attaches to the boot, as water collects there and can rust the screws from underneath.
Wipe the exterior of the boots as well, especially if you have been skating in humid conditions or if snow has accumulated on the leather or synthetic material. Removing surface moisture prevents it from seeping into the boot construction and causing long-term damage.
Some skaters apply a thin layer of acid-free oil to their blades after drying, particularly before long-term storage. This creates a protective barrier against any remaining microscopic moisture.
Step 2: Remove Insoles and Liners for Separate Drying
Pulling out your insoles is the single most effective way to speed up interior drying. When insoles stay inside the boot, they trap moisture against the footbed and create a damp environment that breeds bacteria and odor.
If your skates have removable liners, take those out too. Many modern hockey skates and recreational models feature fully removable liners that can be dried separately. For figure skates with fixed linings, loosen the laces completely and open the tongue wide to maximize air circulation inside the boot.
Lay removed insoles and liners flat in a dry area, not stacked on top of each other. Flip them halfway through drying to ensure both sides get adequate airflow. I usually place mine near a fan but never directly in front of a heat vent.
For skaters with leather boots, this step is especially important. Leather absorbs moisture and can rot if kept damp for extended periods. Even synthetic materials can develop mold issues if moisture remains trapped inside.
Step 3: Set Up a Proper Room Temperature Drying Environment
Room temperature drying is the gold standard for skate care. The ideal environment is between 65 and 75 degrees Fahrenheit with good air circulation.
Position your skates so air can flow inside them. I place mine upside down on a boot dryer rack or prop them against a wall with the tongues fully open. Never lay them flat on their sides with the boot opening facing down, as this traps moist air inside.
If you need faster drying, a fan circulating room-temperature air works well. Point the airflow into the boot opening to push moisture out. Just ensure the air is not heated, as even warm air from a central heating system can be too hot if it blows directly on the skates.
Choose a spot away from direct sunlight. UV rays can fade boot colors and cause synthetic materials to degrade over time. A shaded corner with a gentle breeze from an open window works perfectly for drying skates naturally.
Step 4: Use Soakers for Storage, Not Hard Guards
Understanding the difference between soakers and hard guards will extend the life of your blades significantly. Hard guards are the rigid plastic covers you wear when walking off the ice. They protect edges from concrete but trap moisture if left on stored skates.
Soakers are soft, absorbent blade covers made from terrycloth or similar materials. They protect blades during transport and storage while actually helping to wick away any remaining moisture. Once your skates are dry enough to leave the house, put soakers on for the car ride home, then remove them once you are in your drying space.
Never store skates long-term with hard guards on. The plastic creates a sealed environment where moisture cannot escape, accelerating rust formation. I made this mistake early in my skating journey and had to replace blades after just one season due to corrosion damage.
For transportation to and from the rink, soakers protect your blades and allow any residual moisture to evaporate through the fabric. Combine them with a ventilated skate bag rather than an airtight bag to promote airflow.
How Long Does It Take for Ice Skates to Dry?
After years of skating and talking with equipment managers, I have learned that drying time depends on your skate type and how wet they got during your session.
Leather figure skates typically need 12 to 24 hours to dry completely. The leather absorbs more moisture than synthetic materials and releases it slowly. After an intense practice with heavy sweating, give them a full day.
Synthetic hockey skates dry faster, usually in 6 to 12 hours. The materials do not absorb water as readily, and many models have better ventilation features. However, if you play in a humid arena or sweat heavily, plan for the longer end of that range.
Recreational skates with removable liners can dry in as little as 4 to 6 hours when liners are removed and placed in front of a room-temperature fan. The boot itself dries quickly since the moisture is concentrated in the removable components.
If you need your skates ready faster, using a boot and glove dryer with the heat feature turned off can cut drying time in half. These devices force room-temperature air through the boot but only work effectively if the heat setting is disabled.
Common Mistakes to Avoid When Drying Ice Skates
I have heard every drying shortcut imaginable from fellow skaters. Most of them damage equipment rather than help it.
The Hairdryer Myth. Using a hairdryer on your skates is one of the most common mistakes. Even on a cool setting, hairdryers generate heat that can warp synthetic boot materials, crack leather, and weaken the adhesive holding your blade mounts. I tested this once on an old pair and watched the toe box deform within five minutes. Never use a hairdryer, space heater, or heat gun on your skates.
Radiator and Vent Drying. Placing skates on a radiator or directly in front of a heating vent seems logical but causes similar damage. The concentrated heat dries materials too quickly, creating stress points and premature material failure.
Storing Wet Skates in Bags. Tossing damp skates into a closed skate bag and leaving them there is asking for rust, mold, and permanent odor. Always remove skates from bags for drying, even if you are tired after practice.
Using Hard Guards for Storage. As mentioned earlier, those hard plastic walking guards are for walking only. Leaving them on during storage traps moisture against the blade and creates rust within hours.
Skipping Insole Removal. Many skaters wipe their blades but leave insoles in place. The interior stays damp, leading to foot health issues and boot deterioration. Take the extra 30 seconds to pull out insoles.
Frequently Asked Questions
Should you dry ice skates after skating?
Yes, drying ice skates after every skating session is essential. Moisture from ice, snow, and sweat causes blade rust, boot material damage, mold growth, and unpleasant odors. Proper drying extends the life of your skates and maintains performance.
Can you use a hairdryer to dry ice skates?
No, you should never use a hairdryer on ice skates. Even on cool settings, hairdryers generate heat that can warp synthetic materials, crack leather, and weaken blade mounting adhesives. Always use room temperature air drying only.
How long do ice skates last with proper care?
With proper drying and maintenance, quality ice skates can last 5 to 10 years for recreational skaters and 2 to 5 years for competitive athletes who skate frequently. Regular sharpening, proper storage, and consistent drying routines significantly extend skate lifespan.
How do you dry the inside of ice skates quickly?
To dry the inside quickly, remove insoles and liners immediately after skating and place them in front of a fan at room temperature. Use a boot dryer with heat turned off if available. Never use heated drying methods as they damage boot materials.
Can ice skates get moldy?
Yes, ice skates can develop mold if stored while damp or in humid environments. Mold thrives in dark, moist conditions inside boots. Proper drying after each use and storing in a ventilated area prevents mold growth and associated odors.
Conclusion
Learning how to dry ice skates properly after skating will save you money and frustration over your skating career. The process takes just five minutes after each session but prevents hundreds of dollars in preventable damage.
Remember the fundamentals: wipe blades immediately, remove insoles, dry at room temperature, use soakers for storage, and allow adequate drying time. Avoid the temptation to speed things up with heat sources, which cause more harm than good.
Your skates are an investment in your sport and your enjoyment. Treat them well with proper drying, and they will reward you with years of reliable performance on the ice.